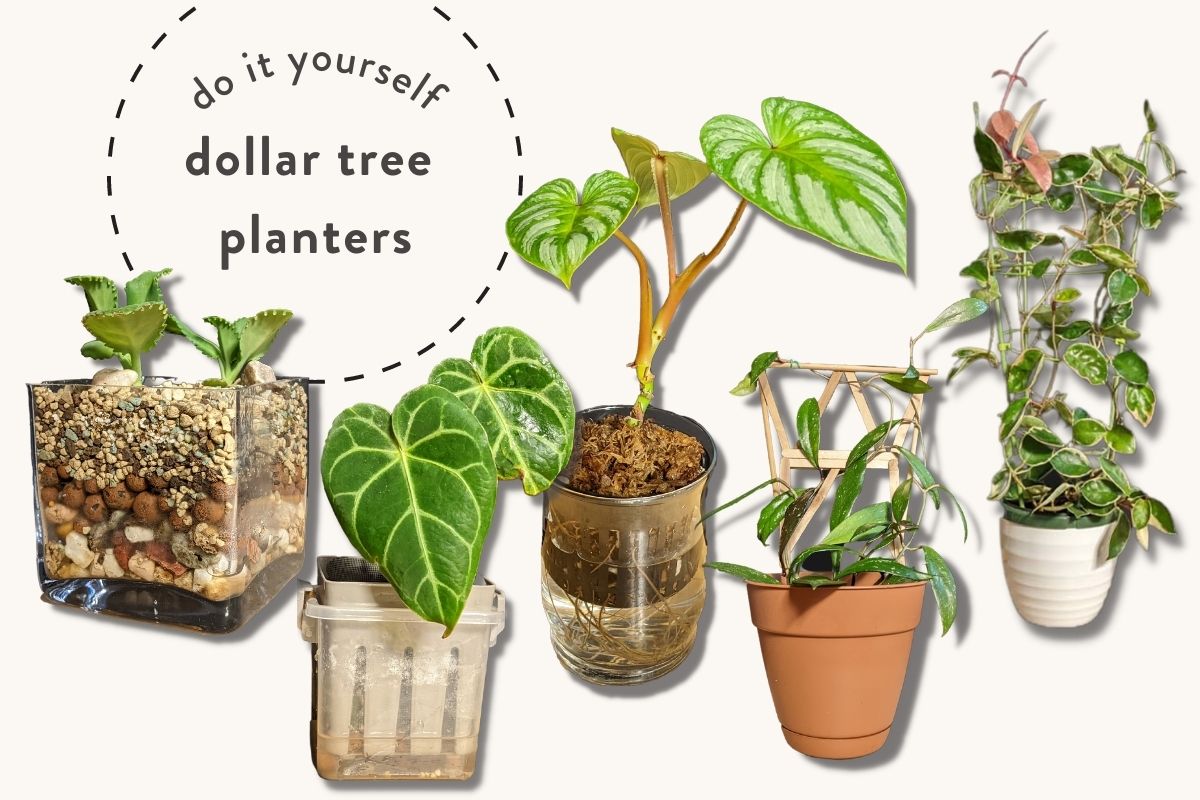
As tempting as it is to buy all of the latest accessories for your houseplants, you can often achieve the same (or better!) results with DIY solutions for displaying your plants. Whether you’re on a budget or simply love a good deal 🤑 these DIY Dollar Tree planters will make any ordinary plant stand out with unique, homemade flair.
The usual Dollar Store DIY is to dress up a flower pot with a little hot glue and jute rope or some spray paint. But you might be surprised to find out that your local discount store carries pots, pebbles, floral foam, Spanish moss, soil, and even seeds. You can find all kinds of fun and unexpected craft items to include in your planter creations around the holidays too!
What I love most about the Dollar Tree is that it’s PACKED with potential goodies for terrariums, planters, seasonal wreaths, and just about any other indoor plant project, you can imagine. I’m super excited to share with you some of the planter and planter-adjacent creations I’ve put together – with a very special thanks to Dollar Tree.
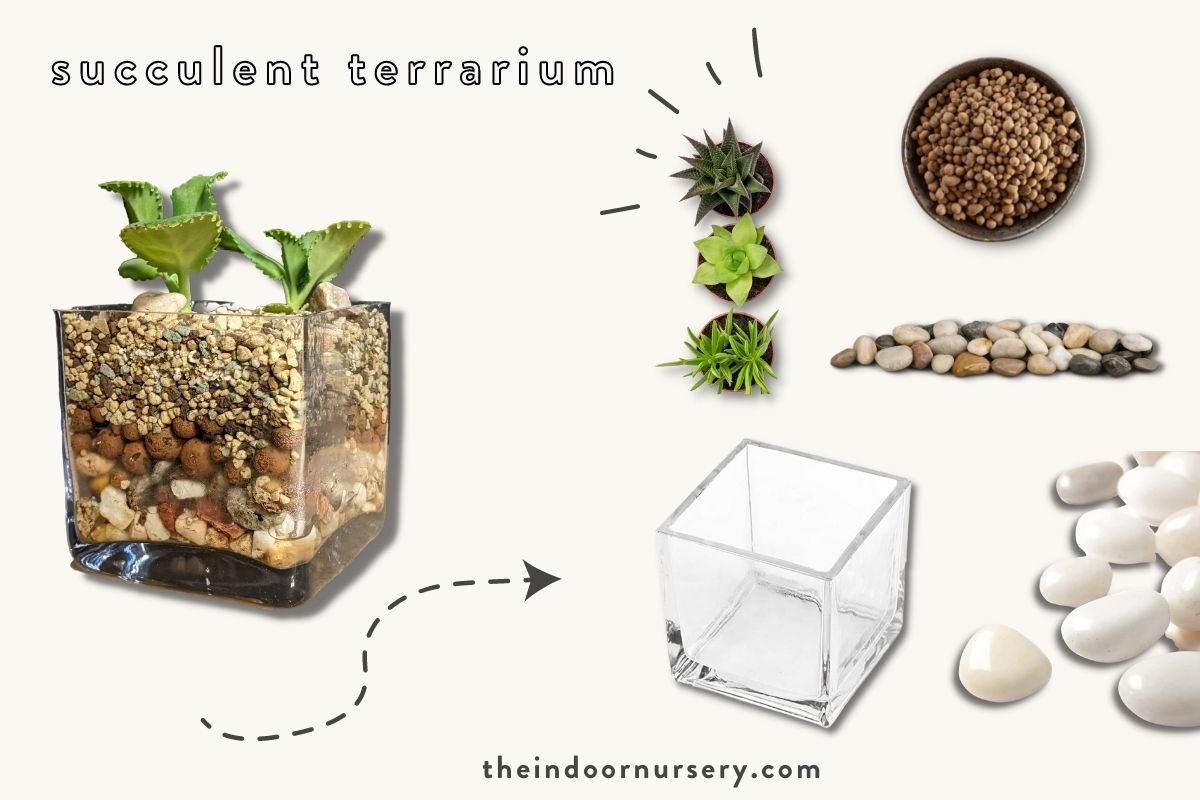
succulent terrarium planter
supplies
- square glass vase
- LECA
- small pebbles
- large decorative rocks
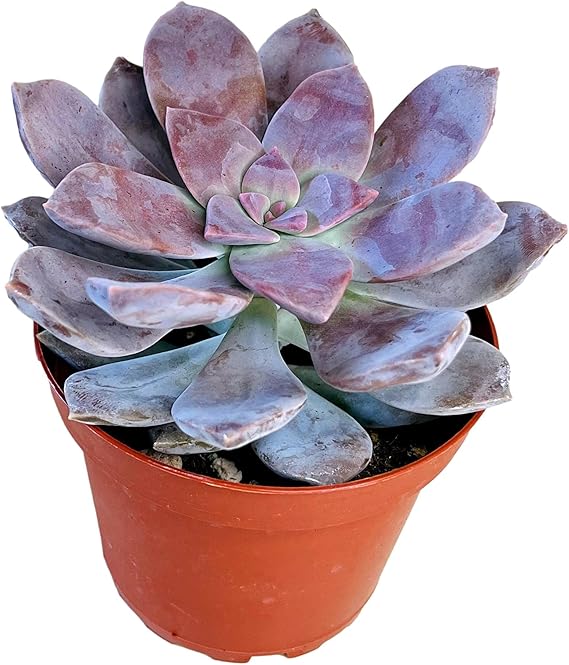
- succulents
how to make a simple succulent terrarium planter
This mini succulent planter is a simple version of a design we outlined in our main post about how to make a succulent terrarium. All you need is to buy a square glass vase and a succulent in need of a new home. You can collect pretty rocks to layer into the planter or buy whatever is available at your dollar store. The different layers look cute and there is no need to add drainage holes to the vase. Just make sure to keep the water in the Leca layer to avoid root rot.
- Layer the larger rocks at the bottom of the planter
- Layer the smaller rocks and LECA on top of the large rocks
- Add your succulent


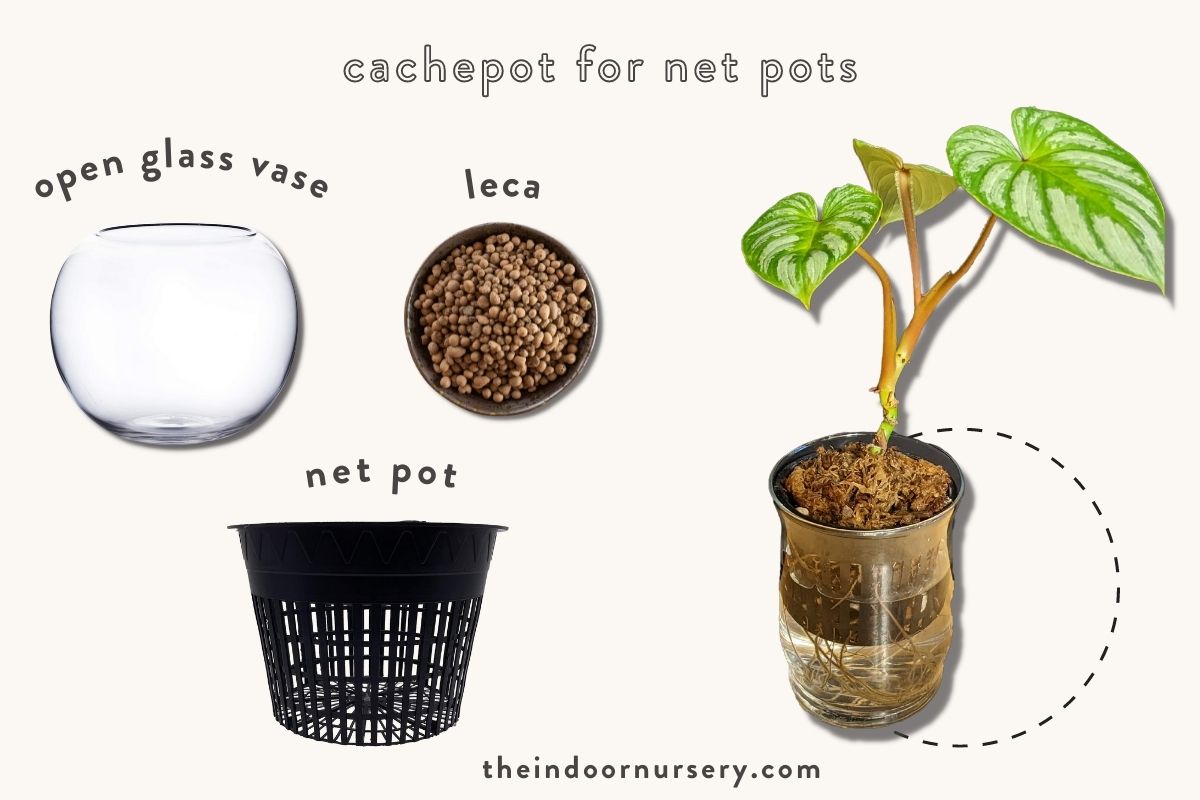
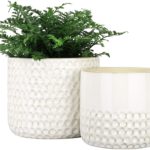
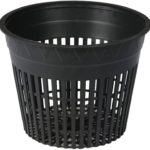
cachepot for net pots
supplies
- net pot
- cachepot or open glass vase
- LECA
If you already have net pots that are two to three inches wide, then head over to the vase section at your local Dollar Tree to find cachepots. I was so happy to find this small glass vase that perfectly fit my net pot! If you don’t find a cachepot, look for mini fish bowls that can be used as well. It’s super exciting to see the roots grow out of the net pot. This setup works well when using LECA or with soilless soil and a regular dose of good semi-hydroponic fertilizer.
Keep in mind that you may have to deal with algae if you place your plant in direct sunlight. Algae can prevent your plant’s roots from getting oxygen and lead to trouble with root rot, so you’ll need to change the water if you notice green slime accumulating.
semi-hydro planter
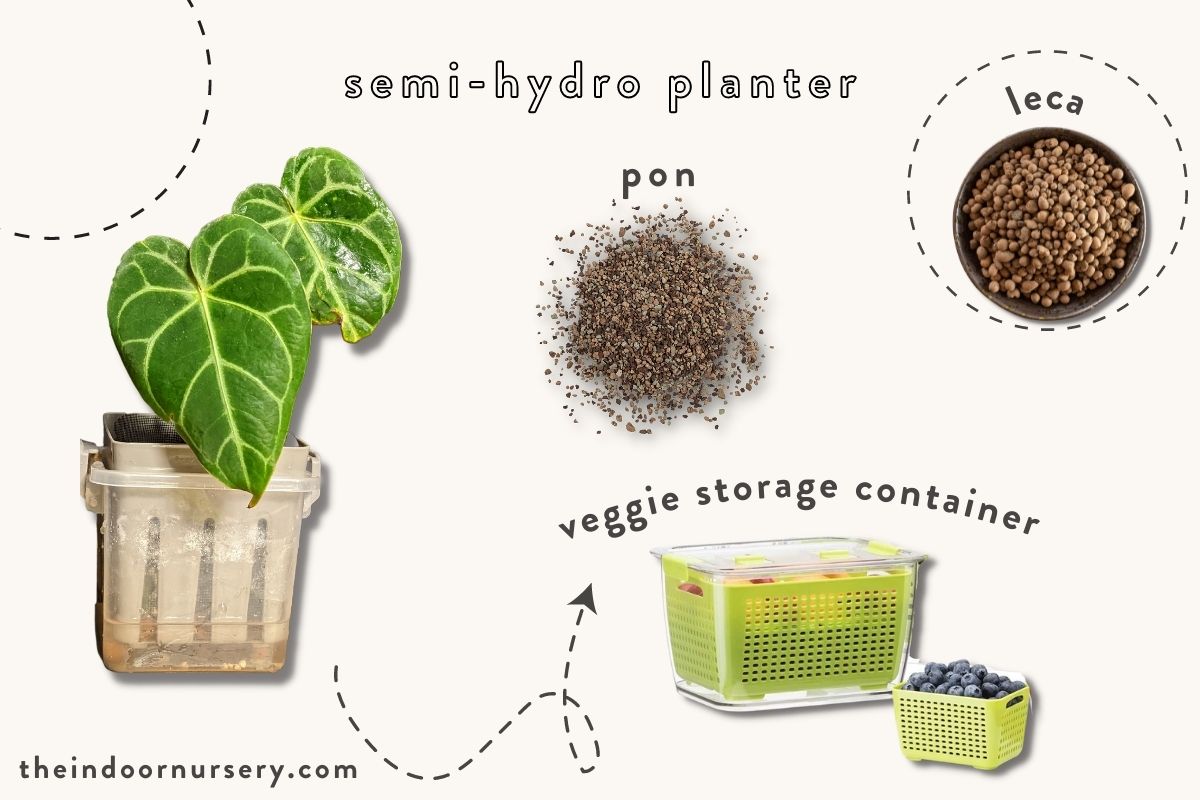
supplies
- vegetable saving food storage container
- LECA
- Pon (optional)
I first saw this ingenious use of Tupperware in Facebook groups. It’s a clever little food storage container specifically for storing vegetables, but guess what? It also makes the perfect vessel for a DIY semi-hydro setup that uses LECA or pon (another inorganic substrate that’s quite a bit finer than expanded clay pebbles).
If you’re new to hydroponics for growing houseplants and aren’t sure about using LECA for plants, this little setup is a perfect place to start! Wait to invest in a DIY hydroponic system or buy self-watering pots until you’re sure you won’t kill your plant with too much fertilizer, bacterial growth, or pH issues!!
How to make a DIY semi-hydro planter
- Run the Tupperware through your dishwasher to kill any germs before you start
- Add a 1/2”-1” layer of LECA to the outer Tupperware container. This allows roots plenty of space to push outside of the slotted container and explore, and I’ve found that this extra layer of LECA also reduces algae buildup.
- Nest the inner storage container on top of the LECA.
- Fill the inner container with your growing media. If you use a pon like I did here, line the inner storage box with a piece of wire mesh so the pon stays put. If you go with LECA instead, don’t worry about lining the inner container – the LECA balls won’t fall through the holes.
climbing plant trellis
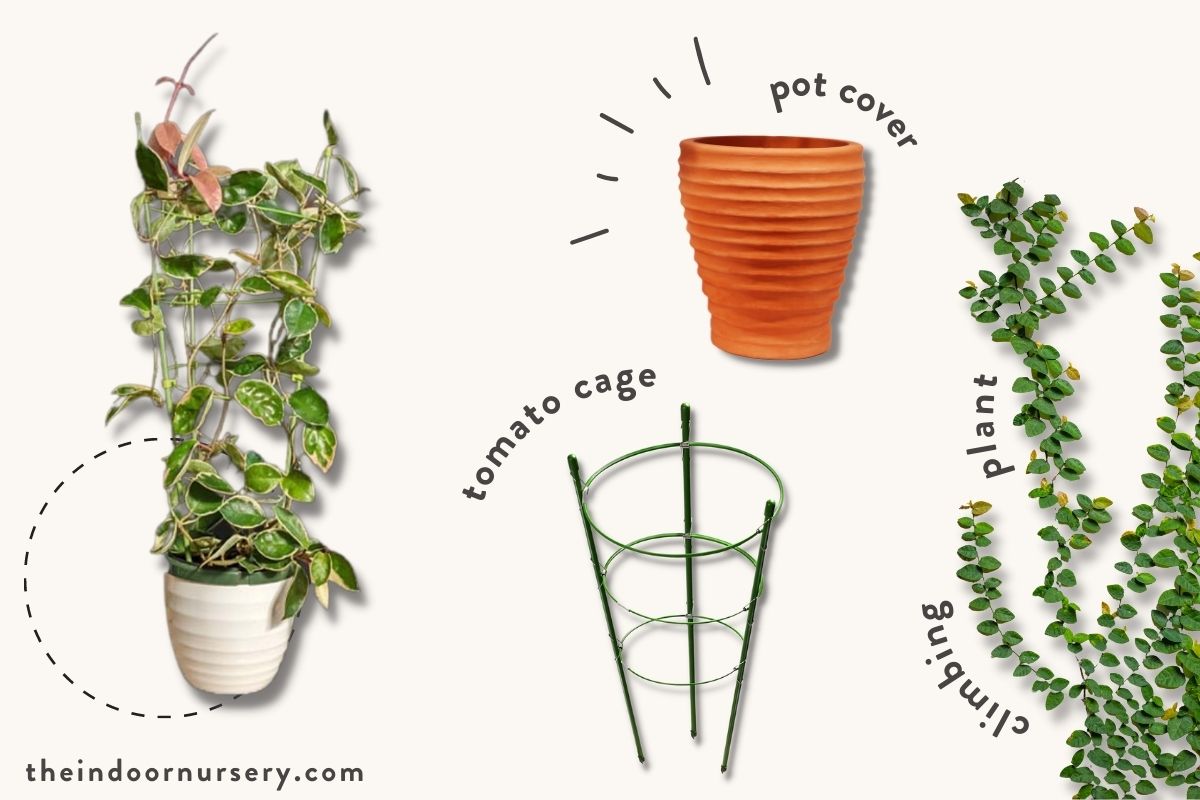
supplies
- climbing plant
- tomato cage
- sturdy cover pot
While I was meandering around the store, this tomato plant cage caught my eye. I wasn’t growing tomatoes, but I instantly thought I could use the trellis for one of my blooming hoyas. My hoya krimson queen was growing a bit wild with long vines and I had been thinking about how to get the hoya to climb with a trellis for ages. This tomato plant cage worked perfectly. It looks so cute now!!
tips for using a tomato cage as a climbing plant trellis
You should keep in mind that tomato cages are generally taller than 24” and generally widen at the top to accommodate the branching and heavy fruit of tomato plants. They’re great for displaying climbing plants if you follow a few simple guidelines:
- When in doubt, choose a trellis that’s a bit larger than what your plant needs to avoid overhandling it when you need to repot
- Use a heavy ceramic or terracotta cover pot to stabilize the plant with the added weight of the trellis, so it doesn’t topple over
- Fit the trellis into the plastic liner pot before transplanting your climbing plant so you don’t disturb its roots by stabbing them with the trellis base
- Weave the vine of your climbing plant in and out of the trellis stakes as you wind the vine around the trellis for added support
popsicle stick trellis
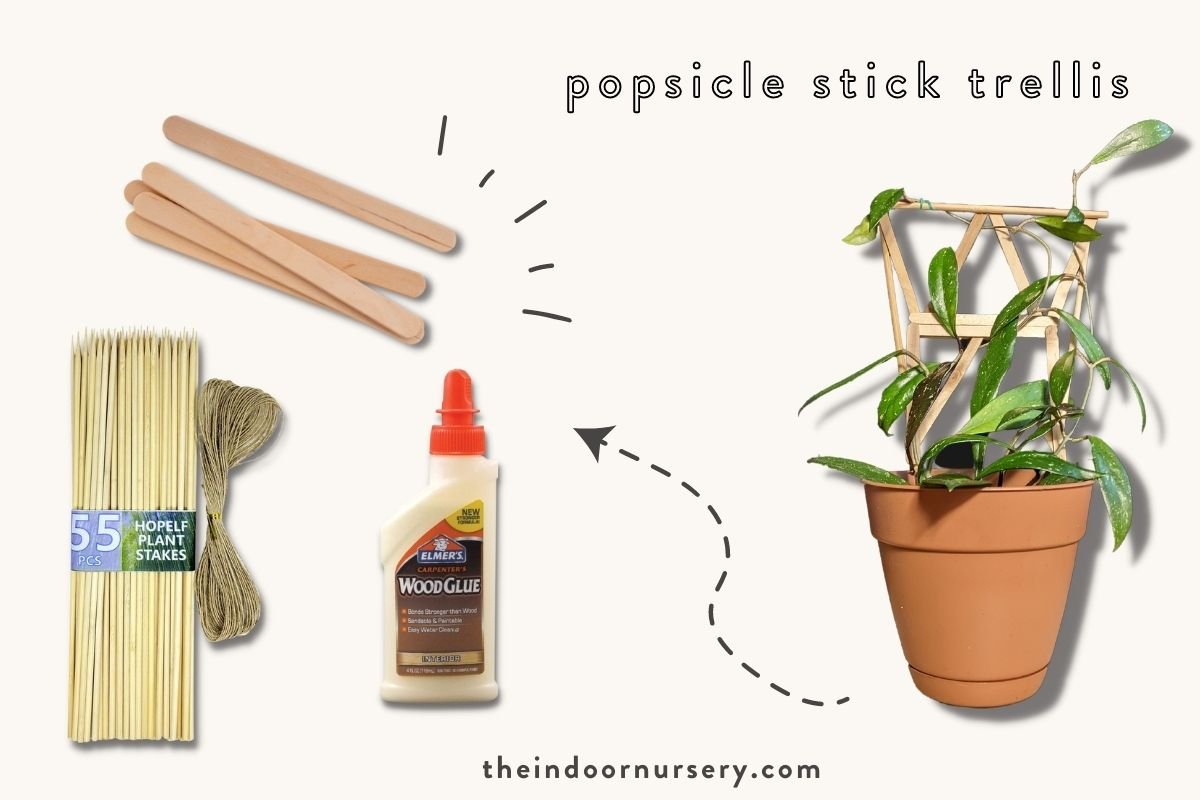
supplies
- popsicle sticks
- 12” wooden stakes
- wood glue (or use a hot glue gun if you have one)
This is one of my favorite crafty Dollar Tree planters DIY! The tomato cage was too large for one of my baby hoya carnosa starts, but I still wanted to encourage upwards growth and sturdy stems. Sooo, what’s an indoor plant lady to do? Yep, I made my own 😄 The best thing about a popsicle stick trellis is that you can just keep adding to the scaffolding as your plant grows.
how to make a popsicle stick trellis for a climbing plant
- Gather about 10 popsicle sticks (more if you have a larger plant), wood stakes, and wood glue.
- Gently wrap the vine of your plant into a doubled lasso. Measure the diameter of the encircled vines. This is how tall you should build your trellis.
- Lay out a trellis design with a base measuring the width of your pot and the height of your desired trellis. If you’re planning to add to the design, build a square trellis or taper it slightly towards the top, as I did. This will enable you to easily add layers as your plant grows.
- Once satisfied with your design, glue all of the pieces into place and let sit on a piece of newspaper for up to two hours. Reinforce joints with florist’s tape or wire.
- Gently place the trellis into your plant’s pot and wind the vine around its scaffolding. Wrap any aerial roots around the wooden pieces to give them something to hold on to.
- Place in a sunny spot and enjoy the view!
I hope this inspires you to make your own planters or trellises for your indoor plants. Please share any projects that you have done or would like to do!
More How To Guides
- How To Get Rid Of Scale On Plants
- DIY Terrarium Table: How To Make A Table With Plants Inside
- How to Use Leca for Plants: Step-by-Step Guide with Pictures
- How To Use Grow Lights For Indoor Plants
- How To Propagate Peperomia Plants 2 Ways
- DIY Propagation Box With Grow Light
- How To Make Pothos Fuller (In 5 Minutes)
- How to Make a Moss Pole for Your Climbing Plants
- How to Make Potting Soil for Indoor Plants, Plus My Secret Ingredient
- How to Propagate a Split-Leaf Philodendron: Easy Step-by-Step Guide

Marquis *wants* to know how to keep happy and healthy plants, but had a hard time finding information that wasn't written by just another copywriter. After nearly losing one too many plants, it was time to take matters into her own hands. A team of plant scientists and nursery hands was brought together and The Indoor Nursery was born.