If you’re an avid indoor gardener and love propagating your plants, having a plant propagation box with grow lights can be the thing that takes your indoor jungle to the next level.
Not only does it increase your success rate in propagating various plant species, but it also allows you to extend your gardening season and enjoy your favorite plants year-round.
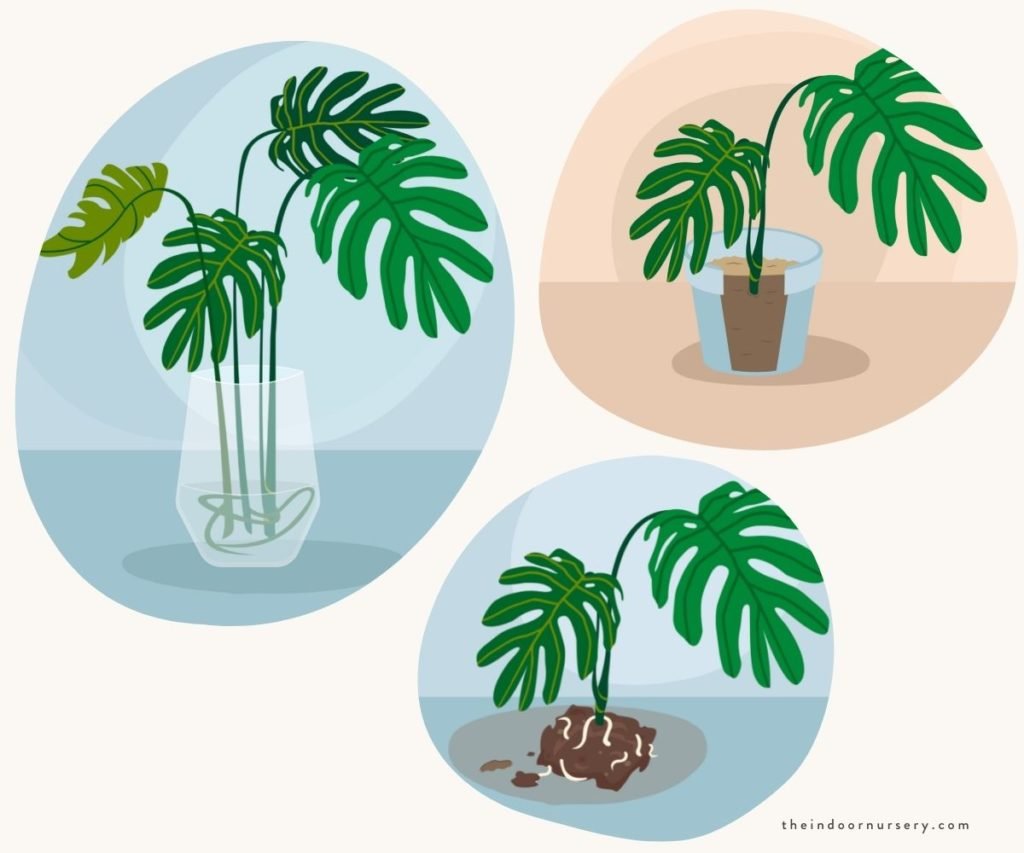
The usual way to root plant cuttings is to place them in a glass of water. I have varying results with this method since it can be greatly affected by the conditions in a room.
A DIY propagation box with a plant light is the perfect solution to propagate plants successfully and economically. This setup acts like a mini greenhouse and provides an ideal environment to protect plant cuttings and seeds, ensuring healthy growth and increased success rates.
Understanding the Benefits of a DIY Plant Propagation Box
A plant propagation box is a valuable tool that allows gardeners to create a controlled environment suitable for nurturing delicate cuttings and seeds.
By adding a plant grow light, you can ensure optimal light conditions for plant growth while using a plastic bin as a budget-friendly alternative to traditional wooden frames. You need only a few supplies to make this super easy propagation box.
Materials for a propagation box
Gather these materials:
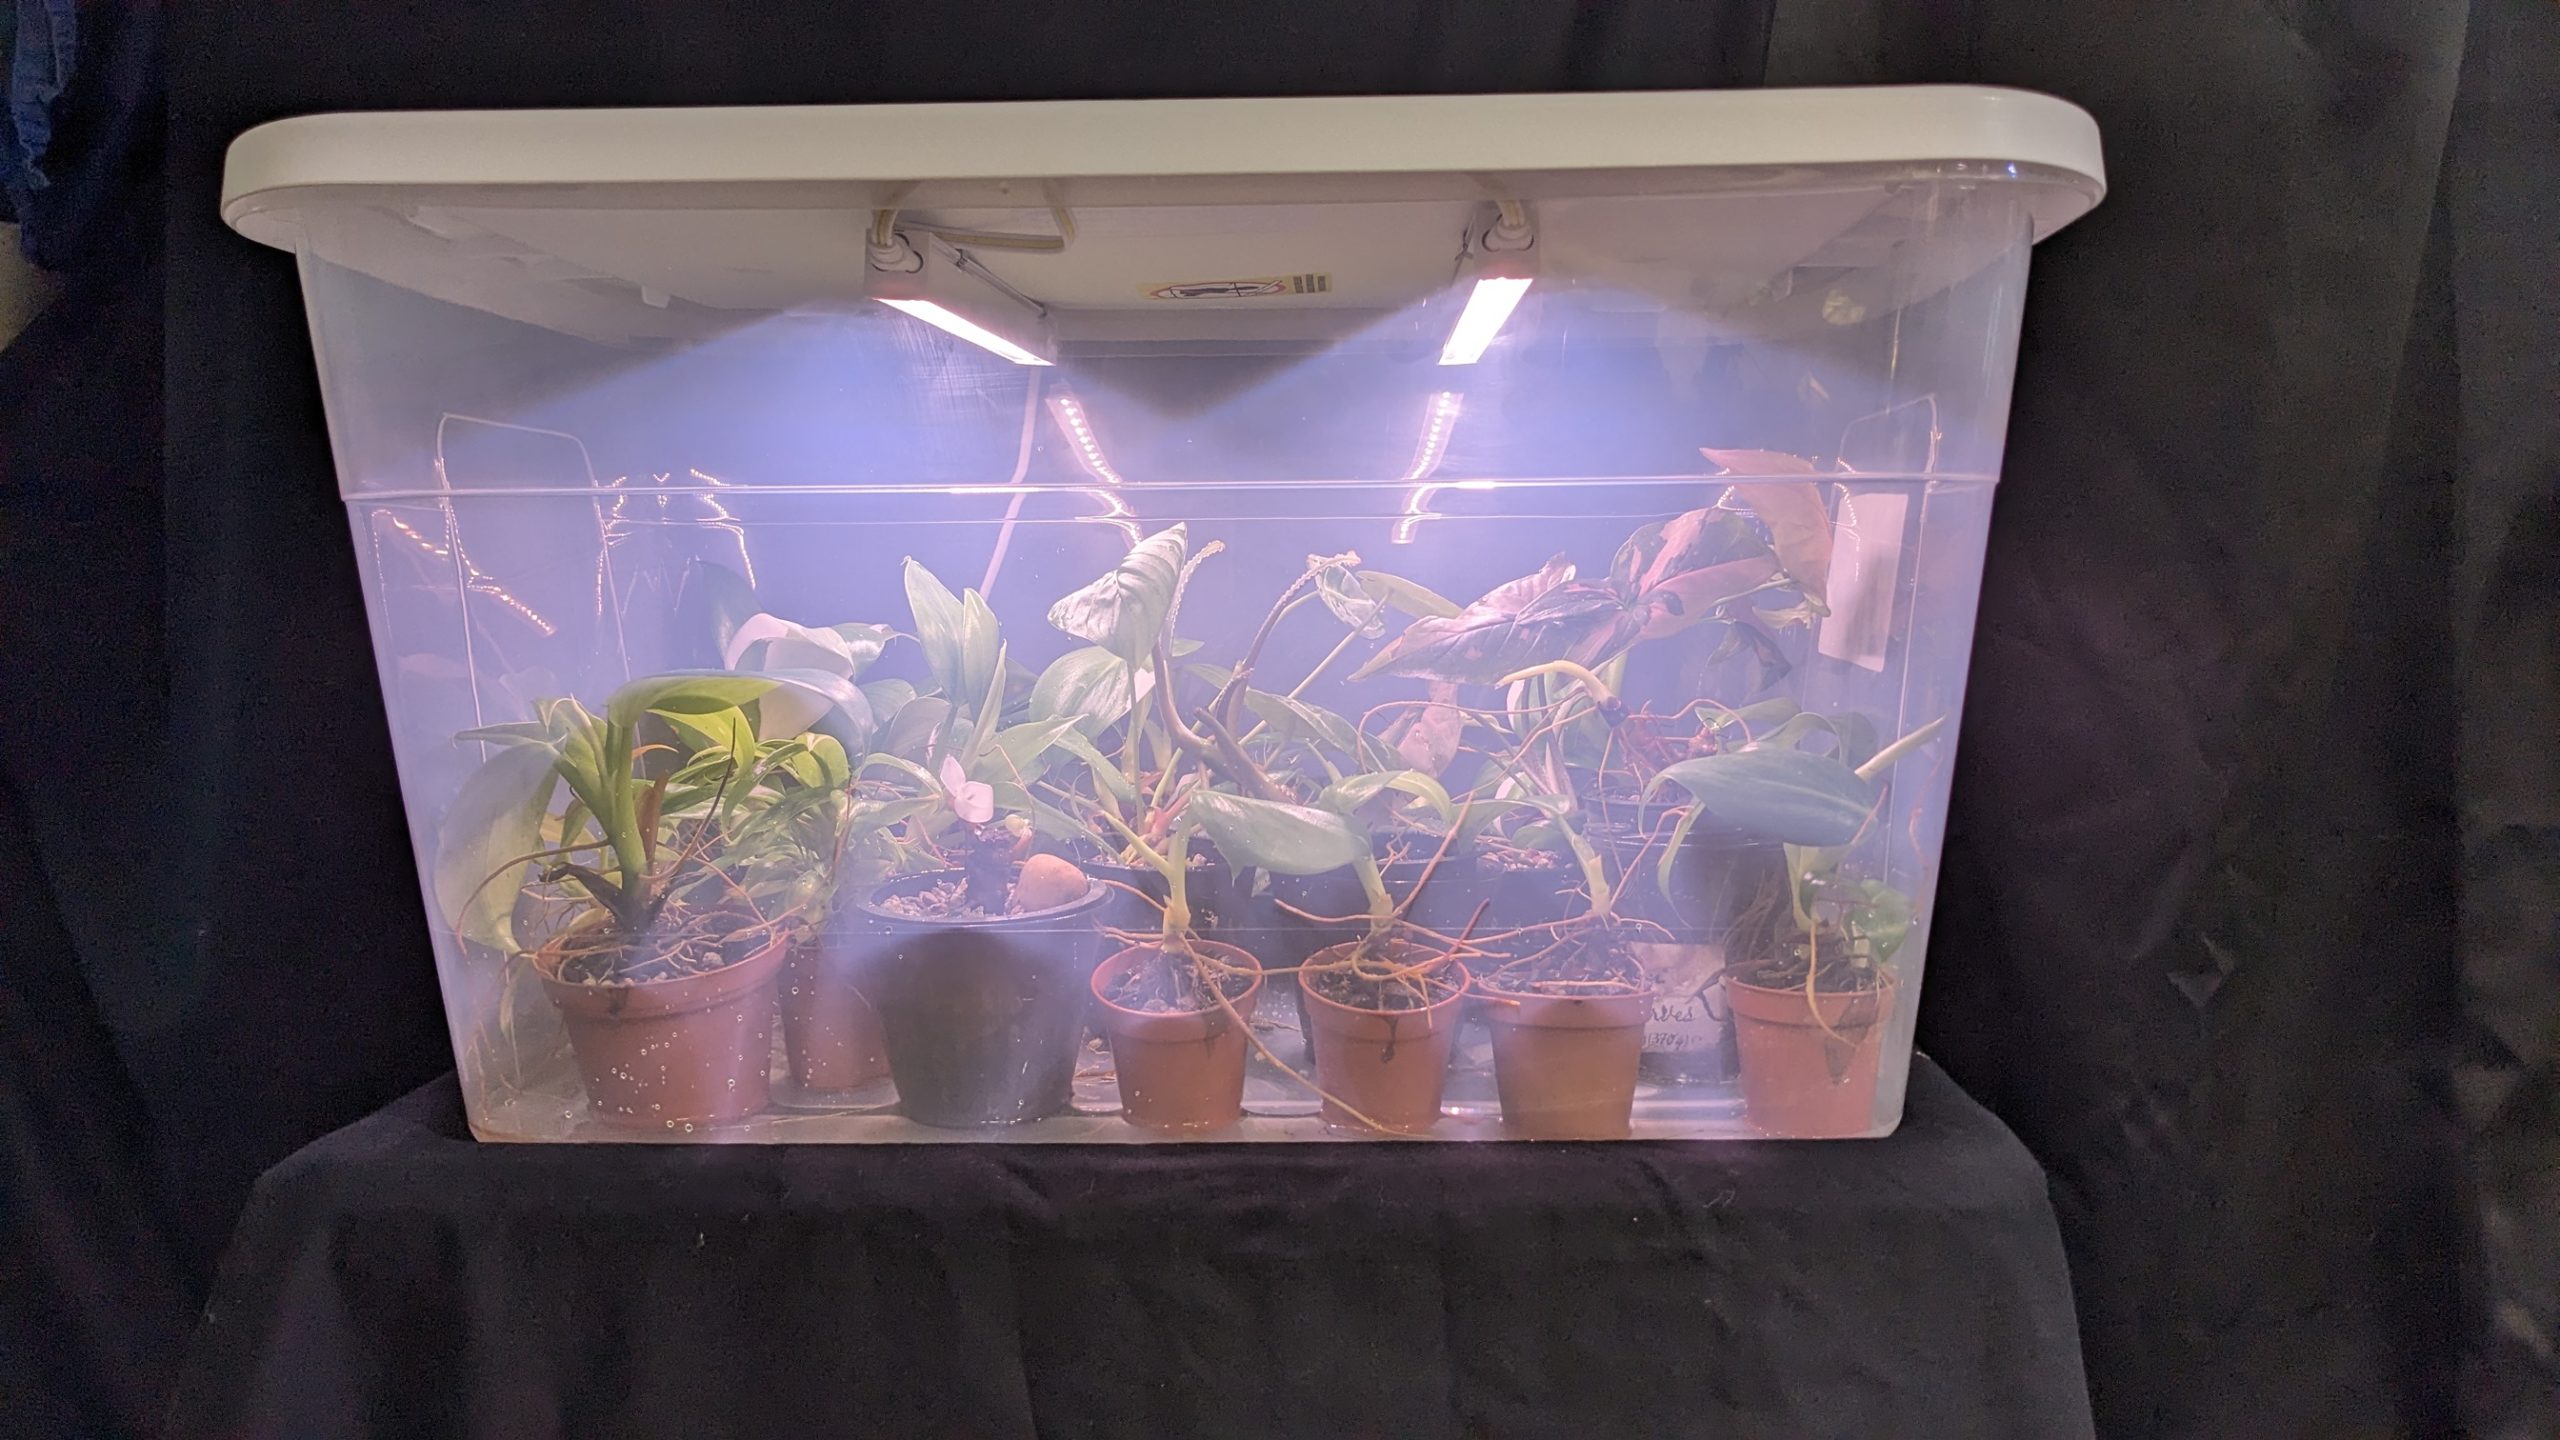
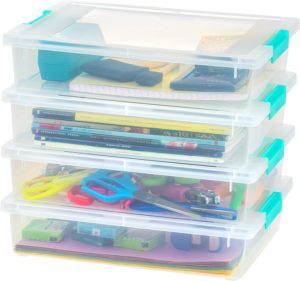
- Clear plastic storage box: Choose a plastic storage box of appropriate size to accommodate your desired number of cuttings or seeds. Ensure the bin has a lid that can be easily modified.
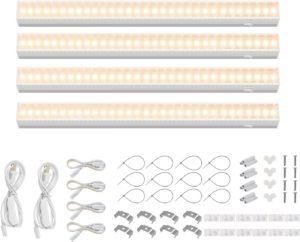
- Plant grow light: Consider the length of the light strip based on the size of your propagation box. We used the 1-foot Barrina LED light strip as it fits in the box and it offers high-quality full-spectrum light that promotes healthy plant growth.
- Hand drill: A hand drill is needed to poke holes into the cover to secure the plant grow light with zip ties.
How To Make A Propagation Box
Learn how to make a plant propagation box using these easy steps. You can do it all in less than an hour!
Now, let’s dive into the step-by-step process of creating your propagation box:
1. Preparing the Plastic Bin
Remove the lid from the plastic bin and mark the place where holes will have to be drilled to attach the lights. Make sure the light strip is evenly distributed to provide uniform light coverage.
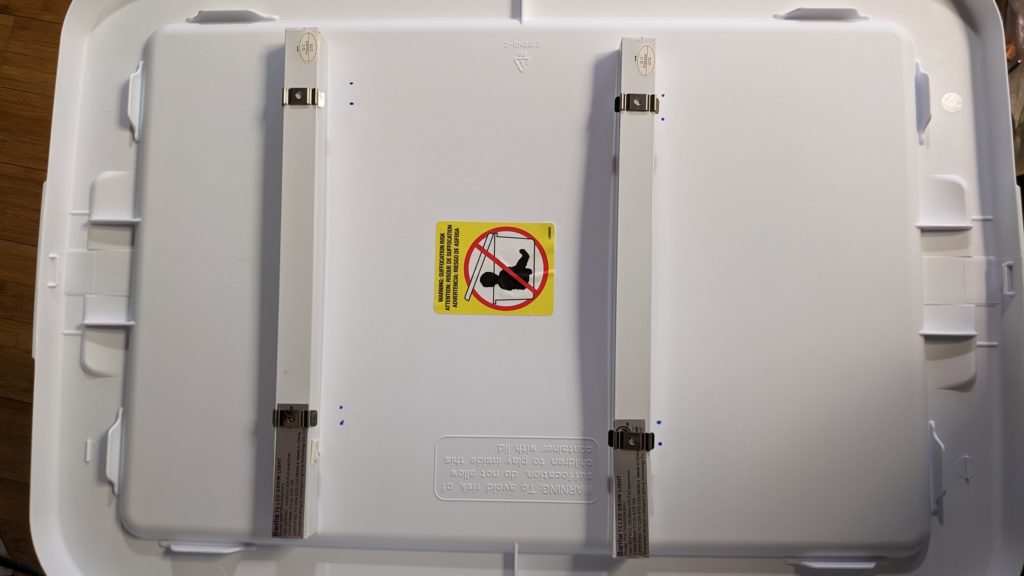
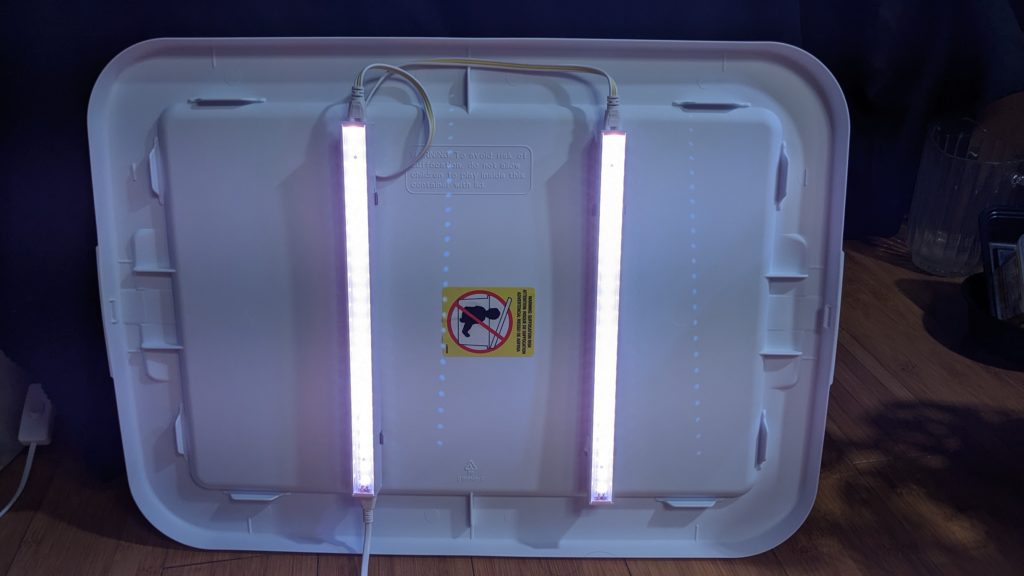
2. Installing the Barrina LED Light Strip
Drill holes in the lid and attach the Barrina LED light strip to the interior of the bin’s lid using clips and zip ties.
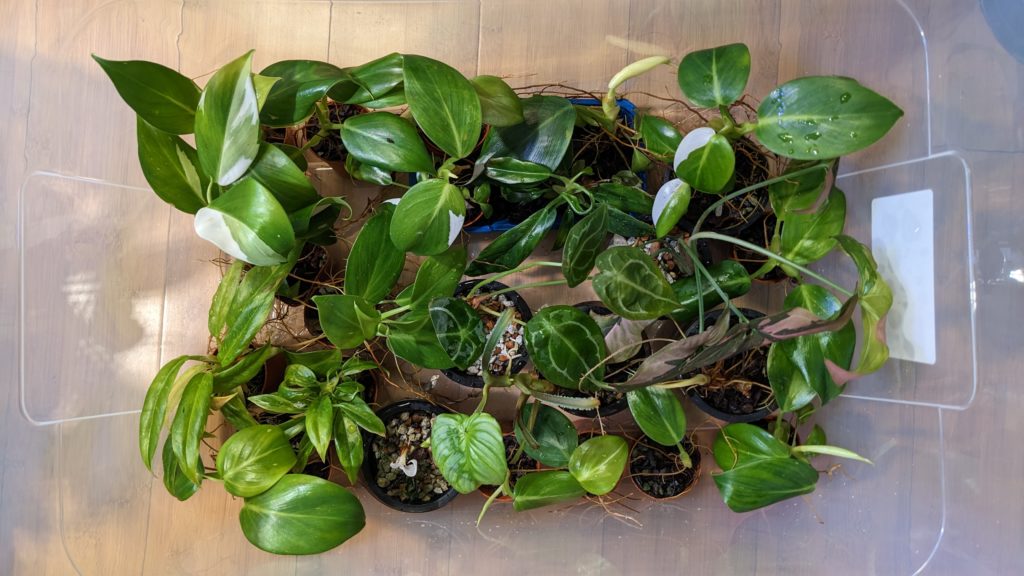
3. Arranging the Plant Cuttings or Seeds
Place the plant cuttings inside the bin, ensuring they receive adequate light from the Barrina LED light strip.
Cover the box, plug in the light, and turn it on. That’s it!
Kinds of medium to use in the propagation box
There are many types of plant medium that can be used to grow cuttings in the propagation box.
- Potting soil: You can either choose to use potting soil in pots or spread potting soil directly onto the bottom of the bin and place the plant cutting on top of it. Remember to keep the soil moist and not water-logged to avoid root rot.
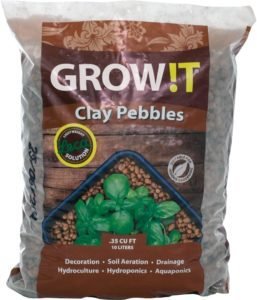
- Semi-hydro: Layer leca balls or pon substrate on the bottom of the bin about an inch thick and place the plant cutting on top of the medium. Add water and make sure there is always water in the bin.
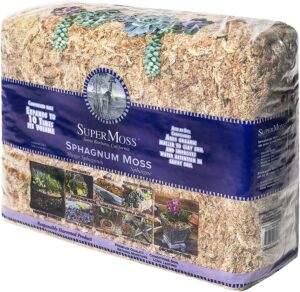
- Sphagnum moss: Pre-soak the sphagnum moss, loosely sprinkle the moss into the bin, and place the plant cutting on it. Remember to keep the moss moist and not water-logged to avoid root rot.
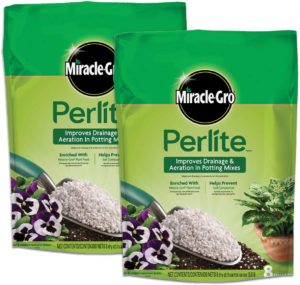
- Perlite or vermiculite: Spread the medium in the box about an inch or so and place the plant cutting on top. Remember to keep the medium moist and not water-logged to avoid root rot.
How to Use this Propagation Box
Now that your propagation box is fully set up, it’s time to start propagating your plants:
- Selecting Healthy Parent Plants: Choose healthy parent plants with no signs of diseases or pests for the best chance of successful propagation.
- Taking Cuttings: Use sharp and sterilized pruning shears to take cuttings from the parent plants. Cut just below a leaf node to ensure successful root development.
- Dip the Cuttings in Rooting Hormone (Optional): To promote faster root development, consider dipping the cut ends of the stems in a rooting hormone powder or gel. This step is optional, but it can significantly increase the success rate of root formation.
- Heat mat (Optional): Using a heat mat is another way to promote root development and make sure plants grow fast. If you do use one, make sure to check that the box doesn’t dry out.
- Transplanting: Once the cuttings have new growth, plant roots, and a healthy root system, they are ready for transplanting into individual pots.
Monitoring and Maintenance
Remember that different plant species may have specific requirements for propagation. Some may root easily in a propagator, while others may need more specialized care. Always refer to plant-specific guides and adapt your approach accordingly.
With proper care and attention, a propagator can significantly increase your success rate in propagating cuttings and help you expand your garden with healthy, new plants.
I’ve made all kinds of propagation boxes, like plastic cups covered with a sandwich bag, reusing a plastic storage container, and have even placed cuttings straight into a box without any planting medium, and they rooted with varying results.
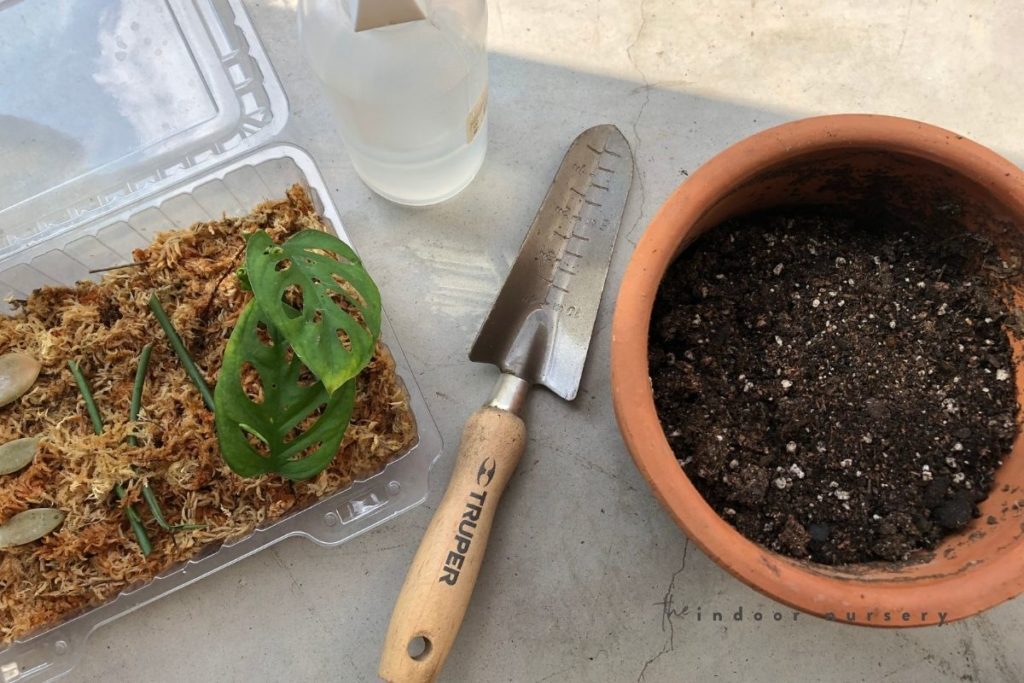
However, the best way to promote plant growth is to have some sort of medium in the propagation box. You can also use a little bit of fertilizer when you water, and spray fungicide and insecticide as a preventive measure.
Providing Optimal Conditions for Propagation
To ensure successful propagation, pay attention to the following factors:
- Temperature and Humidity: Place a thermometer inside the prop box to monitor the temperature, aiming for an optimal range suitable for your plant species. Keep the box covered to maintain high humidity levels and air it out once a week.
- Light Schedule: Houseplants usually need 12 hours of light. Consider using a timer to automate the light cycle and provide consistent illumination.
Caring for Your Propagation Box
Proper maintenance is essential for the success of your DIY propagation box:
- Watering: Water the cuttings or seeds as needed, ensuring the propagation mix remains moist but not waterlogged. For semi-hydro, make sure there’s always water in the bin.
- Monitoring Growth: Regularly inspect the plants for signs of root development and new growth. Adjust the height of the Barrina LED light strip to maintain the appropriate distance from the plants as they grow. If any cuttings show signs of disease or wilting, remove them promptly to prevent the spread of issues to other cuttings.
- Check For Mold And Insects: Air out the box once a week or use fungicide to prevent mold growth. Spray insecticide in the prop box too.


Closing Thoughts
You can now confidently create your cost-effective DIY plant propagation box using a plastic bin and a Barrina LED light strip. This setup provides an ✨ideal environment✨ for nurturing plant cuttings and seeds, helping you achieve successful propagation and enjoy the rewards of a thriving garden.

Marquis *wants* to know how to keep happy and healthy plants, but had a hard time finding information that wasn't written by just another copywriter. After nearly losing one too many plants, it was time to take matters into her own hands. A team of plant scientists and nursery hands was brought together and The Indoor Nursery was born.