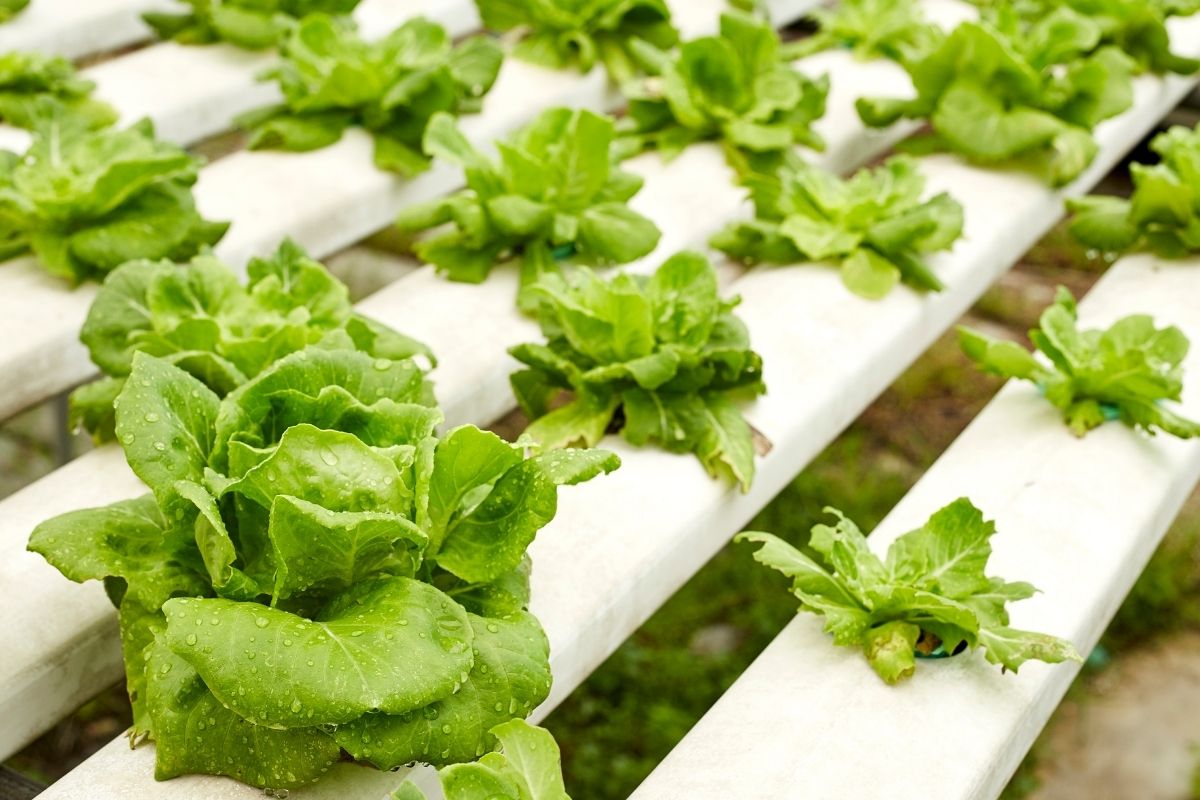
How would you like to be cooking right next to a fresh bunch of lettuce and basil?
Growing food in the comfort of your own home or apartment with a hydroponic system makes gardening fun, easy and convenient. Forget about the mess of soil and the constant threat of pests your yummy plants would otherwise face outside.
You can easily build a DIY hydroponic system for less than you might think and reap the benefits of growing your own food!
how a hydroponic growing system works
Unlike normal gardening, hydroponic systems don’t require any soil. That’s right, no soil!
Instead, plants will grow in a substrate or soilless growing medium. The most popular types of substrate in hydroponics are coco coir, peat moss, expanded clay pebbles, and perlite. In typical hydroponic systems, water is recirculated through the system with a pump. As the water makes its way through the system it will be in direct contact with the roots of your yummy plants.
Each individual plant will have its own net pot filled with a substrate or soilless growing medium. As the plant grows its roots will extend into the moist substrate and out into the tube or bucket of the system. A nutrient solution of your choice will also be added to the water and deliver all the macro and micronutrients your plants need to grow.
Special consideration should be given to light. You’ll want to choose a spot that receives a full dose of direct sunlight every day. South-facing windows are your best bet. If your home doesn’t receive enough light or you’d like to set up your hydroponic system in a basement I would highly recommend a grow light. Check out our 10 best led grow lights for indoor plants article for the light that works best for your application.
Years ago things like growing food with hydroponic systems inside your home may have seemed unconventional. Now, with so many options and readily available materials, you can easily grow healthy food that will save you time, money, and resources!
what you’ll need for setting up your hydroponic system
Gathering as much information as possible and getting your materials together will greatly increase your chances of success. Just like planting in your garden, there are a few extra things to consider when growing plants hydroponically.
deep water culture
Deep water culture (DWC) is the easiest hydroponic system to set up. It produces high yields and requires very little input from you. Do you have a spare storage bin laying around your house? If you answered “yes”, then you’re half-way to building this type of system!
hydroponic seed raising techniques
You’ll want to give your little seeds a good start so they can grow into strong healthy plants. I like to use rock wool as my substrate of choice to get seeds started. It keeps the seeds nice and snug while maintaining consistent moisture for sprouting and rooting down.
calculating voltage requirements
Before you buy, check that your water pump and grow light are compatible with your electrical system. The pump and grow light are at the heart of all hydroponics systems.
Most small water pumps vary between 12 and 40 watts. If you are adding a grow light to your system, plan on consuming between 300 and 650 watts of energy per hour. A standard wall outlet in your home connected to a 15 amp breaker should provide about 1800 and a 20 amp breaker around 2400 watts. Plenty of juice for your hydroponic setup.
how to make a small hydroponic system at home
Alright, let’s get started making your very first hydroponic system. Now for the sake of saving time and setting you up for maximum success, I’m going to lay out the steps you can follow to build a DWC system. To see a video tutorial, check out this step-by-step guide by Techplant.
What you’ll need
- drill
- marking pen
- 2 in hole saw for drill
- 5/16 in drill bit
- 2 in net pots
- 27 gallon storage bin with lid
- small aquarium air pump
- seeds
- rock wool planting cubes
- coco coir and /or expanded clay pebbles
- nutrient solution
step 1: drill holes in the storage bin lid
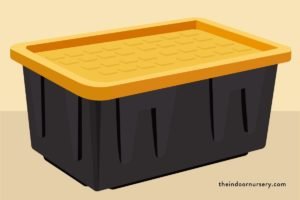

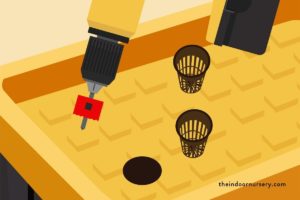
Here we go! Place the lid on the storage bin and mark the spots where you will drill holes. Think of the full size of the different plants you plan to grow and space out your holes accordingly. Use the marking pen to mark the center of each hole. Use your 2in hole saw to make holes in the lid. You’ll also drill a small hole in one corner of the lid with a 5/16in drill bit for your air pump tube to enter.
step 2: assemble your system
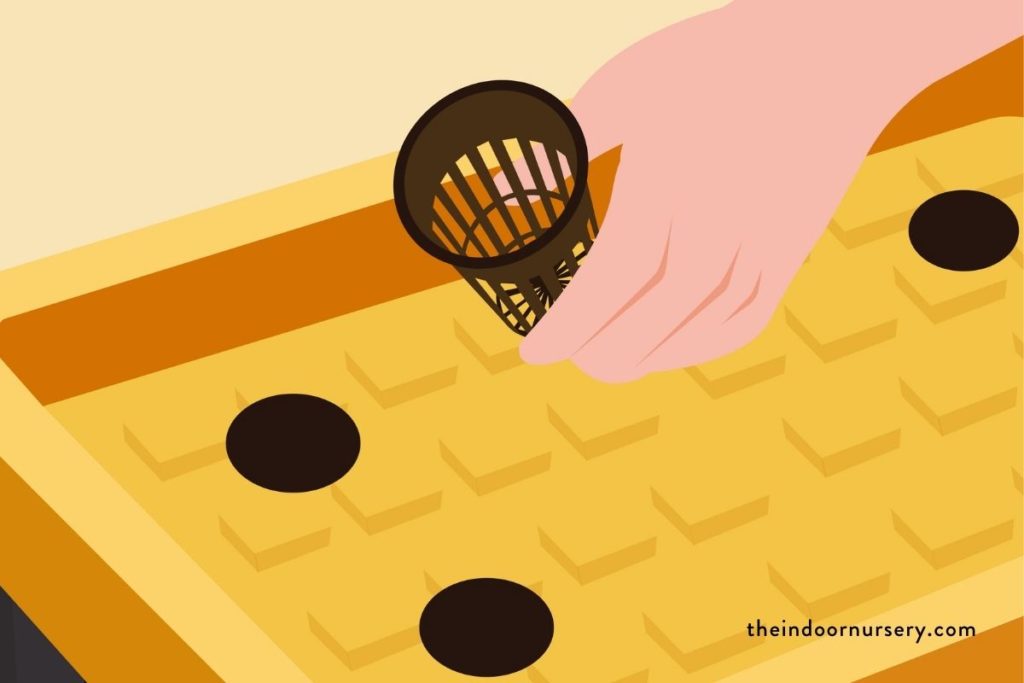
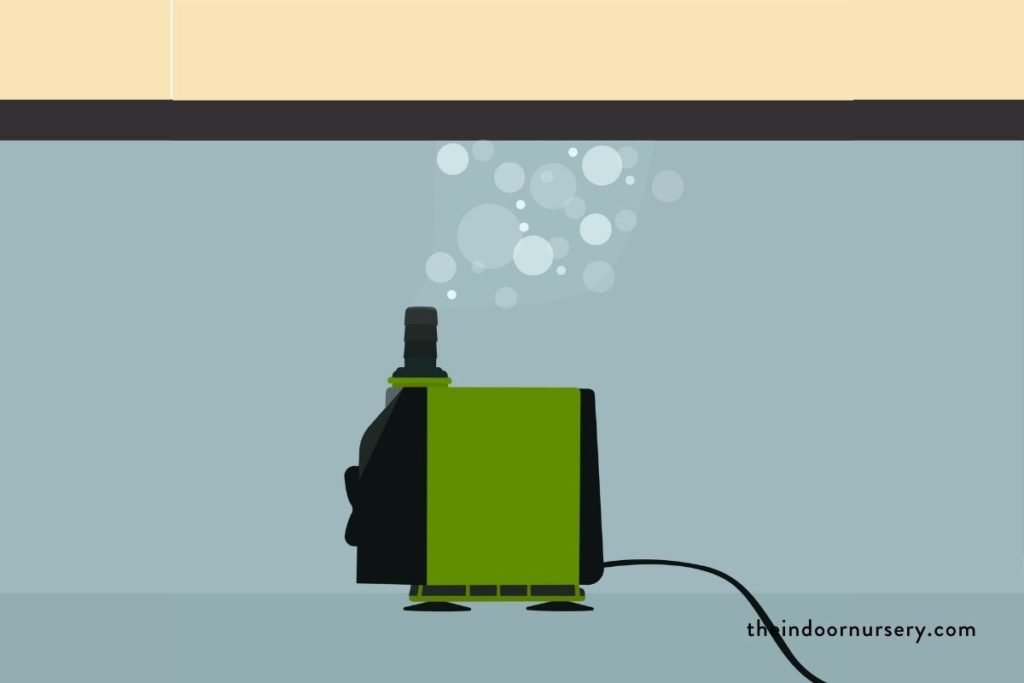
Place the 2-inch net pots into the holes you’ve cut into the lid of the storage container. Run the hose from your air pump through the lid. Fill the bin with water to about 4 inches from the top. Carefully plug in your air pump with dry hands and check that it is functioning.
step 3: plant your seeds
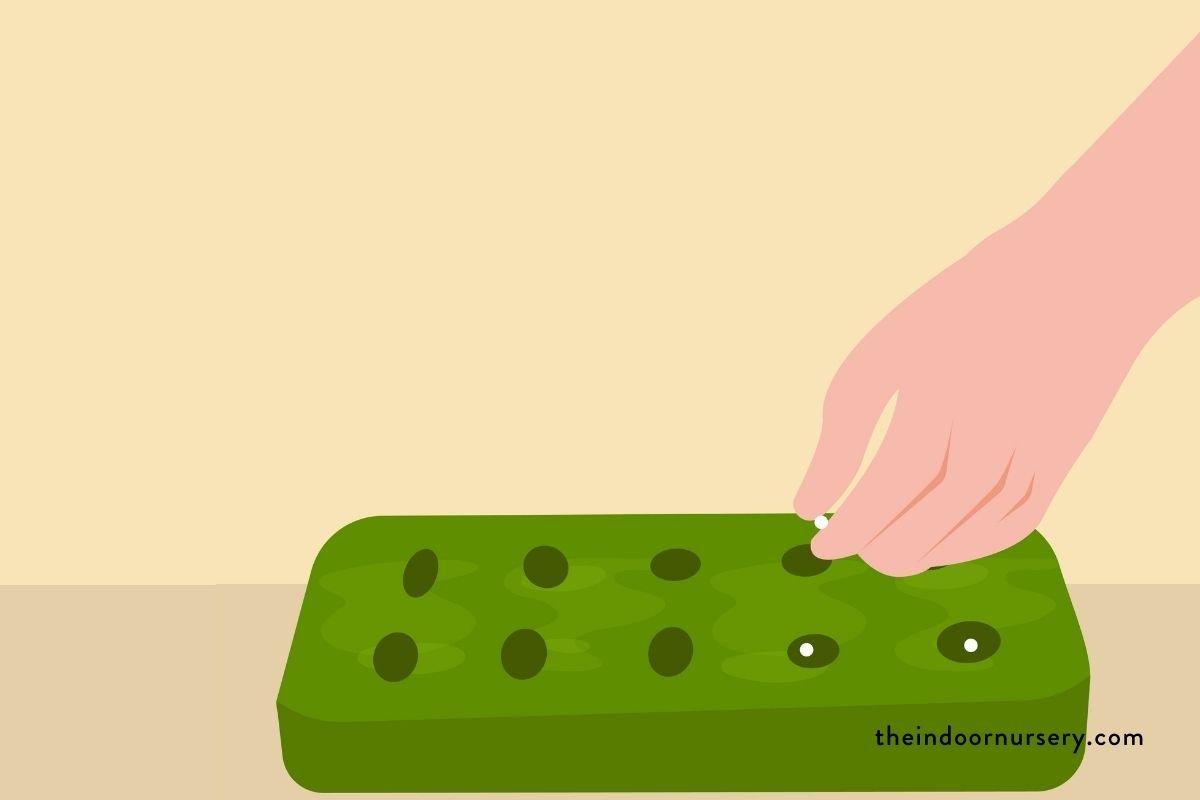
You’ll want to plant just as many rock wool cubes as you will be planting in your hydroponic system. Keep in mind that we will not be using soil in this process. Soak the cubes in water until they are fully saturated. Place one or 2 seeds in each hole of every cube. Place the cubes in a container without the lid and add 1 inch of water.
Now put the cubes near a window that gets plenty of sun. Keep an eye on water levels and make sure the cubes stay moist. They’ll grow roots in no time and be ready for planting.
step 4: plant seedlings
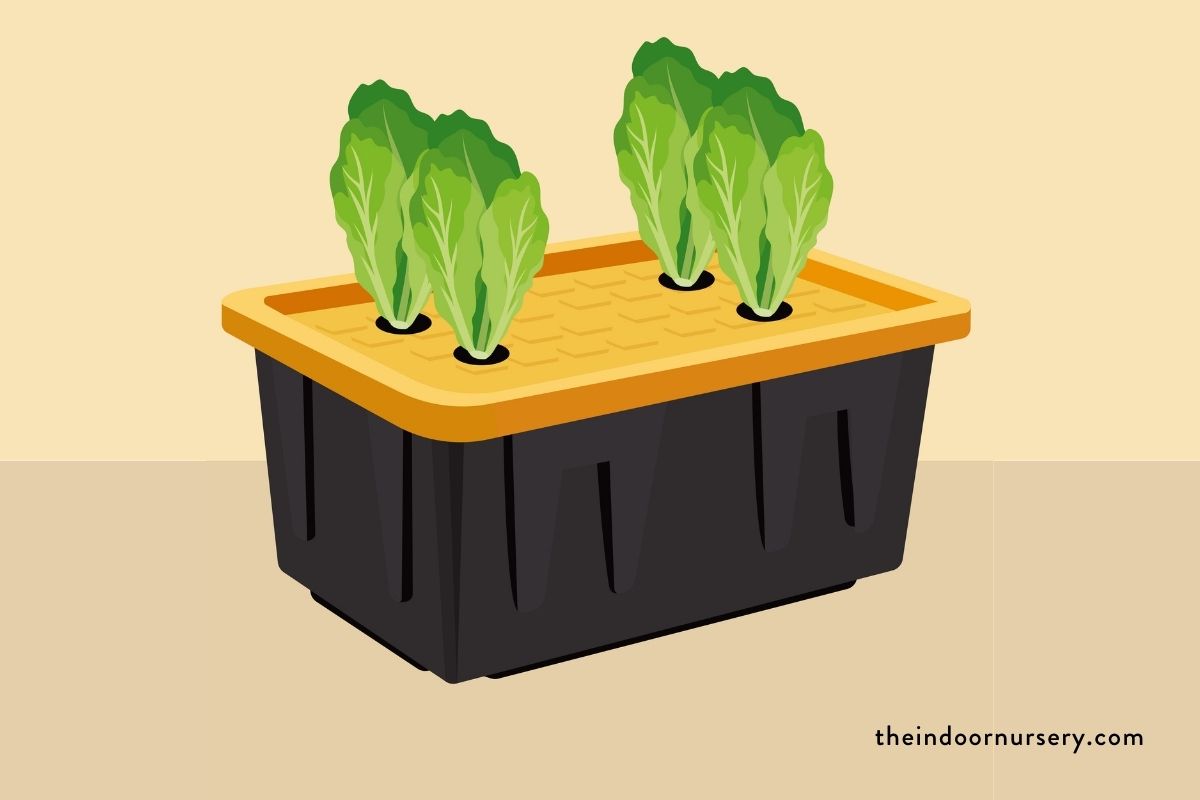
Add some coconut coir or expanded clay pebbles to your net pots and gently set your newly rooted plants into the net pots. Lettuce and herbs, here we come!
step 5: check water levels and add nutrient solution
Make sure your water level is just about 4 inches from the top of the storage bin. Check the nutrient solution label measure and add the recommended amount to the water.
step 6: sit back and relax
Congratulations you’ve done it! You’ve brought soil-less gardening into your home. Now just sit back, relax and watch the miracles of growing your own food unfold.
hydroponics nutrients
Since your plants aren’t going to be surrounded by soil you will need to provide them with all the macro and micronutrient solution they need to grow big and healthy. Luckily for you, it couldn’t be easier to buy special blends of hydroponic nutrients that will suit whatever you decide to grow. Measure carefully and order ahead of time so your plants always receive the nutrients they need.
when to fertilize
Fertilizing your plants every 7-10 days will ensure happy plants and healthy harvests. Making a regular schedule and sticking to it will make this task a no-brainer. Hydroponics systems depend on timely additions of fertilizer.
how much fertilizer
The amount of fertilizer you use will depend on the size of your reservoir and the brand of liquid nutrient solution you’ve purchased. Read the label carefully and follow instructions for the different phases of growth. Measure carefully as too much or too little fertilizer could damage your plants. The growth of these little plants is in your hands.
things to watch out for
Just like growing anything in your home, you may run into a few bumps along the way. Here are a few tips:
- Don’t use normal plant fertilizer – Take the extra step and order specific nutrient solution for your hydroponic garden. Using regular fertilizer could harm your plants or damage certain parts of your equipment.
- Check humidity and temperature – Your plants will thrive if you can maintain a steady air humidity between 50 and 60 percent. Try to keep air temperature levels between 65 and 80 degrees Fahrenheit.
- Fungus gnats – This can be an issue in hydroponic gardening because they thrive on excess moisture found in the roots of your plants. To avoid these nasty bugs make sure to sterilize your system with a vinegar-water solution between crop cycles and dry out all growing materials before you reuse them.
- Root rot – A common problem in hydroponic gardening that creates a slime barrier on roots that blocks all oxygen from penetrating. You may notice drooping in your plants or yellowing leaves. Roots may start to rot if the water is not aerated enough or if the roots of your plants are oversaturated.
- Nutrient deficiency – You may notice that your plants aren’t thriving or looking droopy and discolored. Start by checking the roots for root rot. If the roots look healthy and white you may try emptying your water reservoir and add a new batch of nutrients to freshwater.
hydroponics for beginners: 3 methods to try
Getting started with your hydroponic garden couldn’t be easier. Choose the system that suits your needs best. You should consider the amount of space you have, budget, time, and lastly how green your thumb is.
The three most common DIY hydroponic methods are:
- Bucket or Deep Water Culture
- PVC system
- Tower system
Each method is explained in more detail below. Feel free to get creative and upcycle things you may already have around the house.
diy hydroponics bucket (beginner level skills)
The hydroponic bucket system is by far the easiest and most affordable to set up and maintain. It’s also the method that we outline in this post. The bucket method is also referred to as DWC or Deep Water Culture. The main difference between this hydroponic system and others is that you do not need to pump water through the system. Instead, your plants will grow their roots directly into the reservoir.
You can grow all types of herbs and leafy greens in the hydroponic bucket. They are especially useful for larger plant applications like tomatoes and peppers. Depending on the size of your reservoir you can cut several or just one round hole in the lid. Your net pots will fit right into the lid and keep your plant and substrate in place. Just be mindful that you may need to add a trellis or support system for larger plants.
Choosing a space and the exact location is made much easier by its compact design. You’ll want to change the water one or two times per month. After harvesting plants from your hydroponic garden clean all parts of your setup with a vinegar-water solution.
diy hydroponics pvc (intermediate level skills)
When you think of a hydroponic system, this is usually the setup that comes to mind. While you can grow a wide range of plants with the PVC setup, herbs and lettuce will perform the best. It’s also quite customizable and can be tailored to your interests and needs. The build difficulty on this setup is easy to medium and can be made in a few hours if the system is small.
The materials you need are readily available and relatively cheap and you’ll only need a few tools. A water pump will recirculate water from your reservoir through your connected PVC pipes and back into the reservoir. The PVC pipes have round holes cut into the top side of them that net pots sit in and hold your plants. As the water recirculates through these types of systems it will mix with the air and get oxygenated which eliminates the need to aerate the water.
Your plants will be happy if you keep their water one to two times per month. Once you harvest your crop from the hydroponic garden, sterilize all parts of the system with a vinegar-water solution.
diy hydroponic garden tower (expert level skills)
The hydroponic garden tower system is a unique way to grow vegetables in your home vertically. They can add a beautiful green touch to a bare corner and have the added benefit of a nice waterfall sound that is created by the water falling through the system. Herbs, lettuce, and other leafy greens grow great in the vertical garden.
Gardening couldn’t get any more fun than this!
This particular hydroponic system is certainly the most difficult to set up and requires some specialty tools. You’ll need to purchase a special heat gun to warm up the PVC to create the cups on the sides of the PVC. A handheld or tabletop circular saw will also be necessary. If you wouldn’t call yourself “handy” this may not be the hydroponic application for you.
Just like the other systems mentioned here, you’ll want to keep your hydroponic growing tower nice and clean. Change the water a couple of times per month and keep an eye on the nutrient schedule. Here’s a great video tutorial if you’re interested in this method.
common questions
What does the Aerogarden do that a DIY hydroponic set-up doesn’t?
Do you get nervous when you think about setting up your own hydroponic system? The Aerogarden is a great way to try out your hand with hydroponics systems without the added steps. You don’t have to buy all the individual pieces separately and the assembly is quite easy and straightforward. In fact, you don’t even need to buy seeds or nutrient solutions. If you feel you don’t have the time and skill to assemble your own hydroponic garden this could be a great option for you.
Apart from the ease of getting started, it doesn’t really offer anything you can’t make or order yourself. Creating your own DIY hydroponic system offers you more flexibility over design and personal needs for your home.
Is it possible to create a diy hydroponic system for less than $500 in an apartment to grow fresh herbs?
For some reason, people think it’s very expensive to build and grow food in a hydroponic system. You can very easily create a DIY hydroponics system for fresh herbs for less than $500. Check out the DWC design above and get growing.
How to make seed pods for a hydroponic herb garden?
Getting your seeds ready for their net pots is simple. The way I like to get seeds started is to plant them directly into Rockwool cubes. Make sure you have a Tupperware container that will fit all the cubes you’ll want to plant.
Soak the cubes thoroughly with water and place one or two seeds into the small hole of each cube. Put the cubes in your container hole side facing up and place it near a South facing window. Add a small amount of water to the container and make sure to keep them moist through their sprouting process.
Keep an eye on this fragile stage and enjoy the daily advances in growth.
how to tell if roots or dying parts of the plant?
Plant health is easy to achieve if you keep the water fresh and the nutrient solution levels normal in your hydroponic garden. Sometimes plants can develop unhealthy root systems due to microbes in the environment or too much/too little water.
It’s really easy to check the health of your plant’s root system by simply lifting the net pot out of its hole and examining the roots. Healthy roots in hydroponic systems should be white and strong. If the roots appear black/brown and brittle you should remove the plant from your system immediately and discard it.
Check that your water and system are clean. If you see any signs of algae growth or discoloration in your system, disassemble clean and start with fresh water. Measure nutrients exactly and start again in order to keep your other plants in the system healthy.
the bottom line
I hope you feel empowered to make your own DIY hydroponic gardening system! If you like fresh herbs, lettuce and other produce without the hassle of gardening outside in the dirt this is the growing method for you. Now pick a system and get busy building and planting. Wishing you the best of luck!
COMMUNITY NOTE
Our illustrator Liza, the one who made these beautiful images for our step-by-step guide, is from Ukraine. Given the recent events that are unfolding, we at The Indoor Nursery are heartbroken that she has to face daily terror and must seek refuge. We have committed to donating to organizations that help Ukranian refugees as well as support the citizens as they seek shelter. If you feel called, then I invite you to donate to any of these organizations that are currently helping Liza and people like her:
- International Rescue Committee – The IRC helps refugees seek shelter and then sets them up for a fulfilling life in their new homes. Donations to the IRC will help Ukranians settle in new, safe countries while the war continues in their home country.
- uacrisis.org – here you’ll find a list of recommendations from within Ukraine, plus organizations that you can donate to
- timeout magazine – here you’ll find a list of organizations that you can donate to.
More How To Guides
- How To Get Rid Of Scale On Plants
- DIY Terrarium Table: How To Make A Table With Plants Inside
- How to Use Leca for Plants: Step-by-Step Guide with Pictures
- How To Use Grow Lights For Indoor Plants
- How To Propagate Peperomia Plants 2 Ways
- DIY Propagation Box With Grow Light
- How To Make Pothos Fuller (In 5 Minutes)
- How to Make a Moss Pole for Your Climbing Plants
- How to Make Potting Soil for Indoor Plants, Plus My Secret Ingredient
- How to Propagate a Split-Leaf Philodendron: Easy Step-by-Step Guide

Marquis *wants* to know how to keep happy and healthy plants, but had a hard time finding information that wasn't written by just another copywriter. After nearly losing one too many plants, it was time to take matters into her own hands. A team of plant scientists and nursery hands was brought together and The Indoor Nursery was born.