Painting terracotta pots is an easy and inexpensive way to personalize your space. It’s also a fun activity to do with your kids or friends. They even make great gifts!
The possibilities are endless when it comes to painting these earth toned clay pots and you only need a handful of things to get started.
How to paint terracotta pots, step by step

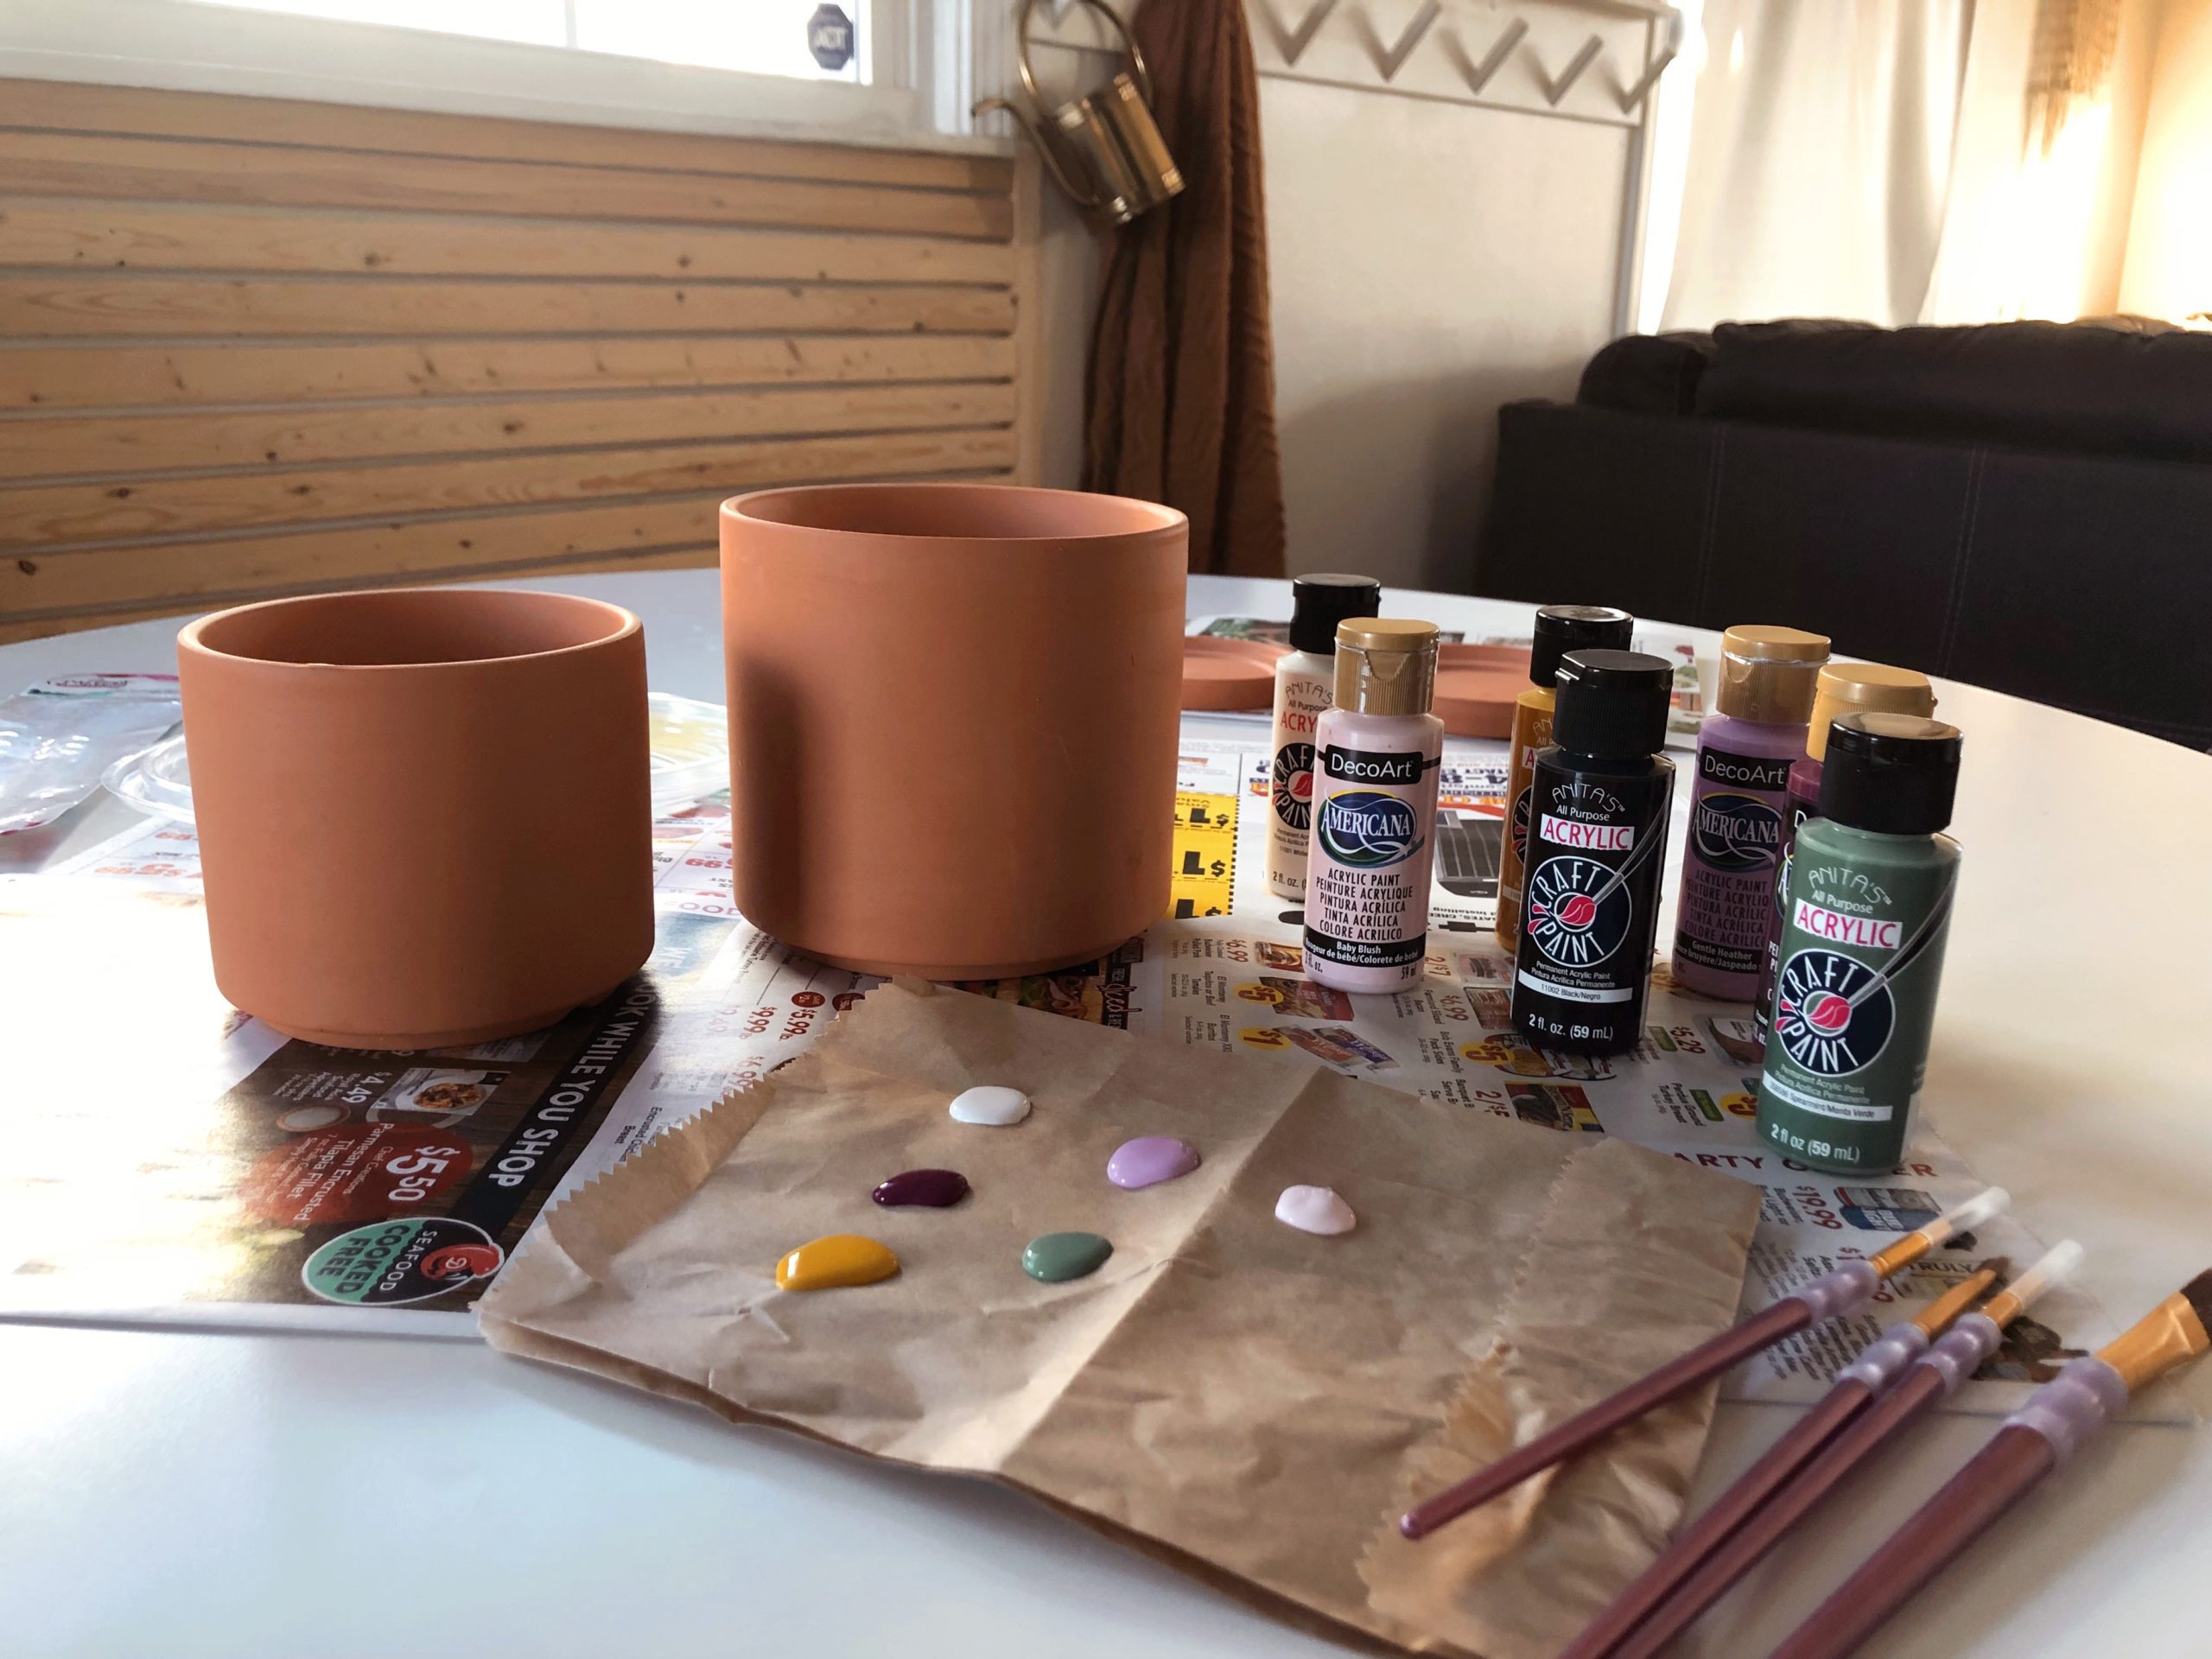
What you’ll need:
- Terra cotta pots
- Artist paint brushes
- Paint (I used acrylic paint)
- Sealant (I share recommendations for this in step 4)
- Newspaper to cover your workspace
- Dish of water for cleaning brushes
- Old rag or paper towels
What are terra cotta pots?
Terra cotta pots are porous pots made from baked clay. They allow water and air to easily pass through and are great for plants, especially if you are prone to overwatering yours. The clay helps to soak up excess moisture and keep roots from sitting in water. On the other hand, they dry out the soil so you may need to water some plants more frequently.
Painting terracotta pots does take away that porous nature so keep that in mind when caring for your plants.
How to prepare terracotta pots for painting
Unless you are using an old clay pot there is nothing special you need to do for prep.
To clean old clay pots:
- Remove as much dirt from the pot as you can.
- Soak the entire pot in a mixture of vinegar and water for about 30 minutes. The acidic nature of the vinegar will eat away at the built up mineral deposits on the pot.
- After you let it soak, use a brush to scrub away any remaining build up both on the inside and outside of the pot.
- Give the terracotta pot one last rinse and leave it out to dry completely.
Step 1: gather your supplies and set up your work space

The first thing you need to do is set up your workspace. Cover your work surface with old newspaper or scrap cardboard. You can use whatever you have on hand that you won’t mind if paint gets on it. Then you can squirt your paint colors directly onto a corner of your work surface or use another scrap piece of material like I did. Fill a small cup or container with water so you can clean your brush as needed.
Only put out small amounts of color at a time so it does not dry up or become clumpy while you work.
Step 2: begin painting your terra cotta pot

Add your first coat of paint onto the clay pot. A primer is not necessary, though it will likely take a few thin coats of paint to give you bright colors without one. The porous clay pot will absorb the paint, causing at least the first couple of coats to dry extremely quickly. Some colors may only need two coats and some may take three to four. But each coat of paint will take slightly longer to dry.
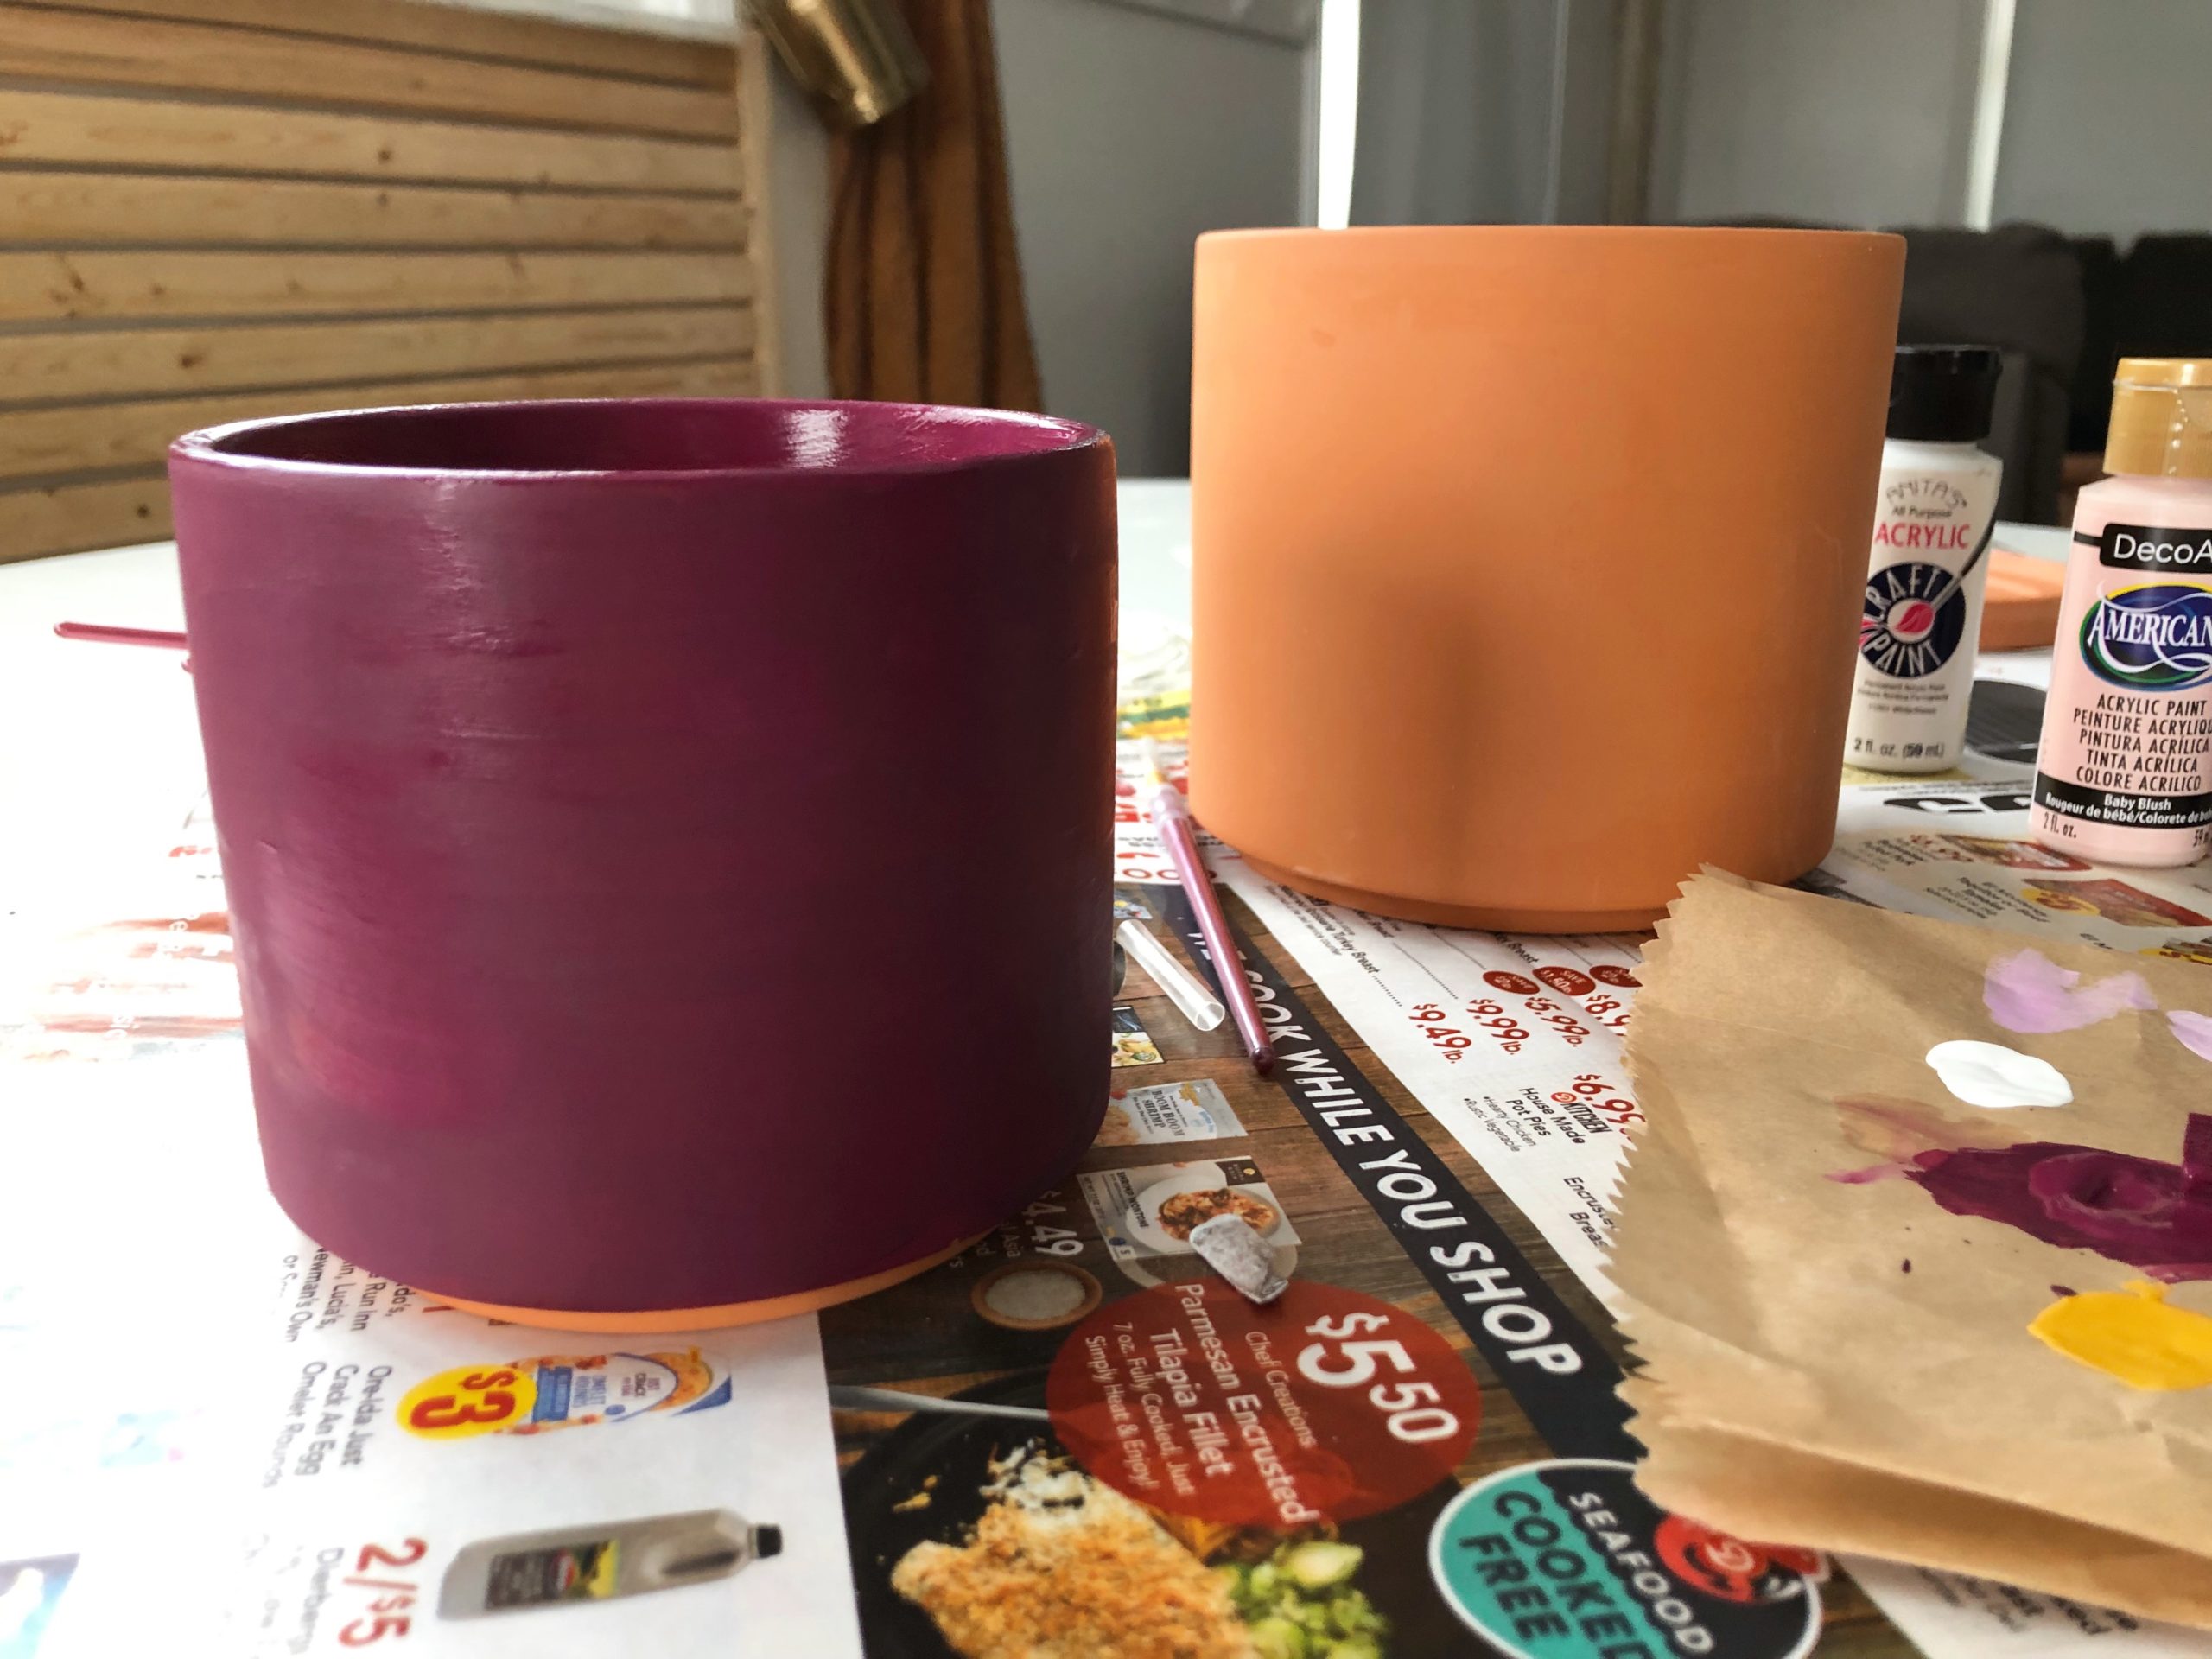
Think about if you want the orange color of the terra cotta pot as your backdrop or if you need to paint a background before starting on the rest of the pot. For my first pot, I chose to paint the entire pot purple. My second pot I left alone.
Step 3: continue adding layers of paint to your terracotta pot


It is best to work in thin layers to avoid clumps of paint and brush stroke marks. As layers dry completely, continue to add more thin coats of paint to the terra cotta pot.
Recoat places that need more coverage and add new details in layers as you work.
If you are wanting to blend colors as you are painting terracotta pots, you will need to work quickly.
Step 4: apply a sealant to your painted terra cotta pot
After you are happy with your paint job, you will need to seal your work. It is best the entire pot is completely sealed, even if you did not paint all of it. This will help keep the paint from cracking or staining. Read and follow the instructions for whatever sealer you choose to use on your pot.
Read more about sealant options below.
What is the best clay pot sealer?

When painting terracotta pots it is necessary to coat your finished project in a waterproof sealant. While they sell a clay pot sealer, you don’t need a special product for this. You can use a wide variety of sealers on your terra cotta pots. If you craft a lot, you may already have a suitable option at home.
Here are some of the options you can use to seal your painted terracotta pots:
- Mod podge
- Water sealant
- Acrylic sealant
- Protective enamel sealer
- Polyacrylic (water based and clear) or polyurethane (oil based yellows over time).
- Clay pot sealant
Pretty much all of the above options come in the form of a spray sealer as well, including mod podge. Just make sure to look at the sheen of the sealer you are using. If you do not want a shiny pot then pick up a matte finish.
FAQs
What is the best paint for terra cotta?
You can use just about any paint on terra cotta pots. Acrylic paint is one of the most popular choices because it is highly pigmented. It will give you the brightest colors when you’re finished.
Acrylic paint can be found in any craft store and there are dozens of shades of colors to choose from.
What are the best brushes for painting terra cotta pots?
The best option for painting your pot depends on what you are trying to accomplish. You can use a foam brush if you are not adding much detail, but I recommend a decent quality artist brush with soft bristles if you are adding intricate designs to your work. This will help give you cleaner lines.
Some methods, like dipping or pouring, don’t require a brush at all!
Tips for painting clay pots
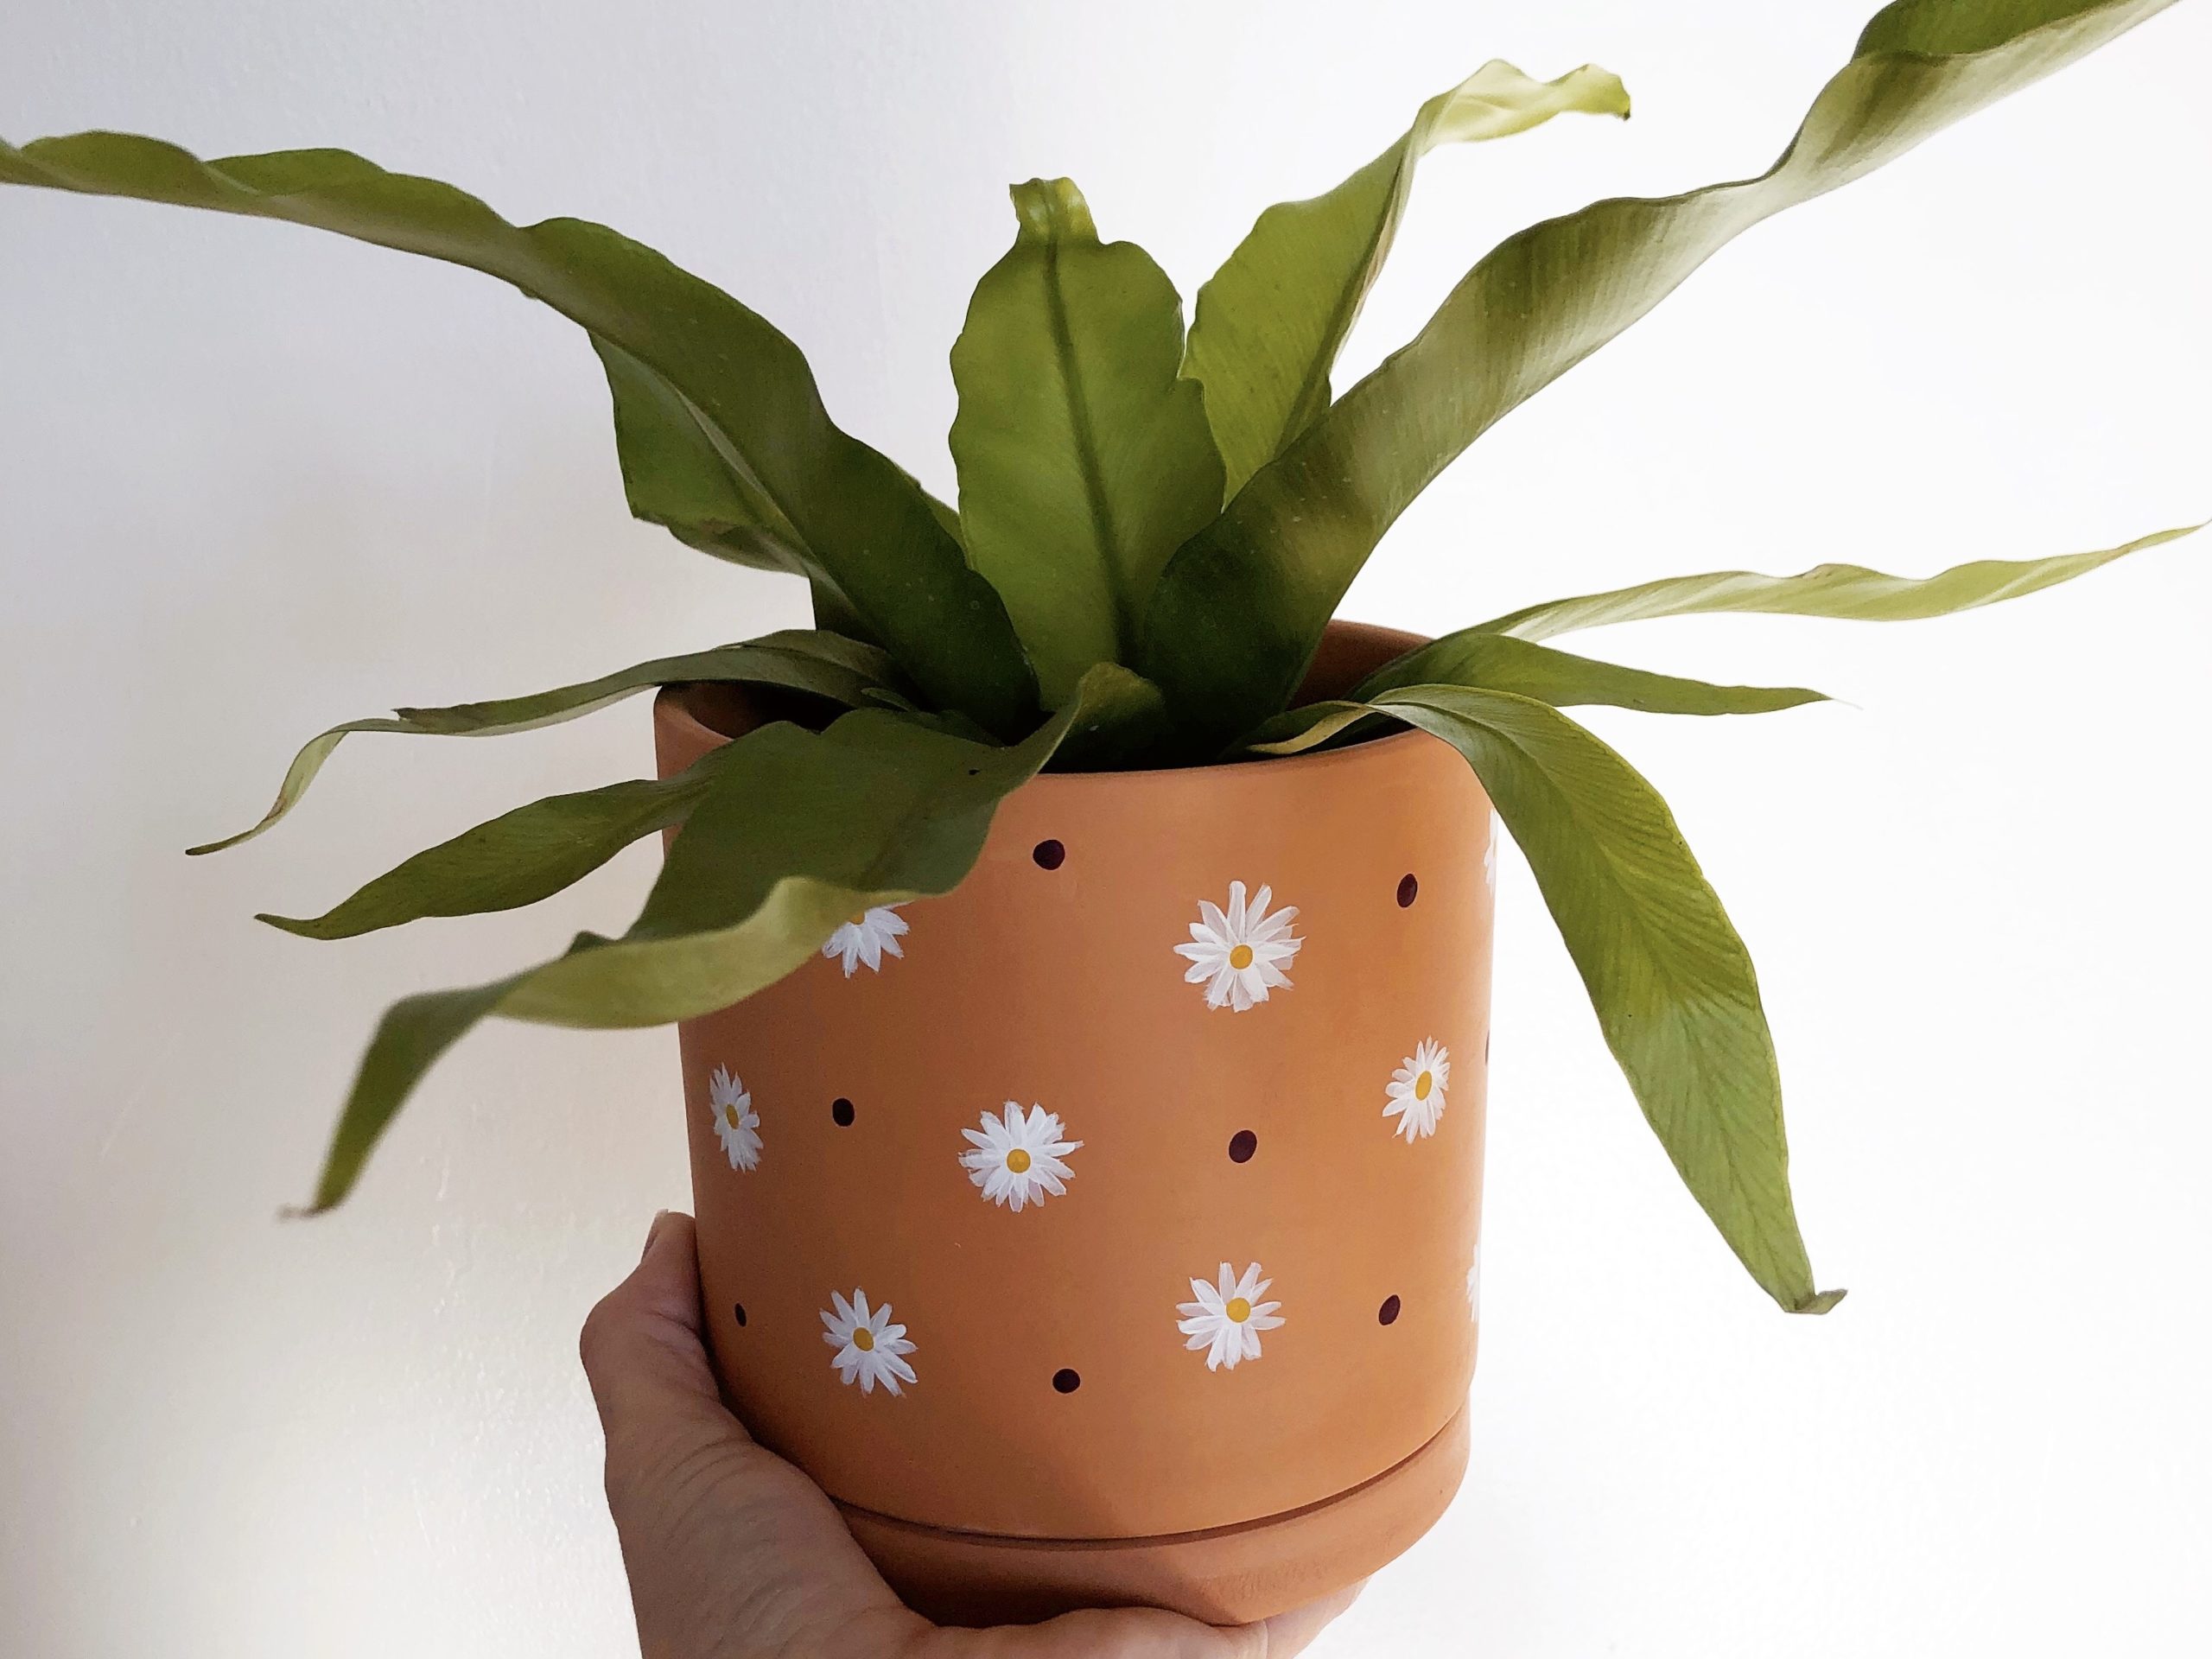
Painting a terracotta pot is a simple, fun project that anyone can do.

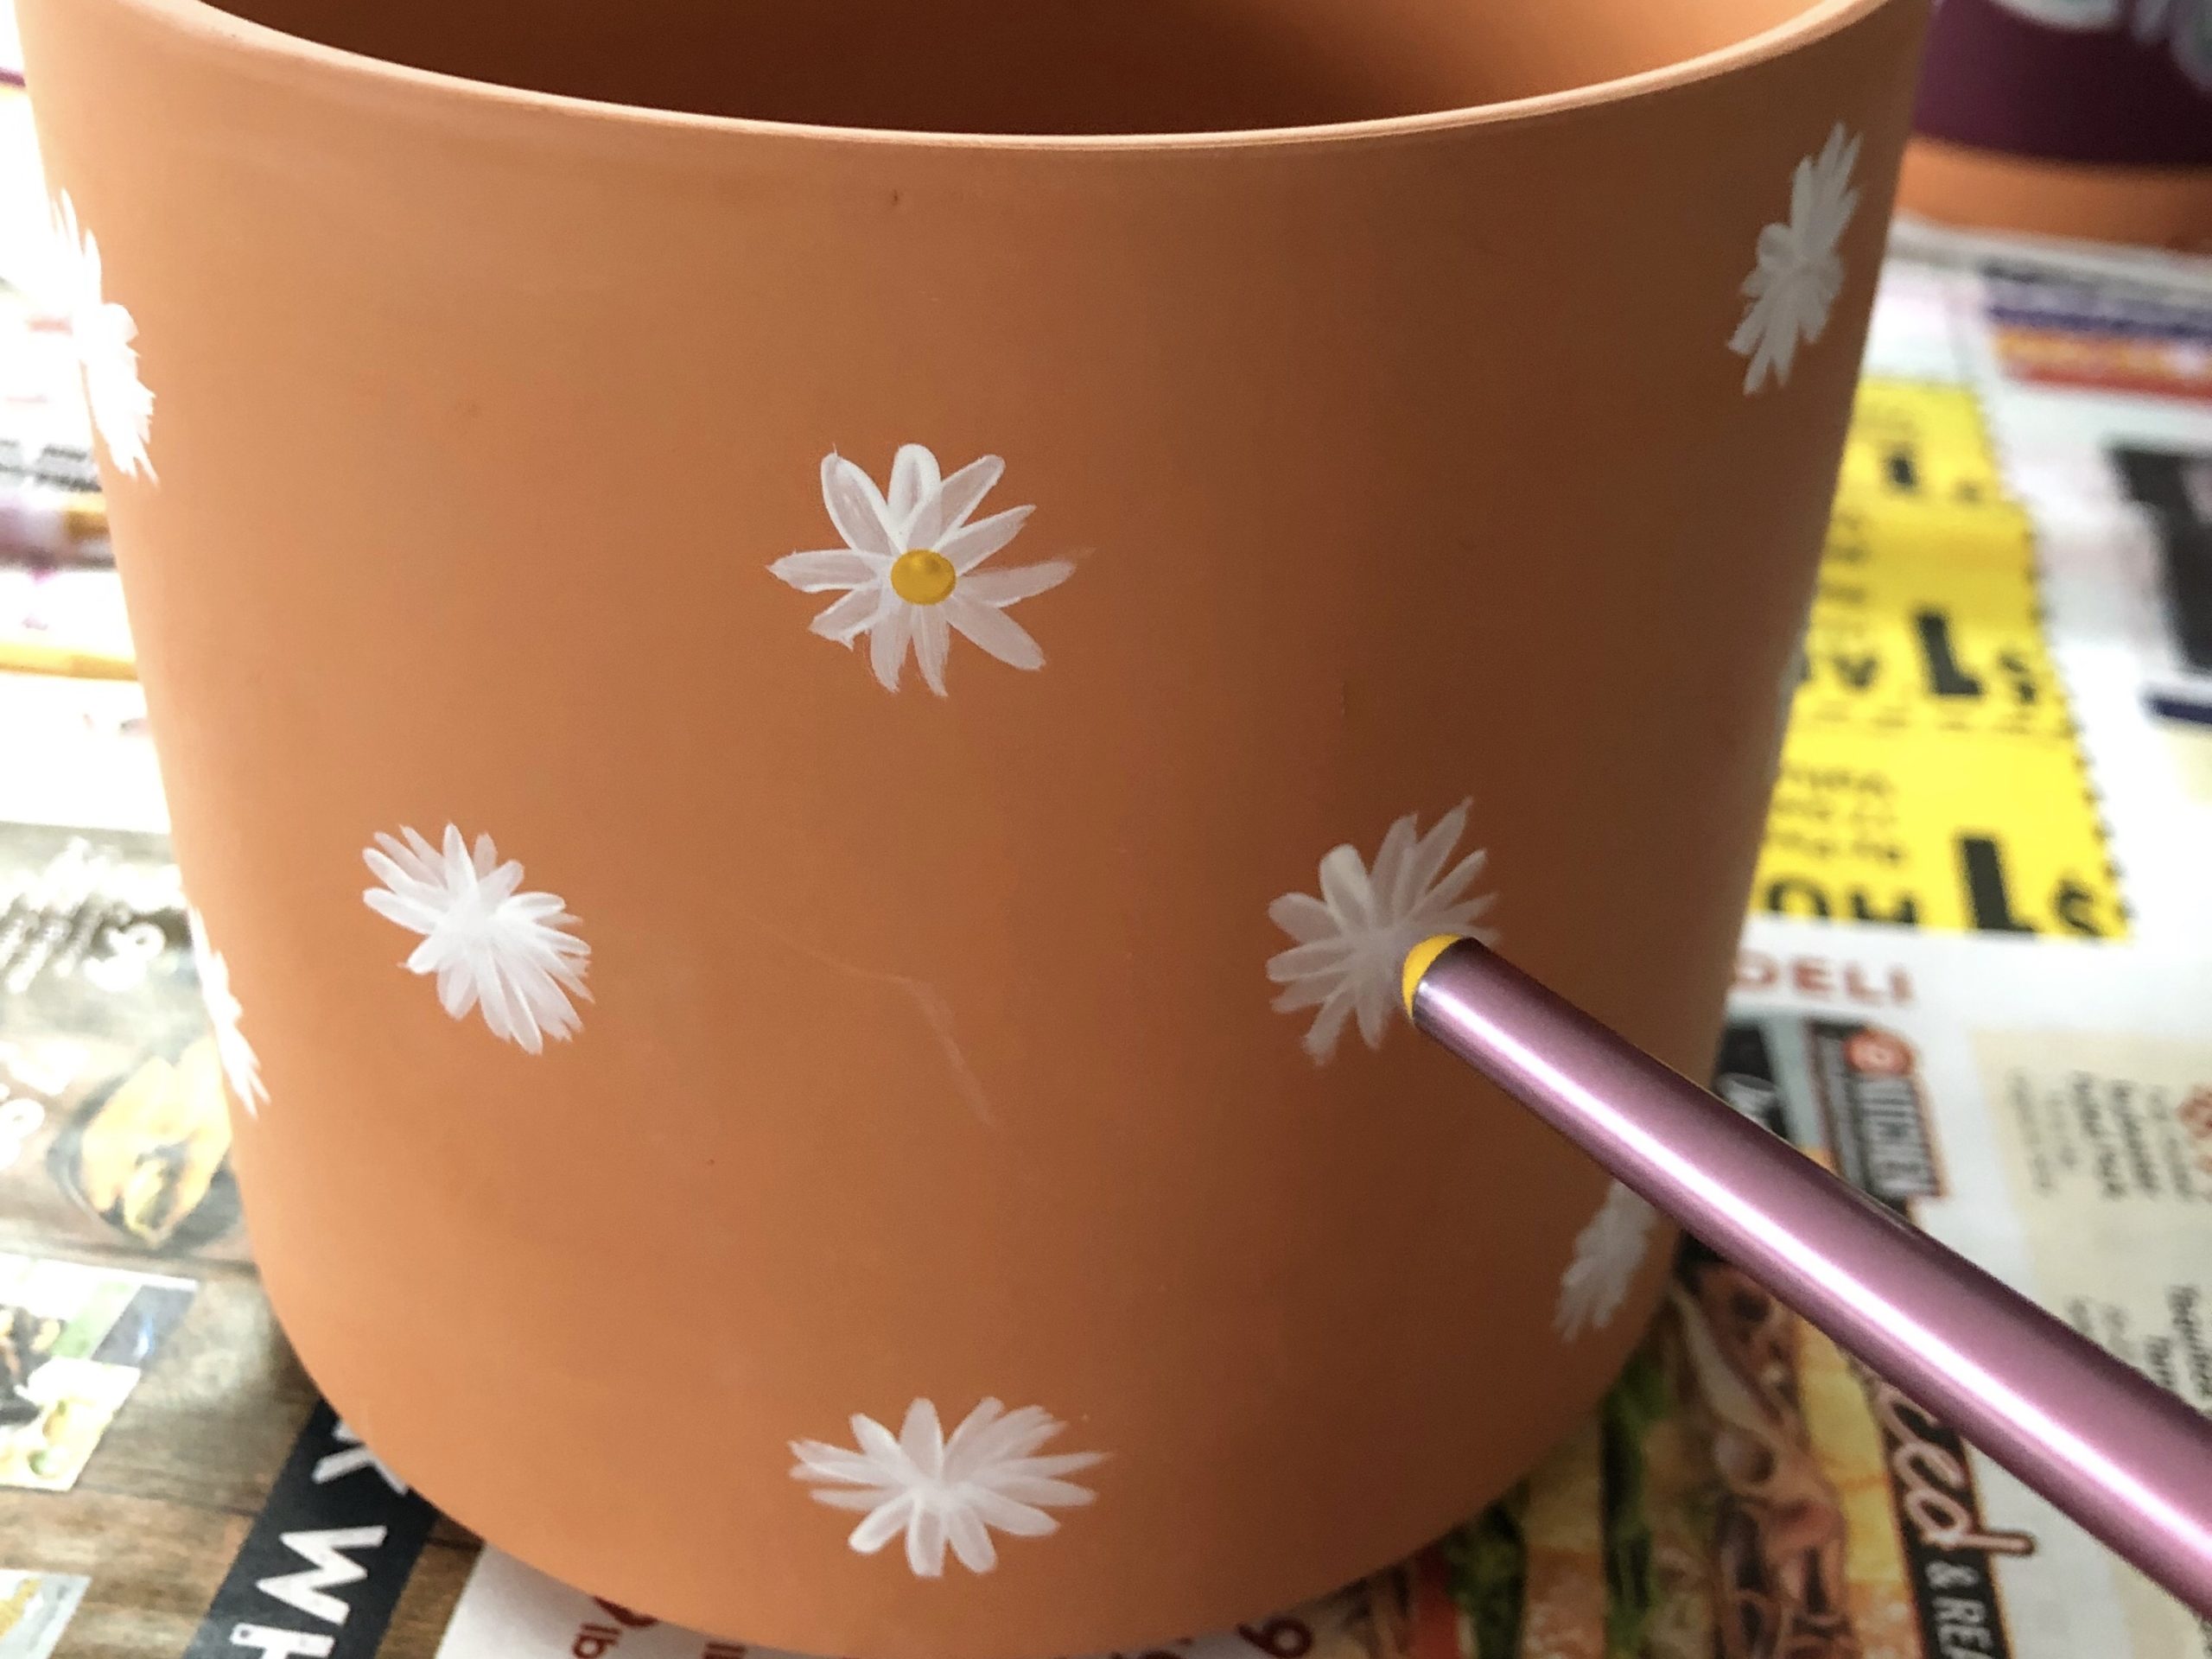
Using the end of my brush to paint the center of the daisy.
Here are some other tips to keep in mind that will make painting even easier:
- Apply paint in thin even layers. This will help prevent noticeable brush strokes and help it dry quickly while you’re working.
- Only pour out a little paint at a time. This keeps it from starting to dry while you work. If it starts drying before you use it, it will make it thicker and harder to apply in even coats.
- Dip the tip of your brush in a bit of water before dipping it in the paint. This thins the paint a little and helps create smooth, crisp lines when adding small details to your painted terra cotta pots.
- Hold the pot in your hand while you paint. Manipulating the pot will make painting designs easier.
- Use the end of your brush if you want to make small round dots. It gives you clean, even circle every time.
- Use chalk or a white colored pencil to map out your design before you begin working. I am not a perfectionist so I skipped this step, but if you need to see it before you put paint to pot, this is a great way to visualize what you’re going to paint.
- Have fun with it and be creative! It may not look exactly like your inspiration or have perfectly clean lines, but that is part of the fun of a hand painted pot. Go with the flow and embrace the little imperfections. You may even finish painting your pot feeling slightly more relaxed than when you started.
Ideas for painted terracotta pots
The internet is full of inspiration for painted terracotta pots, Pinterest being one of the best places to search.
More How To Guides
- How To Get Rid Of Scale On Plants
- DIY Terrarium Table: How To Make A Table With Plants Inside
- How to Use Leca for Plants: Step-by-Step Guide with Pictures
- How To Use Grow Lights For Indoor Plants
- How To Propagate Peperomia Plants 2 Ways
- DIY Propagation Box With Grow Light
- How To Make Pothos Fuller (In 5 Minutes)
- How to Make a Moss Pole for Your Climbing Plants
- How to Make Potting Soil for Indoor Plants, Plus My Secret Ingredient
- How to Propagate a Split-Leaf Philodendron: Easy Step-by-Step Guide


Thanks for sharing this wonderful article about terracotta pots, nice article.