Overwhelmed by the idea of repotting succulents? No? Just me? That’s fair.
Whether you’re as easily overwhelmed as I am or you’re cooler than a cucumber in a summer salad, knowing how to repot succulents is an important skill set to have under your green thumb (and it’s actually not all that difficult).
If you’ve just picked up some cute newly purchased succulents from a greenhouse or a hardware store and need to get it out of that generic plastic packaging, the pot you bought it with just isn’t cutting it anymore, or it’s time for a soil refresh- don’t fret.
Follow these super simple steps for repotting succulents!
What You’ll Need:
- A new pot or container
- Reusable potting mat (optional)
- Nutrient rich potting soil
- Trowel
Step 1 : Getting everything ready
First and foremost, it’s best to plan repotting succulents ahead of time – at least a day or two. Reason being that nourished succulent plants are going to be a lot easier to work with. If it’s been watered within the last 24-48 hours – you’re good to go.
Day of, I also definitely suggest taking a few minutes to prep the area you’re working in. If you’re messy like I am and working inside, you may want to put down some wax paper (or a reusable potting mat) for easy cleanup.
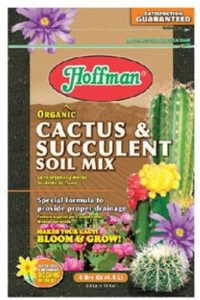
Once your area is set up, you can prep your new pot by filling it about three-quarters full with a porous, nutrient rich potting soil like this one from The Succulent Cult.
It’s good to have space to grow, but if the container is too big it can cause issues like root rot. Your new container should be only about 10% bigger than your succulent plant’s height and width!
NOTE: If your succulent plants are otherwise healthy, then you can use the same pot when repotting. Just clean it out and use fresh succulent soil mix. If there is any hint of pest or disease, then throw the old pot out (or clean with rubbing alcohol and set in the sun for a few days). Grab a new pot and follow the steps for the repotting process.
Step 2 : Remove the succulent from its old container
Turn the current pot upside down or on an angle where you can gently but firmly grab the base of the stem with one hand and the other hand will give the bottom of the pot or container a nice, gentle massage to loosen up the old soil and the roots. Think more like playing with a jumbo marshmallow, and less like Darla reacting to Alfalfa’s love letter.
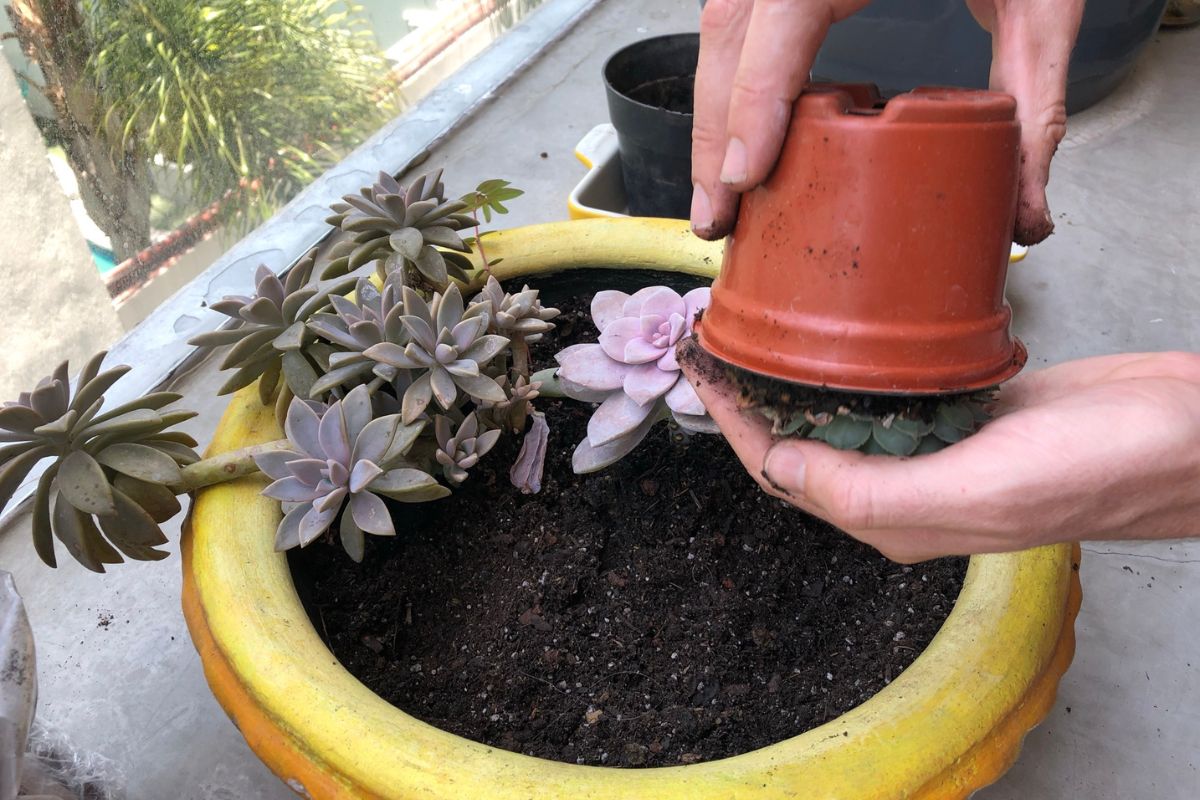
Then use a trowel (a small shovel) to help remove the succulent and guide it out.
If it’s an especially little succulent, or a fresh propagation, you can also opt to use a pair of tweezers instead!
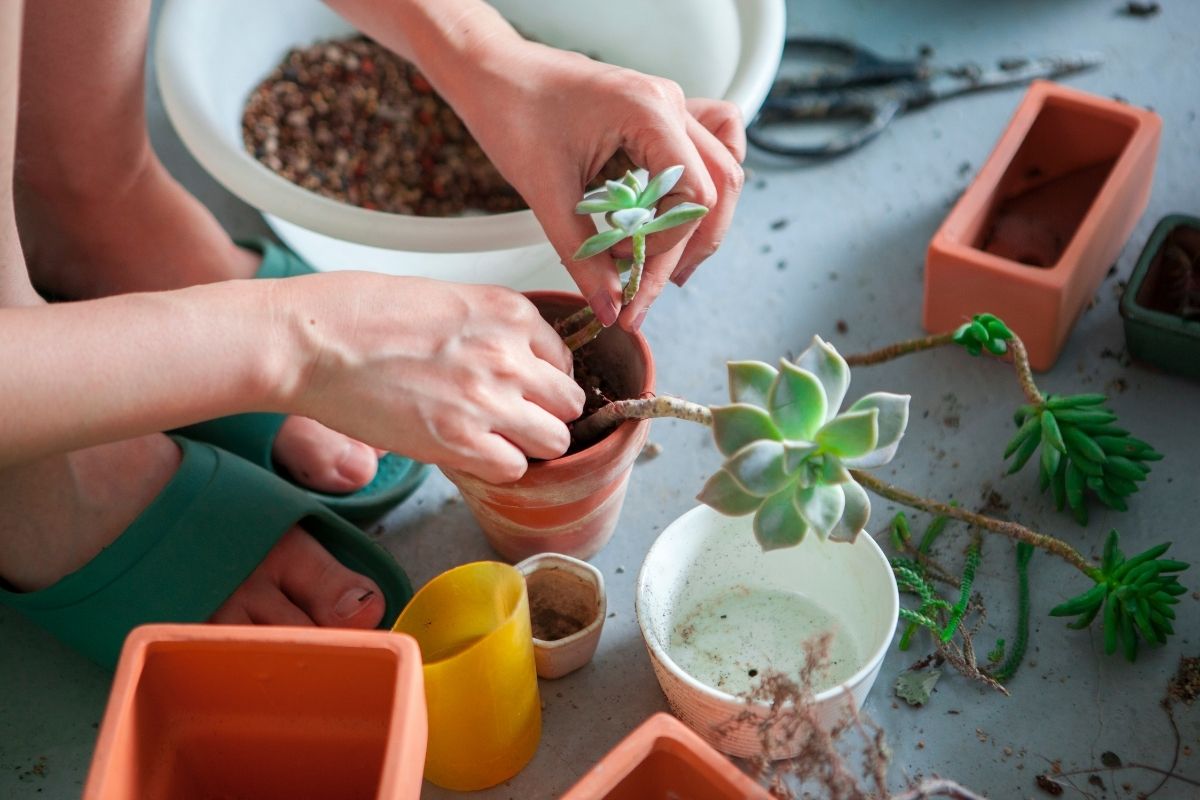
Step 3 : Ready your roots
Once you’ve wiggled the succulent out of the old pot or container, you’ll need to gently remove as much of the soil from the roots as you can. Regain that gentle but firm grip and use your fingers to brush the soil away.
There’s no need to get too aggressive with it, you don’t want to accidentally pluck off any of the plant’s roots. This is a good time to trim any dead leaves or dead roots.
It might seem tempting to rinse the succulent roots off in the sink- and that is actually a viable way to go about it, however doing so is not the time saver that you might think it is. If you decide to rinse your roots, you’ll need to let them air dry for 3-5 days… and before you ask, no… you shouldn’t just put the succulent in the sun to speed up the process.
You can do more damage that way. It’ll need to air dry them somewhere cool and away from the sun.
Before we move onto the next step, I want to emphasize that you need two very important things for the next step:
- a pot with a drainage hole
- well draining soil mix made especially for succulent plants
Without these two things, your succulent plants will rot faster than you can say “repotting succulents”. You can use regular potting soil with some amendments, such as pumice and rock, if you don’t have access to succulent mix.

If your pot doesn’t have drainage holes, then you can try not to water your succulent plant often and hope that it’s happy enough that way. Too much moisture trapped at the bottom of the pot will lead to root rot.
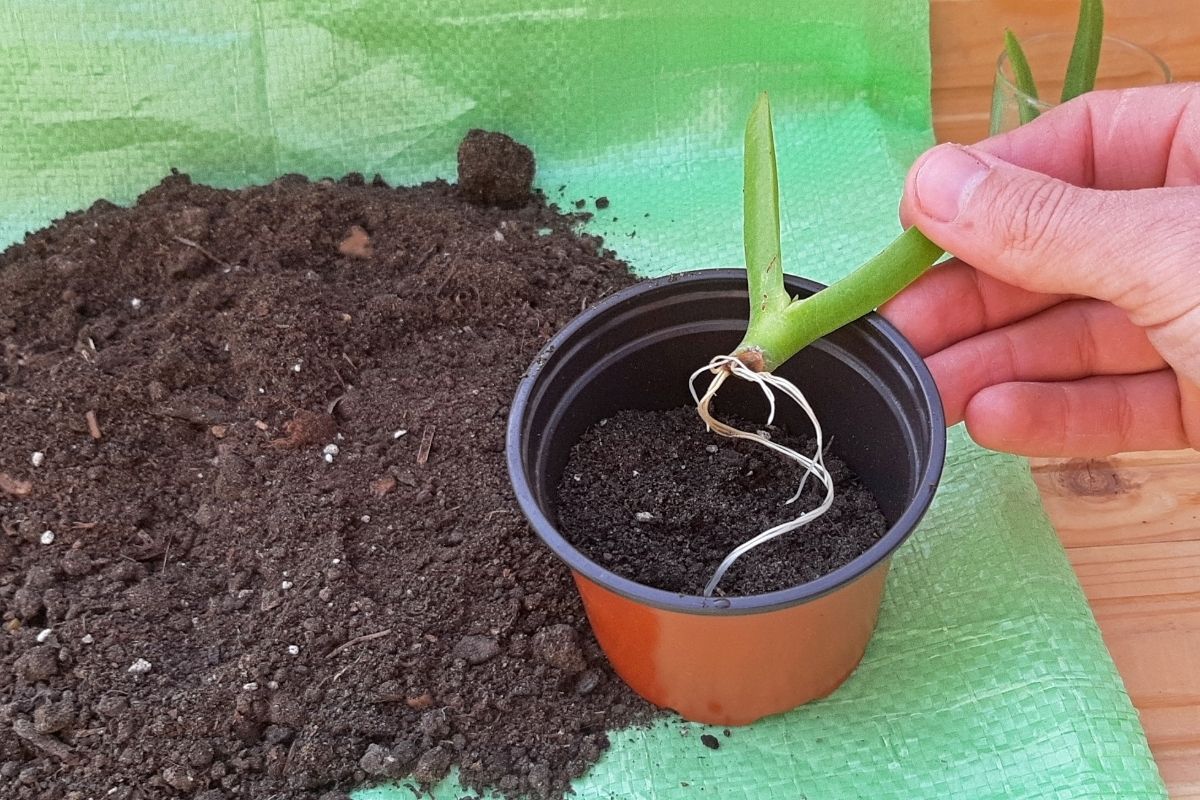
Step 4 : Complete the succulent transplant
So you’ve got your fresh soil ready to go, and the old soil removed from your darling succulent plant– the time has come. You’re ready.
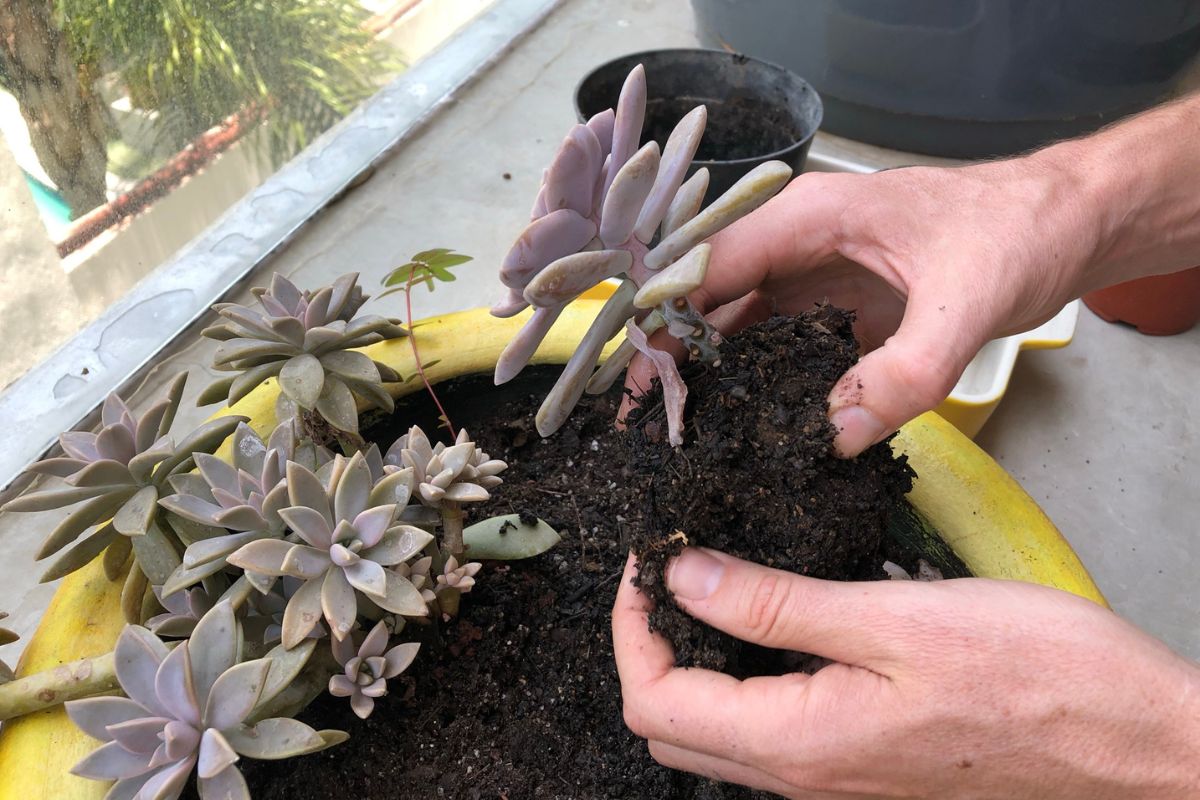
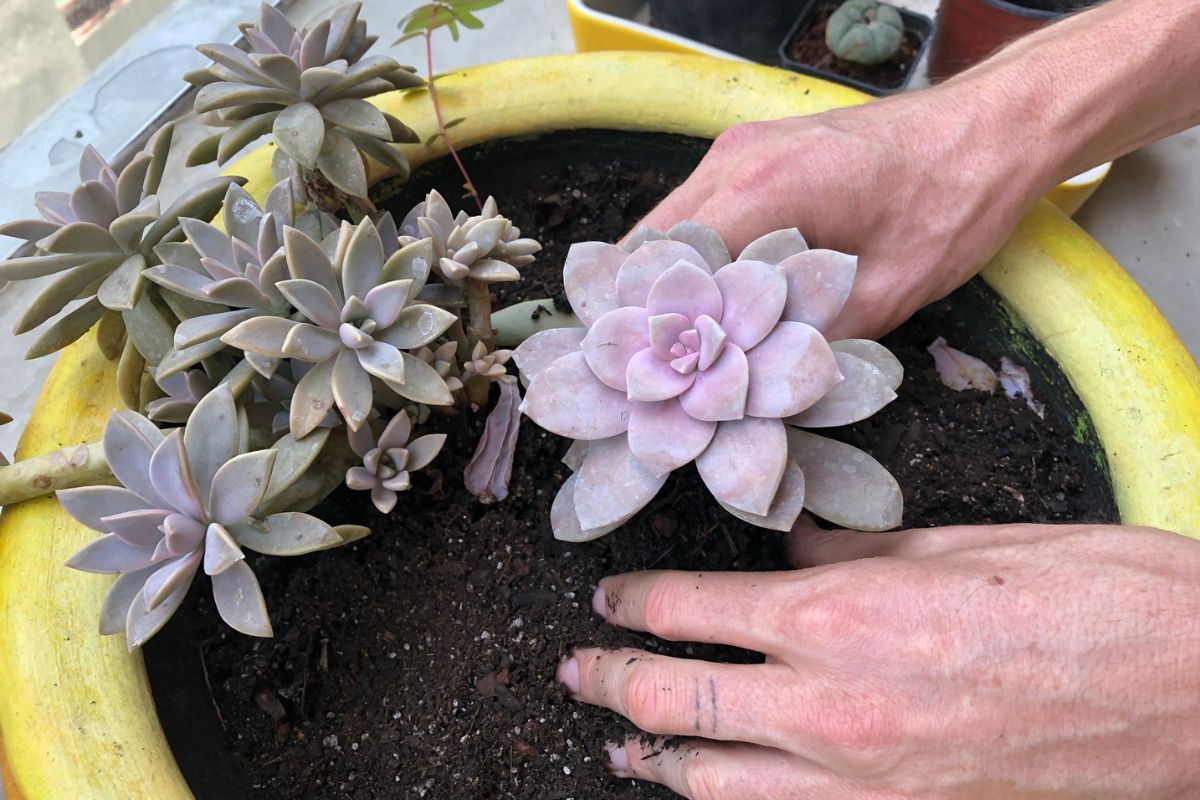
Gently place the plant as close to the center of the new pot as you can, and then carefully begin to add the succulent potting mix in around it. Be careful not to bury a leaf as doing so will cause it to rot.
Gently press the fresh soil mixture around the base of the plant until it is standing firmly on its own.
Place your freshly repotted succulents in indirect natural light until they are able to put down roots. Once you see some new growth, then you can begin to move them into more direct sunlight (slowly! don’t wanna cause any plant sunburn)
Congratulations, the succulent repotting has been completed.
Figuring out the right time to replant a succulent
Knowing when to repot can save your plant’s life, and all it usually takes is a little bit of observation. The first time you’ll repot a succulent will be within the first two weeks of bringing it home, but after that is when it gets a bit trickier.
Here are a few examples of when it’s safe to assume that it’s time to repot:
- Outgrowth: If your plant is starting to spill over its container or you notice roots starting to poke through the drainage holes, it’s time to upgrade to a bigger pot. It may be root bound, which will eventually strangle the succulent plant.
- Watering more frequently: When watering succulents, the water will seep through the holes in the bottom. If that isn’t happening and the soil mix seems to dry out really quickly, you probably need new soil.
- The plant looks discolored and unhealthy: Should you find the succulent leaves drying up and falling off or anything is looking dry or discolored, changing the soil can be a good solution. It’ll also give you the opportunity to check for root rot.
- It looks like it’s capsizing: Posture check! Growth is great, but your succulents shouldn’t resemble the leaning tower of Pisa. Give that succulent soil mix a change and reposition it so it’s not straining itself.
- You’re a succulent grandparent: Congratulations! You’ve raised a healthy plant, and now that plant has had pups. Those pups are quickly going to need their own space or they will literally suck their parent dry. Give those little guys a new home of their own. They grow up so fast, don’t they?
Conclusion
Hey wait.. Repotting succulents is actually pretty easy. Picking out the new container may be the hardest part.
Remember to give yourself some time to prep and set yourself up for success, and to always be gentle but firm. And of course– don’t forget to check in on them from time to time and make sure they’re looking happy and healthy.
FAQs
Q: When to water succulents after repotting?
It’s best to give your succulents a solid 1-2 weeks to get used to their new home before watering them again.
Q: When should you not repot succulents?
It’s suggested that repotting not happen during the succulents “dormant” season. This is when they’re alive, but not growing. This can have a negative effect on their growing cycle!
Another good indicator to not repot is if any flowers have sprouted on the plant. The best time to repot succulent plants (along with most other plants) is in early spring, just when their growing season begins.
Q: How do you repot overgrown succulents?
This method absolutely works for overgrown succulents. If you’re interested in learning more about what else you can do with them, check out information on how to propagate succulents.
More How To Guides
- How To Get Rid Of Scale On Plants
- DIY Terrarium Table: How To Make A Table With Plants Inside
- How to Use Leca for Plants: Step-by-Step Guide with Pictures
- How To Use Grow Lights For Indoor Plants
- How To Propagate Peperomia Plants 2 Ways
- DIY Propagation Box With Grow Light
- How To Make Pothos Fuller (In 5 Minutes)
- How to Make a Moss Pole for Your Climbing Plants
- How to Make Potting Soil for Indoor Plants, Plus My Secret Ingredient
- How to Propagate a Split-Leaf Philodendron: Easy Step-by-Step Guide

Marquis *wants* to know how to keep happy and healthy plants, but had a hard time finding information that wasn't written by just another copywriter. After nearly losing one too many plants, it was time to take matters into her own hands. A team of plant scientists and nursery hands was brought together and The Indoor Nursery was born.
Amazing article! Thoughtful, inspiring, and fun!
Hey Lopati, thanks for the feedback. We’re so glad you enjoyed it 😊