
Figuring out how often to repot plants is both an art and a science. It requires close observation and an intuitive sense of timing that develops over time the longer you work with plants.
After all, there is a wide range of factors that affect how fast your plants grow, including the type of plant, how old it is, your plant’s indoor growing conditions, how often you fertilize, and how large you want your plant to grow, etc.
There’s a lot that goes into caring for plants! 😅
Some houseplants can grow happily in the same pot for years with proper care and others will regularly need fresh soil or soil conditioning elements in order to thrive.
Since fresh soil brings new nutrients, your plants will grow both in size and in weight with each new helping of soil. In fact, fast-growing plants may not only need a change of potting soil but a larger pot as well!
Plants typically need to be repotted every 12 to 18 months, so if you haven’t repotted your plants in the last year, then you may want to give your plants a little extra TLC (soil).
Generally speaking, the best time to repot your houseplants is at the beginning of spring, just before the growing season. In this guide, we’ll share our expert tips for timing your repotting mission for healthy, happy houseplants!
5 common signs that it’s time to repot your houseplants
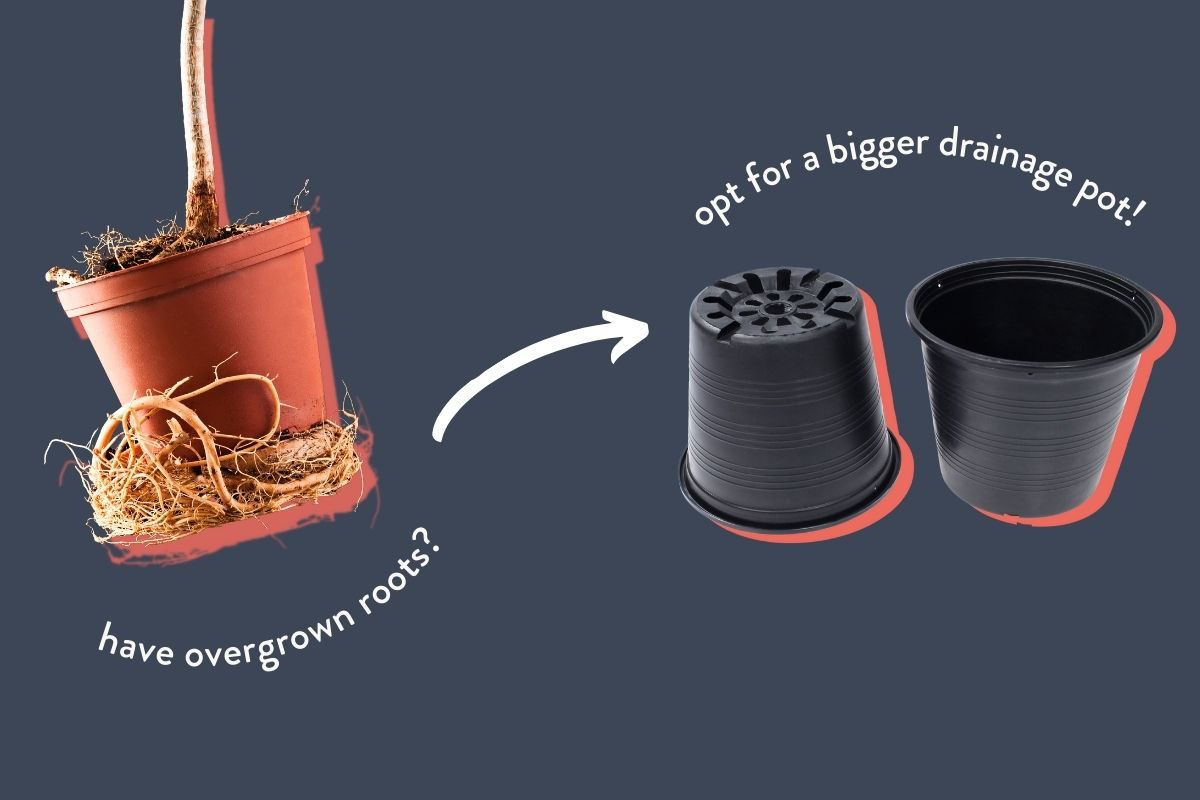
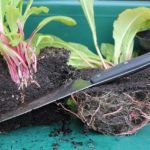
- Hello little roots! If the roots of your plant are peeking out of their pot, you may see white and brown root tips pushing through the drainage hole. If this happens, turn the plant sideways and gently tug on it and twist it out of the old pot. Try to be conscious of the plant’s roots without breaking them. This is a sign your plant needs more space and a larger pot!
- You can’t remember when you changed the soil last. Old soil is usually depleted of nutrients. To encourage your plants to thrive, you will want to replace old potting soil with fresh, new potting soil. If you have a nutrient-demanding plant, mix compost into the fresh potting soil for a quick boost.
- The leaves are turning yellow or brown. There are MANY reasons why leaves turn yellow, from overwatering to leaf sunburn. However, yellowing can also be a sign that there is not enough soil for the roots (we say the plant is “root bound” in this situation). If this is the case, just add fresh soil so the roots are able to get the nutrients that they need.
- Your plant is losing a lot of leaves. Also known as leaf drop, this could be a sign that there is not enough space for the plant to thrive, and it can’t keep up with its own growth.
- The plant has outgrown its pot. Growing pains are common for plants that grow fast, like monstera deliciosa. If you end up putting your plant in a new container, you can just add a fresh batch of soil instead of changing the soil in the pot every time.
best soil/potting mix for indoor plants
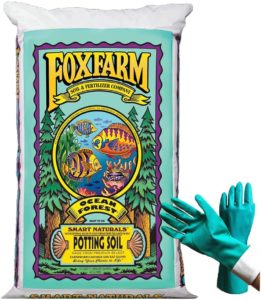
FoxFarm Ocean Forest Organic Potting Soil
This soil is ideal for potting your new plant babies, since it provides the ideal environment for baby plants. The pH of this soil is 6.3 to 6.8, which is also for the optimum fertilizer intake. It even comes with gardening gloves! We especially like FoxFarm because of their organic matter selection and attention to detail when it comes to drainage and moisture retention.
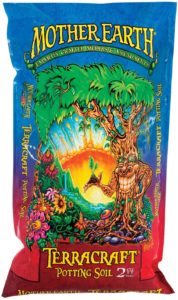
Mother Earth Terracraft Potting Soil
This potting mix has the organic matter (aka compost) that your plants crave. Designed by chemists, biologists, and horticulturists and made up of worm castings, fish bone meal, kelp, and guano, this stuff is chock full of plant nutrients. Peat moss helps it retain moisture and perlite keeps roots aerated. We highly recommend Mother Earth for all of your soil needs, tbh.
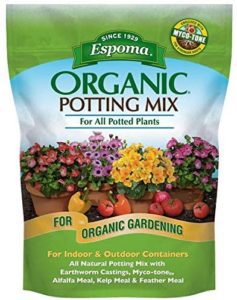
This is a potting mix specifically for houseplants and is recommended for growing beautiful indoor houseplant varieties like pothos, spider plants, monstera, many types of philodendron, and English ivy. Made with sphagnum peat moss, humus & perlite and enriched with earthworm castings, alfalfa meal, kelp meal & feather meal, it’s a high quality soil that will feed your plants for another 18 months.
Whether you’re a beginner or expert at taking care of houseplants, remember to water your plants well, and continue loving them! Taking care of houseplants can be really simple as long as you’re consistent. All you need to start to make a houseplant sanctuary in your home are plants, soil, a pot, water and sunlight.
tips for repotting houseplants
When it comes to choosing the right pot size, bigger isn’t always better! Plopping a small plant in an oversized pot with too much soil and water can quickly lead to root rot because the moisture sitting in the excess soil can’t be absorbed by the plant’s roots.
Here are a few tips for setting your plant babies up for success in your repotting endeavors.
choose the right soil
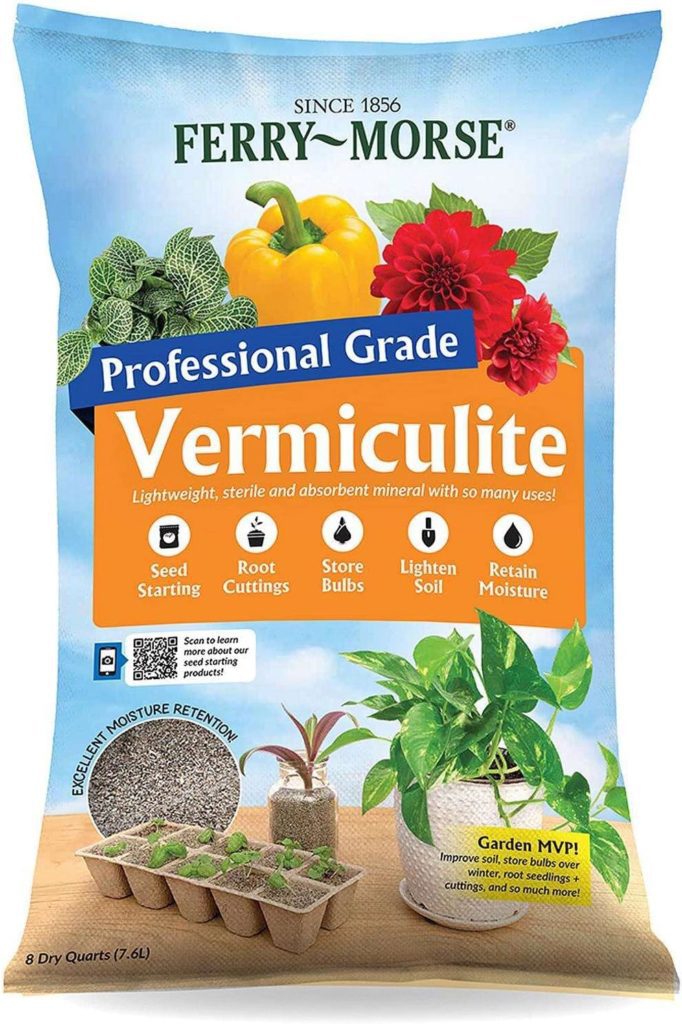
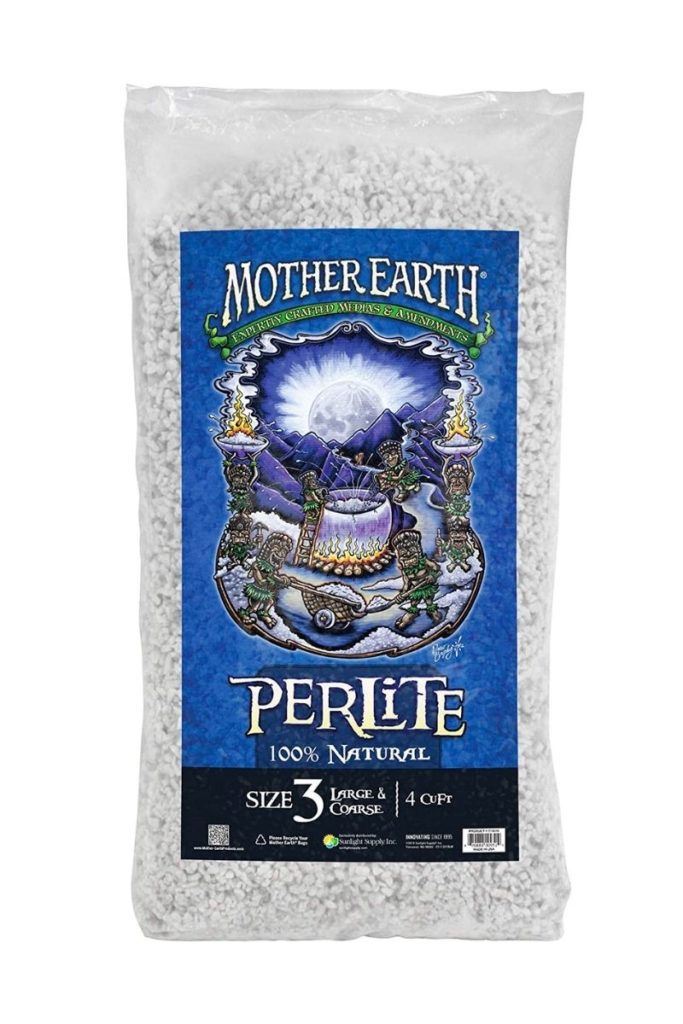
It is a good idea to research your plant’s needs to know what their dream soil is. For example, drought-tolerant succulents and cacti do best in well-draining soil mixtures. Tropical houseplants like golden pothos and monstera prefer nutrient-rich soil that holds moisture. Search our plant glossary by type of houseplant to find details about your plant’s specific needs. What we can say is that all plants love going drainage in addition to nutrients. To instantly increase your soil’s drainage capacity, you can always add a couple handfuls of coco coir, perlite or vermiculite.
choose the right potting containers
This subject can actually be a little overwhelming! How do you know what potting container to choose?
What size should it be? Drainage hole or not? Clay or plastic pots?
When repotting a root-bound plant, you’ll want to choose a new container that is 1 to 2 inches larger than its original container. If, however, your plant hasn’t overgrown its pot but just needs some fresh soil, you can use the same pot. In this case, it’s a good idea to empty the pot and rinse it out before filling with fresh soil to clear it of any bugs, fungus, or ickies ✨
I’ll say now that drainage holes are NOT OPTIONAL (unless you’re growing one of the rare plants that don’t need drainage). Drainage holes prevent the spread of plant disease and root rot that comes with excess water sitting at the bottom of a closed container. If you fall in love with a gorgeous decorative container without drainage holes, look for a slightly smaller plastic pot with drainage holes to nest inside of it.
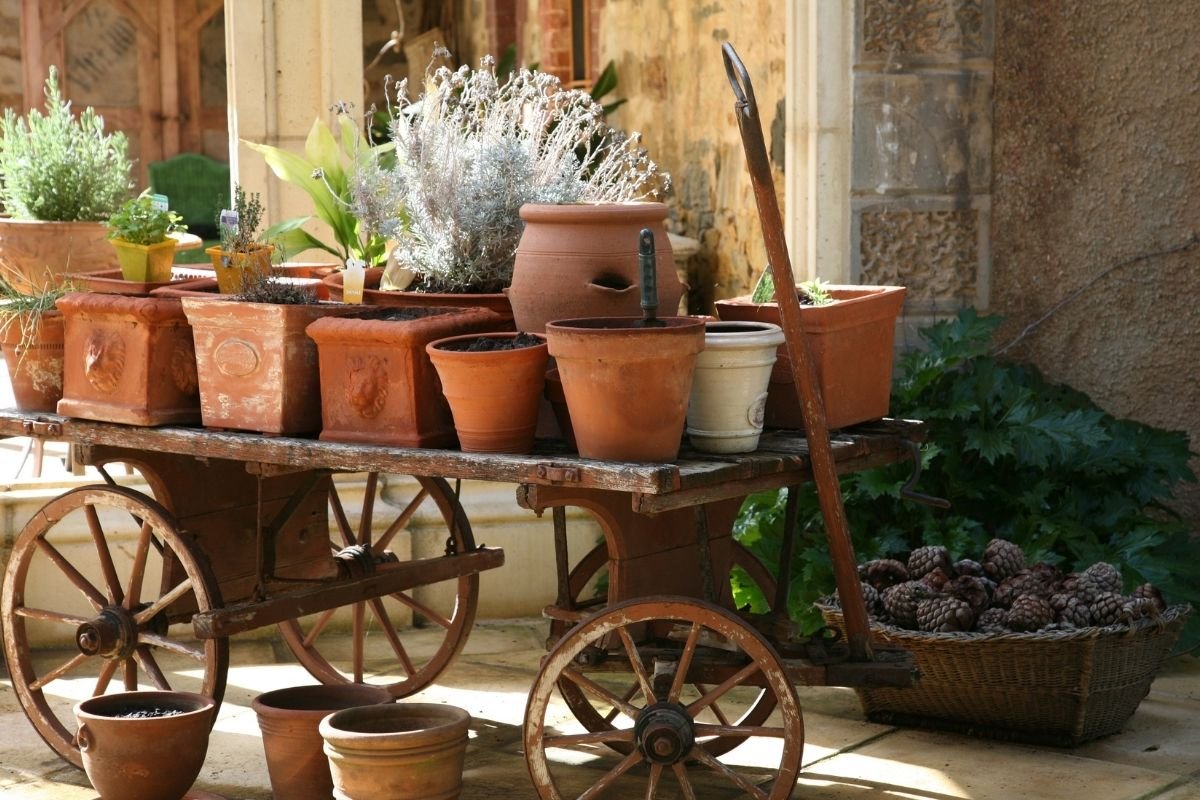
As for clay vs. plastic pots, this is slightly more open to personal choice! When many people think of clay pots, they’re actually thinking of unfinished terracotta. Clay pots are sometimes sold unfinished (without glaze), but more often you’ll find them glazed, with an unfinished base. These pots have some qualities of terracotta pots, but the glaze acts as a sealant against moisture, minerals and oxygen passing through it.
Here’s what to know about terracotta and plastic pots:
- terracotta pots. If you’re looking for a quick and easy potting solution, terracotta pots are your go-to. They’re great for plants that enjoy a lot of moisture because they actually absorb water from the soil and release it when the soil dries out again. The down side to this feature of terracotta is that it also releases moisture to the air when humidity is low enough, so you’ll need to water more regularly or invest in a plant humidifier. Terracotta is breathable as well, absorbing minerals and salts, and allowing oxygen to pass through its porous cells. You can dress up terracotta pots with some DIY flair, but otherwise these pots come un-adorned.
- plastic pots. On a budget? No problem. Plastic pots are the cheapest container option. They work best for plants that like dry conditions though, since they don’t allow moisture in or out. They’re lighter and less breakable than clay or terracotta, which makes them great for plants that move around frequently, greenhouses, or homes with kids and pets.
use a repotting mat
If you have the absolute pleasure of having a space to do your indoor gardening, then you are living the dream! If not, then you’ll want to get a pair of repotting mats. They help make the whole process easy to clean up and even easier to save your precious soil from spilling onto the ground and eventually into the trash. Some come in packs of two, with one large size and one small size that is perfect for a one pot job.

repot with care
When repotting your plants, be very gentle with their roots and be sure not to break or damage them. If you have a healthy plant and just want to give it a nutrient boost, add a fresh layer of soil, compost and peat on top of its existing soil.
To repot your plant completely, follow these steps:
- Fill the new pot ⅔ of the way full with fresh potting mix.
- Take hold of the base of your plant in one hand, and the base of the pot in the other. Turn the pot sideways.
- Squeeze the sides of the pot and tap the bottom of the container until the plant slides out. If the roots are super tangled up in the drainage holes, take your time to loosen the root ball. Avoid ripping the roots out.
- Water your plant as much as it needs and make sure to put it back in the same familiar location it started in.
FAQs
What do you need to repot your plant?
You will need your plant babies, a new pot with drainage holes, and fresh potting mix. If your current pot does not have a drainage hole, you can use organic lava rocks instead to filter the water.
How do you know when to repot a plant?
– Repot your plant when the soil is drying out. You need to make sure you use the right soil to help your plant thrive.
– Repot plants if you see the roots going through the drainage hole.
– Roots are pushing the plant up.
– If the roots are ‘pot bound’ meaning they are wrapped together in the pot, it means they need more space. If the roots are already damaged you can cut them off. If roots are tangled, try to do your best to untangle them.
– Your plant is yellowing or browning at the leaves.
– The plant looks limp or isn’t growing. This also is true if your plant is growing slower than normal.
– Your plant dries out very quickly, and needs to be watered more often.
– If your plants are looking healthy, but you haven’t repotted them in a long time–spring is the best time to repot.
What happens if you don’t repot a plant?
If you don’t repot a plant that needs to be repotted, the plant could be at risk for disease or the roots could dry out. Instead of moving your plant to another pot, you can add soil to the top layer to give it more nutrients.
Can I repot my houseplant in the winter?
Indoor plants can be replanted in the winter, although spring is the most ideal time. During the winter, (from November to February) their growth will have slowed down, so it is best to wait until they start growing again in March. This will help lessons the stress & shock that comes with being moved to a new environment.
more about repotting plants
- How to repot succulents: a beginners guide to repotting succulents
- why, how, and when: repotting your fiddle leaf fig
- how often to repot plants? 5 signs it’s time to do it now
- Tags:
- plant care

Marquis *wants* to know how to keep happy and healthy plants, but had a hard time finding information that wasn't written by just another copywriter. After nearly losing one too many plants, it was time to take matters into her own hands. A team of plant scientists and nursery hands was brought together and The Indoor Nursery was born.