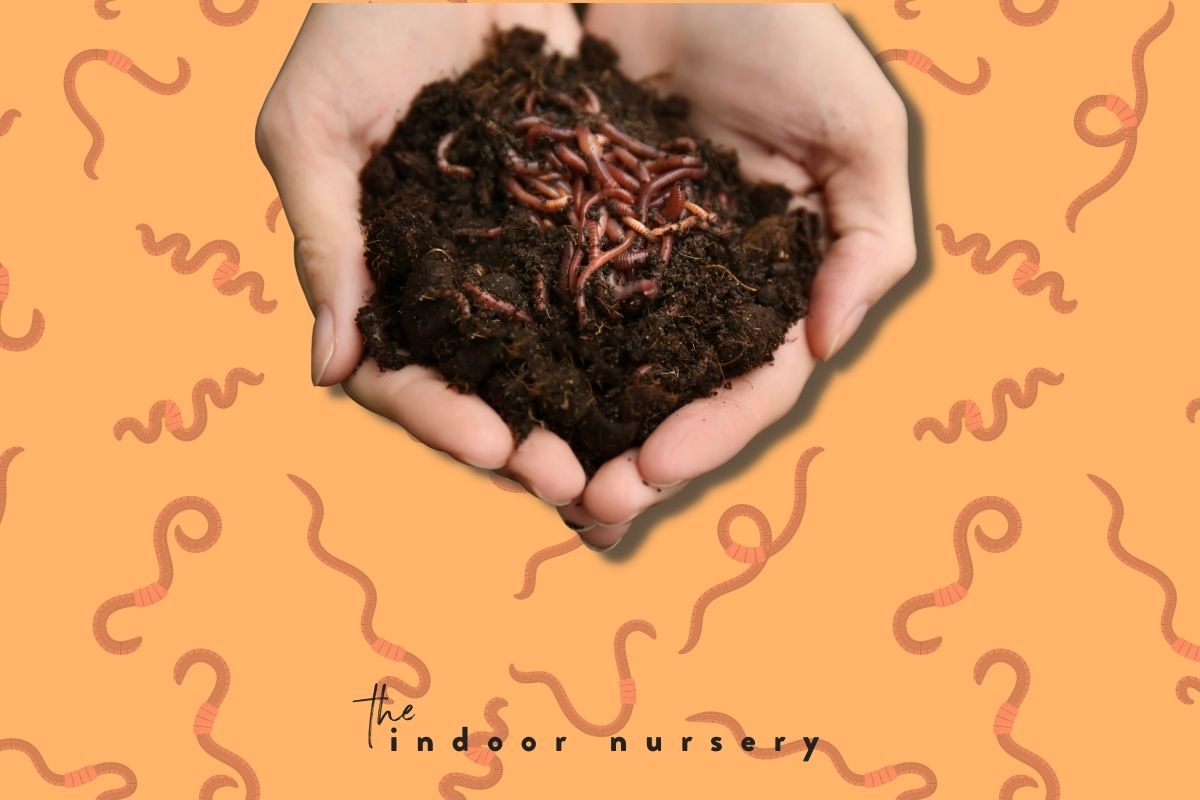
Worm composting, or vermiculture, produces a complex, nutrient-dense manure that you can use to fertilize your potting soil. In nature, worms are a major part of the decomposition process, so when you keep a worm bin to compost your own food scraps and leafy yard waste, you’ll have a regular stream of that rich material.
When the compost is ready, however, you’ll have to harvest it carefully to keep the worms in the bin. For indoor plants, you don’t want any of the composting worms to make their way into your indoor pots, but it’s not that difficult to keep them safely out of the way as you remove the finished compost. Here, we’ll look at a few of the best ways to do that.
how to prepare your worm bin for harvest
Worm bins take several months to fill up and for the worms to eat through, but when you notice the castings look ready to harvest, you can start to prepare the bin and your materials based on your preferred harvesting method.
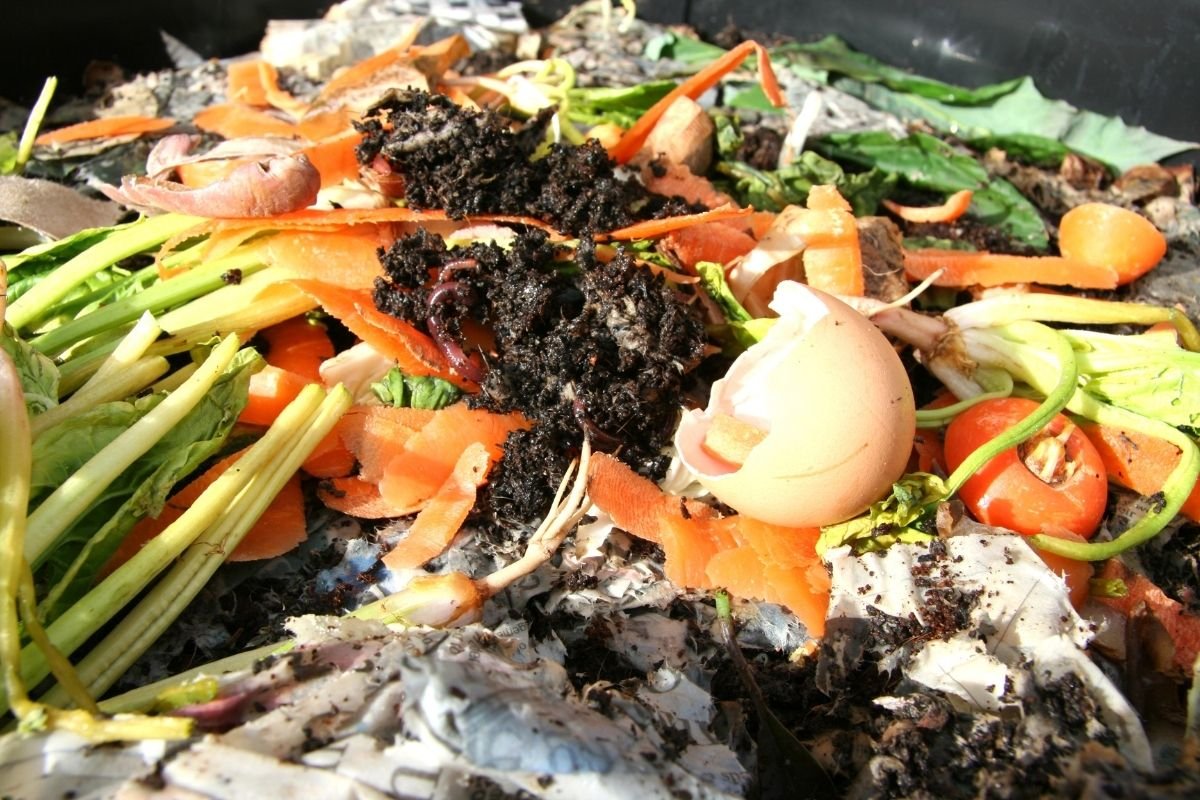
Worm castings are ready to harvest when the organic material is all broken down and there’s nothing left that you can really identify. The worms will eat and digest the food and yard waste into nutrient-dense manure. It will be dark brown, almost black, and moist, yet crumbly. When you can’t identify what solid bits used to be, the worm compost can be removed and added to your pots as a DIY fertilizer.
There are two methods to get your worms to move so you can harvest the compost:
- using light to get them to burrow down, or
- by getting the worms to move to one side of the bin with food.
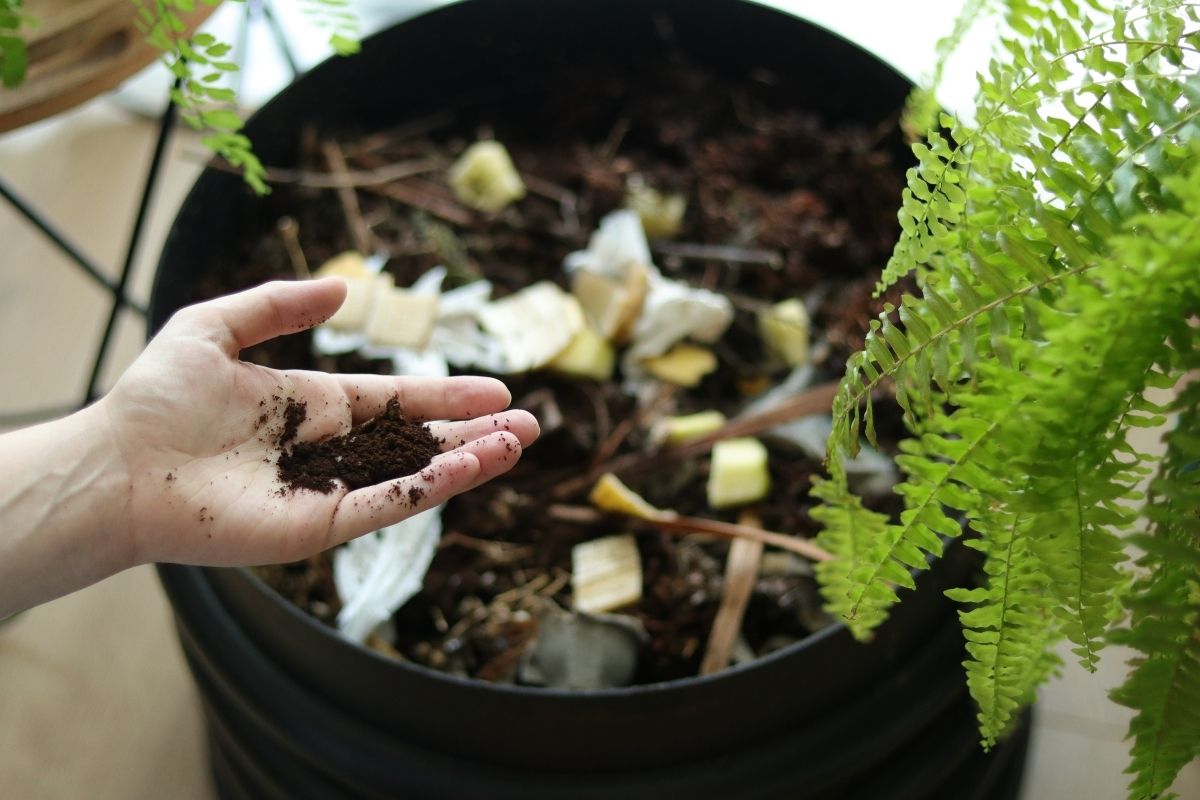
The light method doesn’t take much preparation (we’ll go over that more in-depth later), but for the food option, a handful or two of new compost should be buried to one side (a balance of green organic waste materials and brown ones: food scraps, grass clippings, coffee grounds, cardboard pieces, etc) a week or two before you harvest the castings, giving them time to work their way over to one or another side of the vermiculture bin. The type of worm composting bin you use might influence whether you choose this option or not: it may be better for a wide bin rather than a deep or a small one.
If you’re burying food to lure the worms to one side, be sure you’re using food waste that is safe for a vermiculture setup! Worms don’t like citrus, garlic, onions, spicy vegetables, or anything else you wouldn’t put in a compost pile like meat, dairy, or oil.
how to harvest worm castings
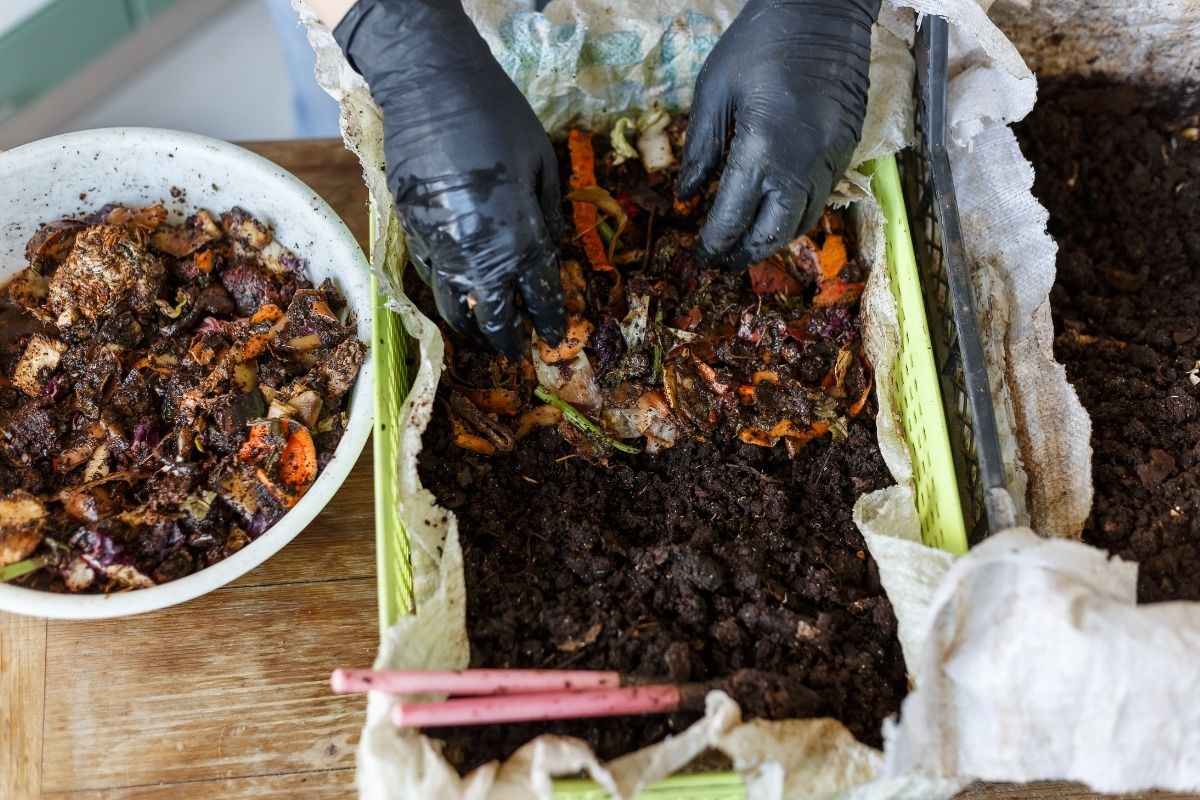
When harvesting worm castings, the worm compost can be scooped then either sifted or sorted by hand. You’ll want to be sure you’re not removing any worms, especially for indoor potting. If you bury a new source of food, you’ll harvest from the other side, where the worms will have vacated. If you use the light method, you’ll have to shine it on the surface then skim off the top until you have the amount you need. Here, we’ll go over the ways to easily harvest your worm castings!
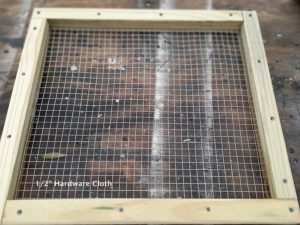
screening worm castings
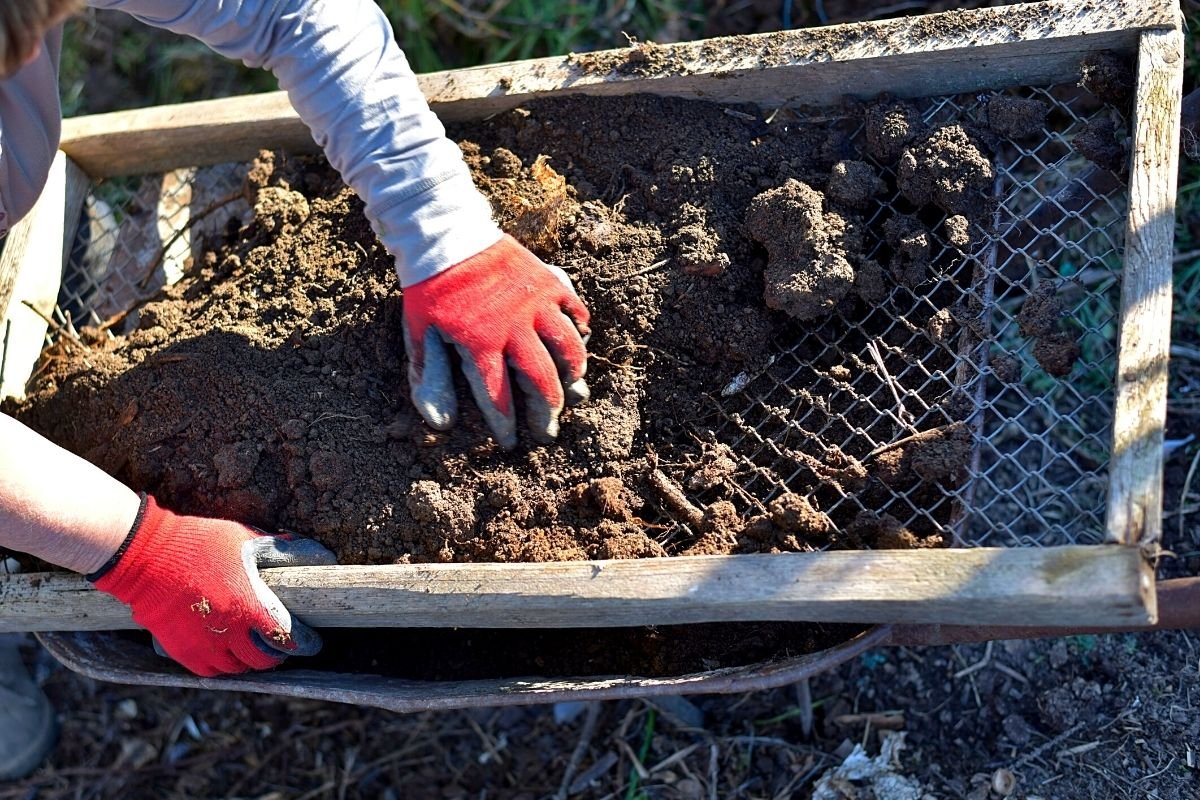
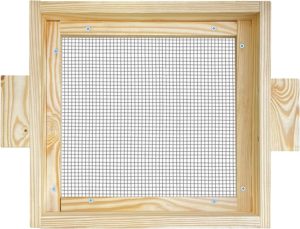
One of the best ways of preparing your worm castings for use is to sift them through a screen sifter. This helps break up the castings into fine, fluffy particles that contain lots of air while filtering out any large pieces of unfinished compost, as well as any straggling worms that may have gotten caught.
To sift your worm castings, you will need:
- A scooper
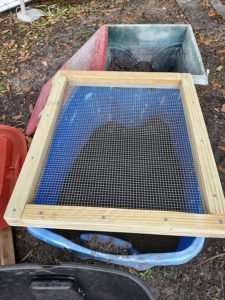
- a bin to put castings in to be sifted
- a bin to catch sifted castings
- a screen sifter
Step 1 – transfer castings from the main worm bin into a second container
Measuring out the amount you need first helps keep things organized and adds a layer of separation that helps make sure you’re removing only usable compost, and not large pieces of material or a few worms that need to go back in the worm compost bin.
Step 2 – sift the measured-out castings
Sift the castings into another, empty container to catch any medium or large pieces of material or worms that need to go back in the worm compost bin. This also helps break up and aerate the castings to add oxygen and help with both water drainage and moisture retention. Your sifted castings will be ready for use right away.
screen sifters
When choosing a screen size, remember that the finer the opening, the more prepared the castings will be to be applied to your pots. If the filter is too large, it might let through materials that aren’t broken down all the way and may be too nutrient-rich for some potted plants. Sometimes chunkier soil is totally fine though, particularly for acid-loving plants that like a lower soil pH. Knowing your plant’s preferences is always important before applying any kind of fertilizer!

sorting by hand
If you don’t have a sifter, you can also sort the worms from the castings by hand and with a scoop.
To sort your worm castings by hand, you will need:
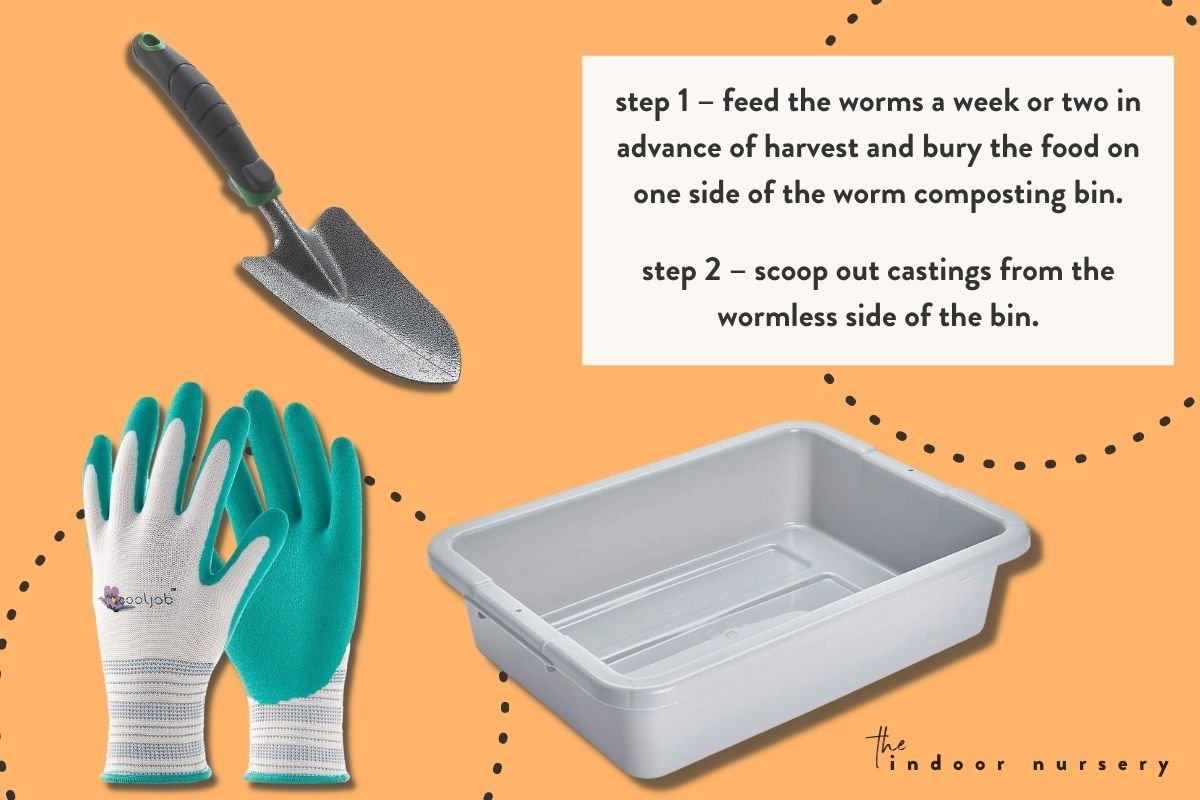
Method 1: Luring the worms to one side with food
- A scoop
- A bin to hold wormless castings
- Gloves (or not, if you don’t mind getting your hands dirty!)
Step 1 – feed the worms a week or two in advance of harvest and bury the food on one side of the worm composting bin. They’ll be attracted to the food source and all migrate to the one side.
Step 2 – scoop out castings from the wormless side of the bin. A few may still be on that side and get into your harvest, so just watch out for them, pick them out when you see them, and put them back in their composting bin.
rotating light
Method 2 doesn’t require that you feed the worms ahead of time. Rather, you’ll use a bright light to get the worms to burrow deeper into the castings as you skim the clear compost off of the top. Since worms live underground, they can’t handle the bright, dry heat of light.
To sort your worm castings by hand with a light, you will need:
Method 2: Clearing worms with bright light
- A scoop
- A bin to hold wormless castings
- Gloves (or not, if you don’t mind getting your hands dirty!)
- A bright lamp (or you can do it outdoors during the day and use sunlight)
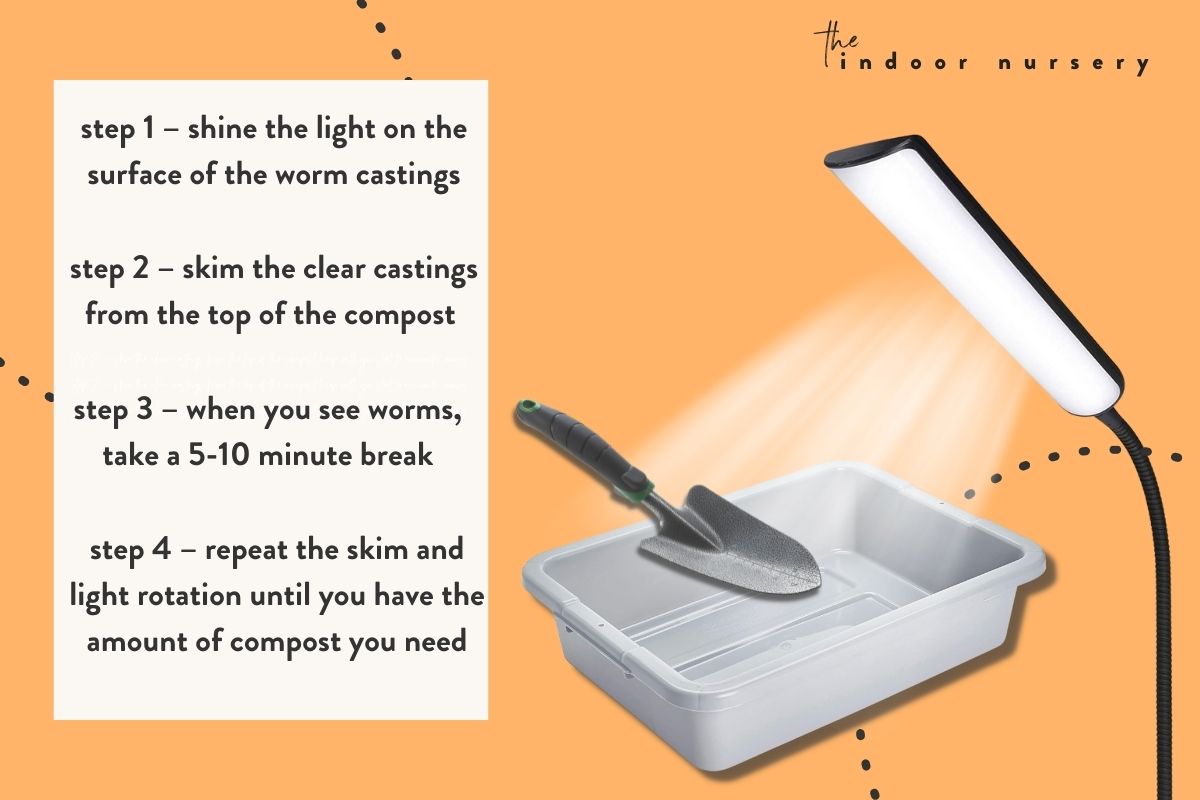
Step 1 – shine the light on the surface of the worm castings, allowing a few minutes for any surface-level worms to make their way down into the compost.
Step 2 – skim the clear castings from the top of the compost heap until you start to encounter worms
Step 3 – when you see worms, take a 5-10 minute break for them to get the hint and start to borrow downwards again.
Step 4 – repeat the skim and light rotation until you have the amount of compost you need, or until you’re left with a bunch of worms to put into a composting bin freshly filled with worm bedding and kitchen scraps.
bagging them up

Once you’ve collected your worm free castings, they can be stored for up to 6 months. Some people use containers with a few air holes in them (remember, worm castings are full of microorganisms like bacteria and fungi that need to breathe!), and others use a breathable bag like a sandbag, feed storage bag, or a burlap sack. The contents shouldn’t be allowed to dry out, however, and they may need a bit of moisture added (but be sure no mold ends up growing in the container). Always inspect stored compost before applying it to be sure it’s still in good, usable condition.
how to use worm castings
There are two ways to add worm castings to your indoor plants’ pots: either by topdressing the soil, or by mixing your own soil and transferring your plant.
To topdress your pots with worm castings, you can apply a thin layer (1/4 inch to 1/2 inch) of castings to the top of the soil in the pot. That’s it! The compost will work its way into the soil as you water. Be sure not to use too much, however, since worm castings are nutrient-dense and hold a lot of moisture, which may overwhelm your plant’s roots in high amounts.
Diluting worm castings by mixing it with coco coir and some sand or gravel results in potting soil that you can plant plants in directly. You can also topdress indoor plants with your soil mixture to add quantity to the pots.
more about composting
- 10 Best Worm Composter Bins For Easy Homemade Compost
- Compost Starter 101: When You Need It And How To Make It
- How to make a DIY indoor worm composting bin in 4 steps
- What to do with extra scoby (hint: it’s good for the soil)
- Vermicomposting for beginners: how to compost indoors for happy plants
- How to use worm castings for happy plants
- How to make worm casting tea in 4 easy steps
- Here’s how to harvest worm castings
- how to use compost accelerator for faster composting
- how long does compost take to turn into nutritious soil? it depends
- Tags:
- composting
- Fertilizing
- Soil
- worm farm

Marquis *wants* to know how to keep happy and healthy plants, but had a hard time finding information that wasn't written by just another copywriter. After nearly losing one too many plants, it was time to take matters into her own hands. A team of plant scientists and nursery hands was brought together and The Indoor Nursery was born.