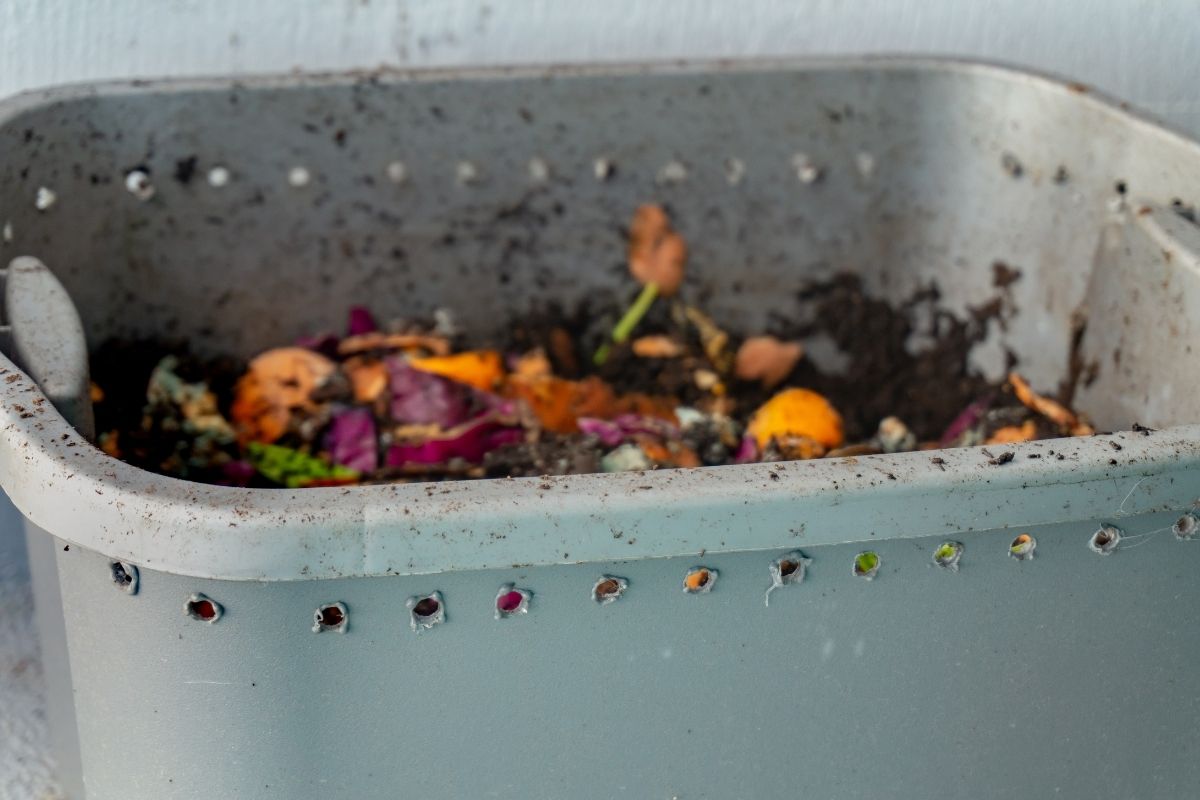
Give your food scraps a higher purpose by channeling them into a worm farm; the resulting vermicompost (aka worm castings…aka worm poop 💩 ) works wonders for your plants when used as a fertilizer.
If indoor worm composting sounds like an oxymoron to you, think again!
There is an abundance of worm composting systems specifically designed for indoor use that reduce your impact on the municipal waste stream while generating a useful supplement for your indoor plant family.
Aaaand… you get some cool wiggly pets to show your friends and family the next time they visit.
What are worm castings?
Worm castings are soil! In nature, organic material from plants and deceased critters is broken down by decomposers, including worms.
When you harness the productivity of worms in your own vermiculture (worm-farming) system, you create a valuable supplement for your home’s soil, whether destined for your outdoor garden or in your indoor potted plants.
The difference between vermicomposting and regular composting
The term ‘compost’ simply means broken down organic material, like food scraps and yard waste. In regular composting, fungi, bacteria, and small insects slowly break down the material into humus or the solid remnants of the organic material as it breaks down to its basic elements.
This process may take 6 months to a year from banana peel to finished compost without additional processing.
When you compost in a vermiculture system, the worms add another layer of decomposition to the process of breaking down organic materials.
This means it’s much quicker than traditional composting and is one reason why it’s popular with dedicated houseplant owners. You can get finished compost in 2-3 months or less!
Worms digest the bacteria and fungi on and within the decomposing organic material. When the organic material is digested, worms increase the available nutrients, carbon content, and enzyme activity in the soil, making it easy for plants to absorb the essential nutrients they need to grow and thrive.
How to make a worm composter
While you can purchase worm composters designed for housing worms, collecting finished compost, and catching the nutrient-dense liquid seepage known as leachate, it’s pretty easy to make your own worm composting bin at home. It’s easy, cost effective, and fun to do with friends and family.
What better way to get them as jazzed as you are about your houseplants?
DIY indoor worm composting bin
To make your own worm casting bin, you will need:
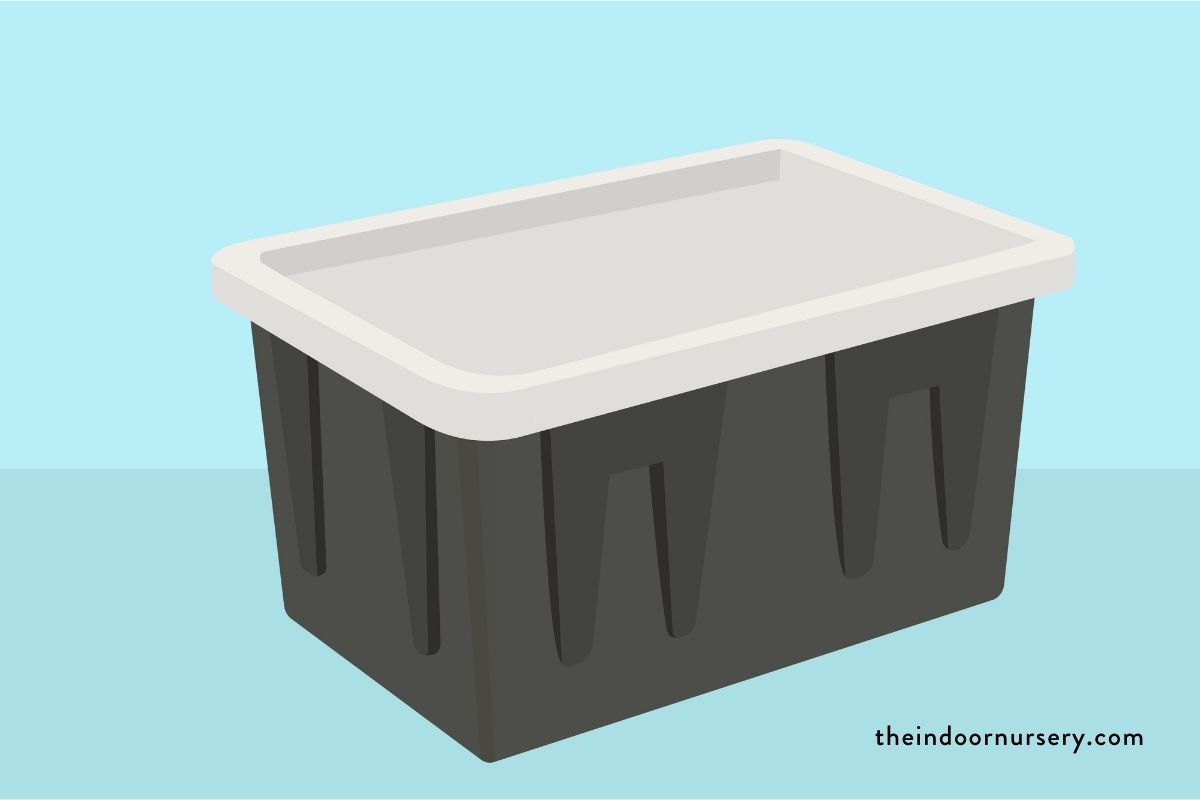
- 2 bins/totes 15 gallon and 1 lid
- 2 pounds of starter soil and organic material (not potting soil)
- Worm food: composted food waste (plants only)
- Worm bedding: shredded paper (newspaper and cardboard)
- A drill with a bit for making holes
- Compost red wiggler worms
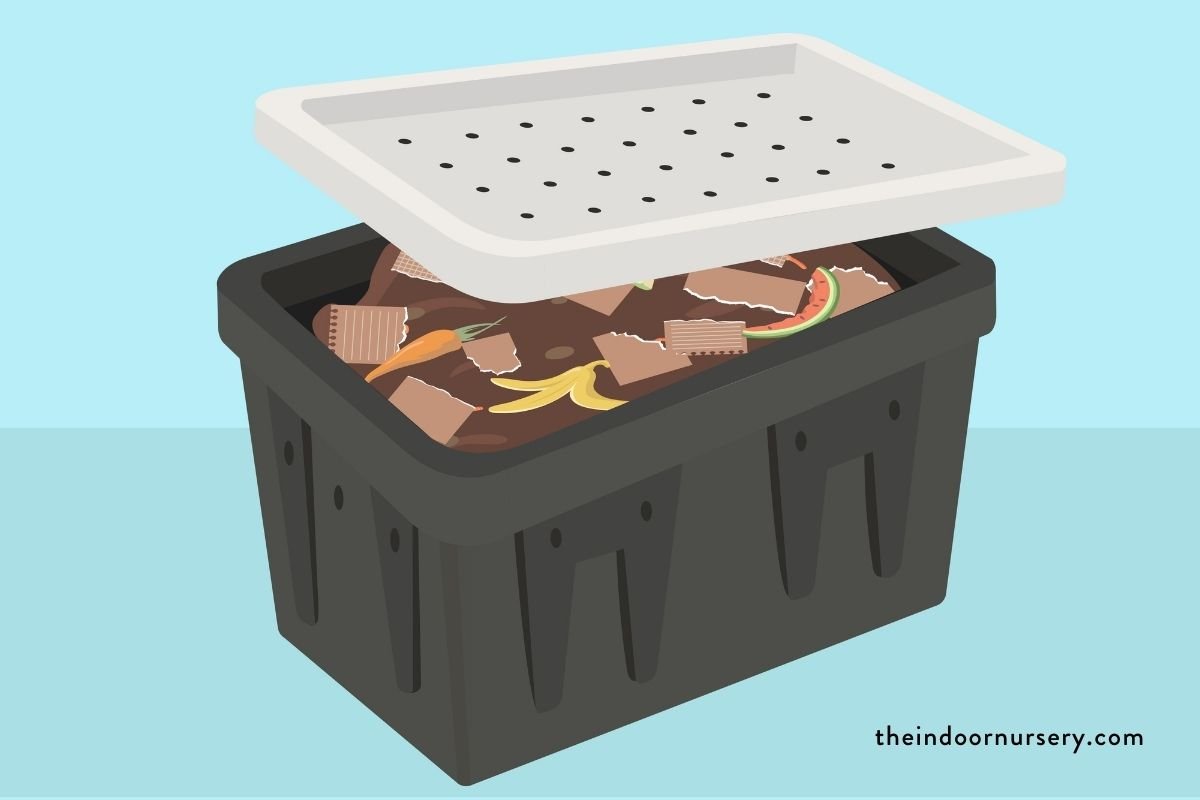
Step 1: drill holes in bin and one of the lids
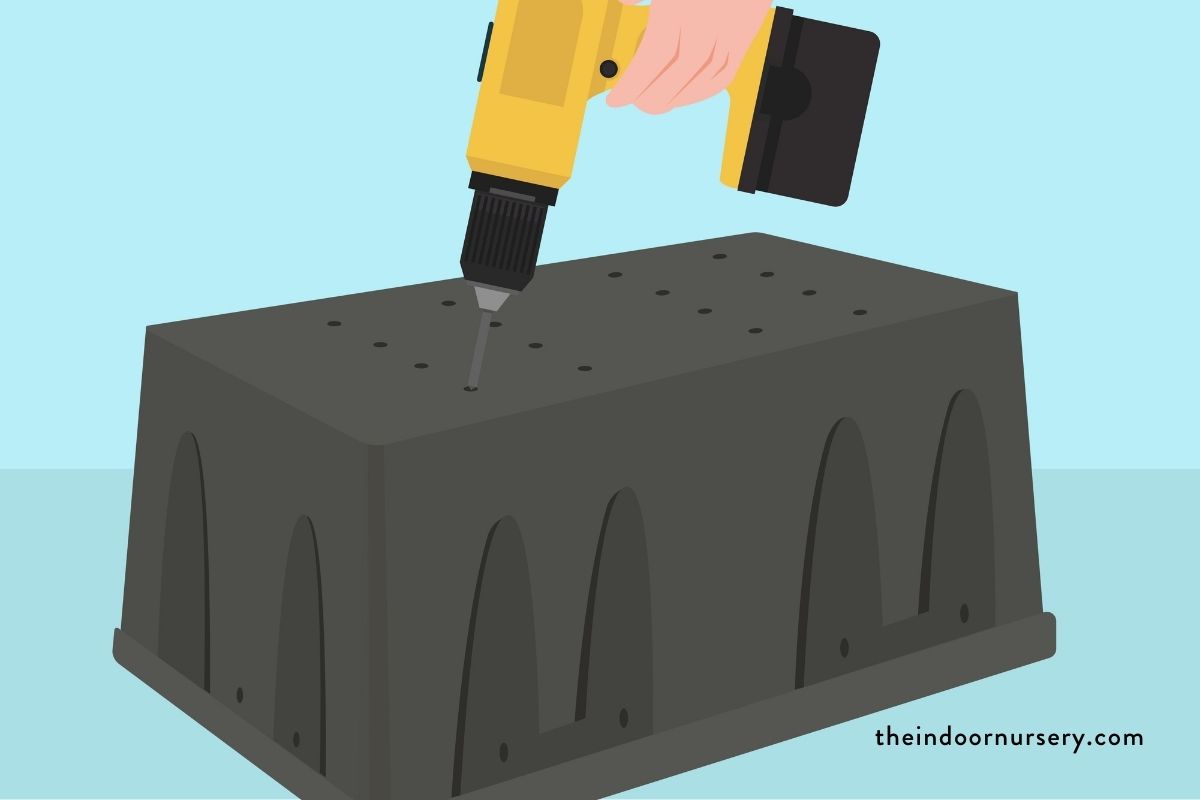
To begin making your indoor worm composting bin, drill holes into the bottom of the first bin, about 20-30 depending on the size of your drill bit. This will help keep the soil aerated, and the holes will allow leachate (basically food scap runoff) to seep to the bottom to drain out of the container without building up.
If the contents of the bin get too wet, this creates an inhospitable environment for worms and can cause several problems (more on that later!)
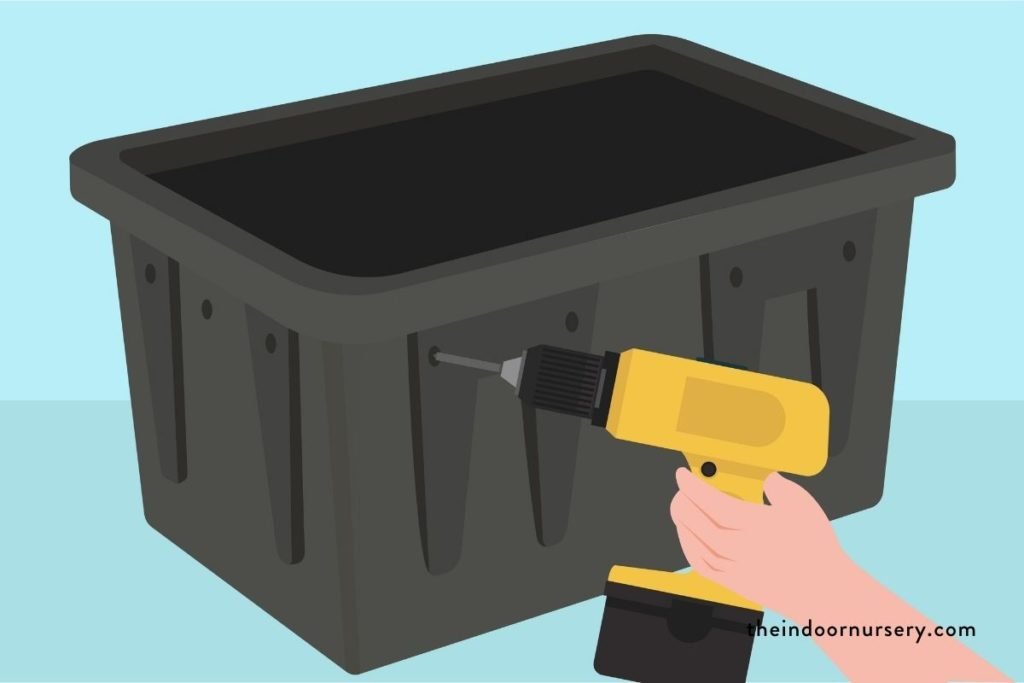
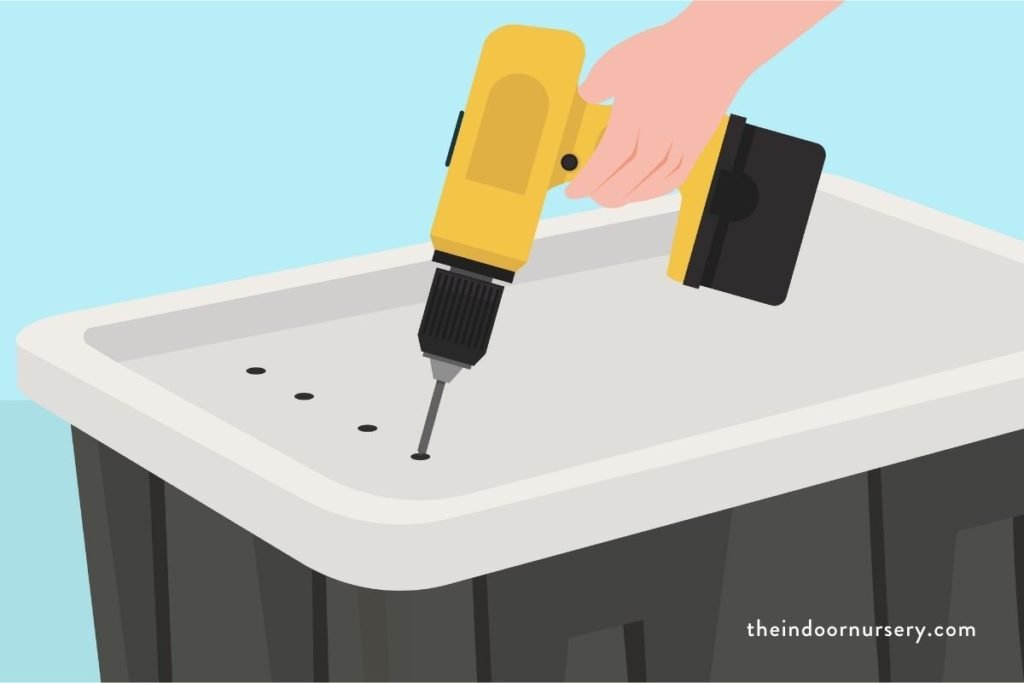
Drill holes along the uppermost side edges of the bin as well, and in the container top that you’ll cover the bin with. Use the second bin as a shell for the first to catch the liquids as they drain. Leachate is usually undigested by worms and should be drained away every few days so it doesn’t build up.
Step 2: put in starter soil and bedding
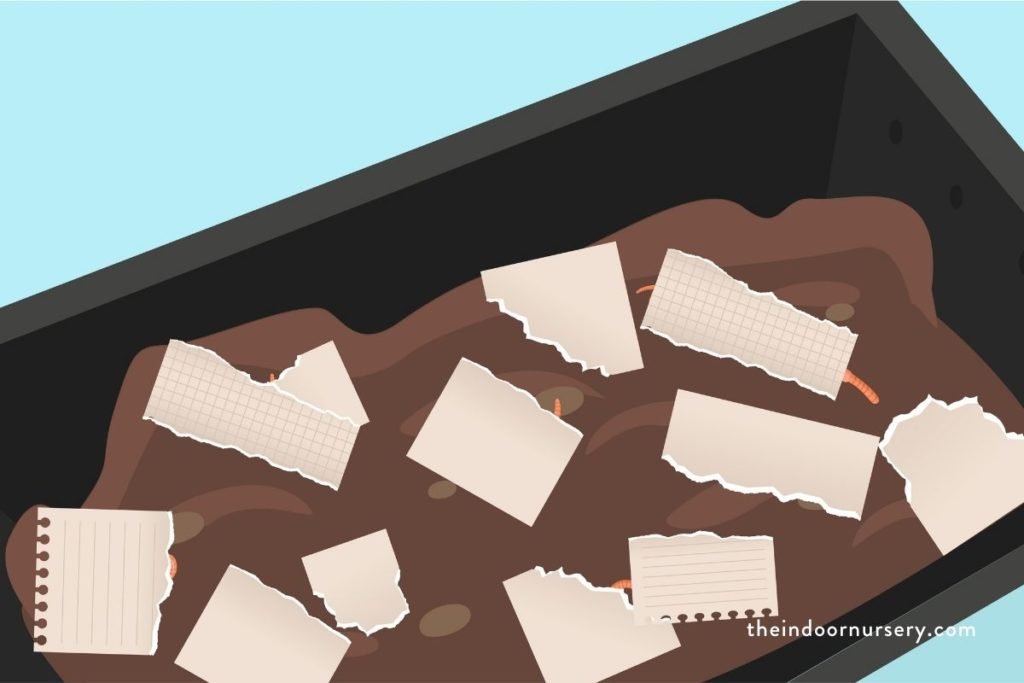
The worms will build the soil they live in over time as they break down the food you give to them, but to begin, they will need a comfortable and welcoming environment 🏠
Home sweet home for worms should include a bedding of soil, yard scraps, and semi-broken down compost. Cozy, if you’re a slimy little critter!!
Avoid using acidic soils, which the worms won’t like and may not stay in.
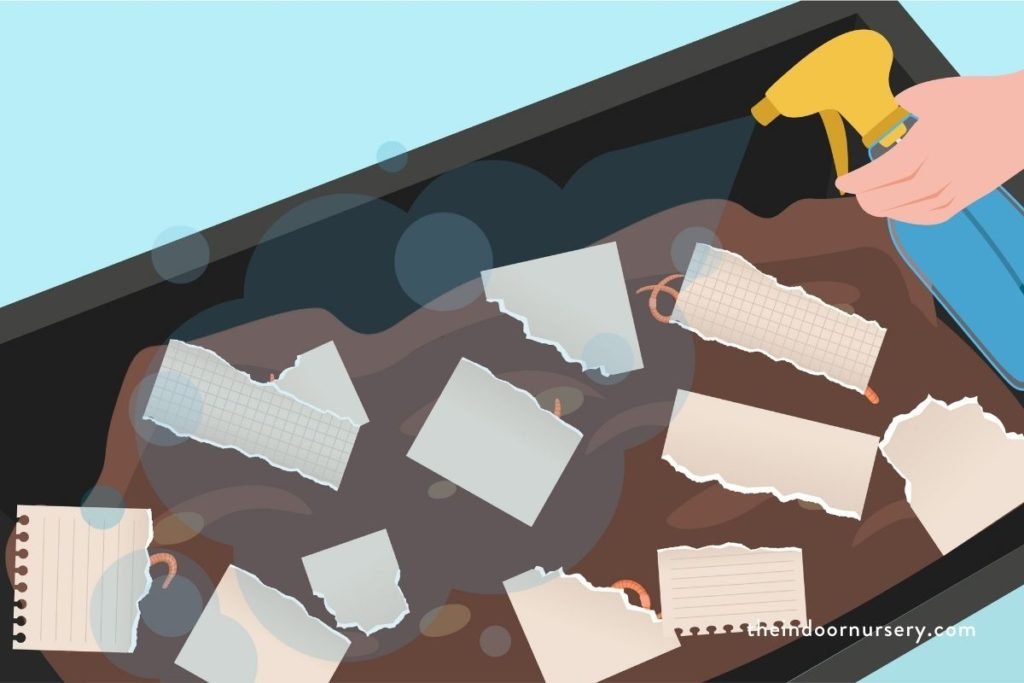
Add some corrugated cardboard or newspaper as well, which add structure to the mix. Mist the bedding with water to invite the worms to crawl over the surface – paper and cardboard absorb moisture and aren’t inviting to worms, they prefer moist surfaces that are easy to crawl over and don’t dry them out.
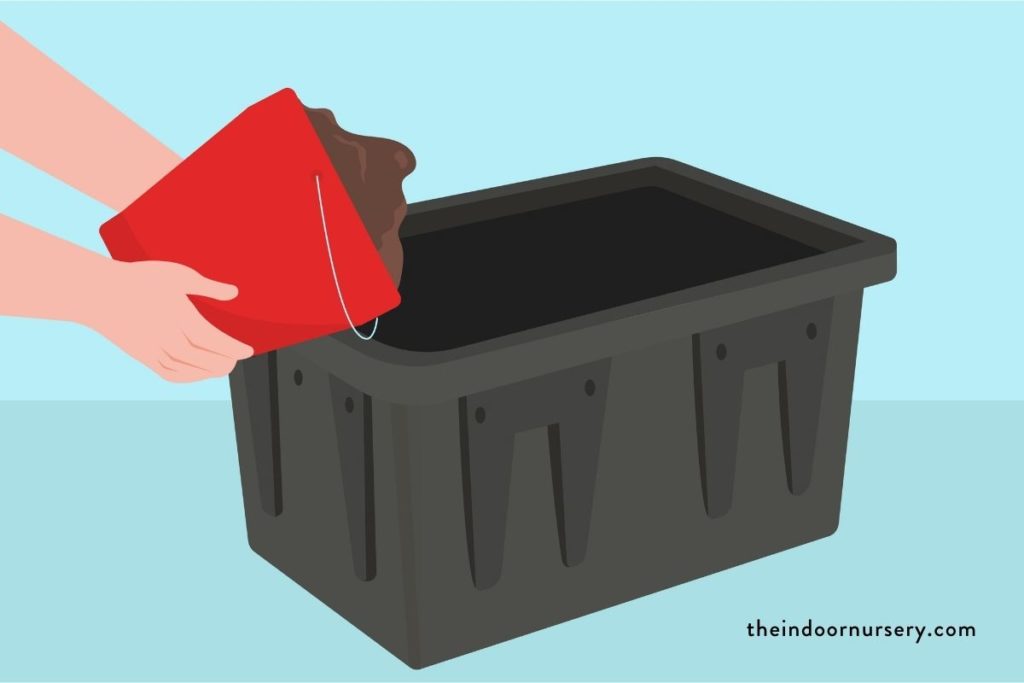
Step 3: put in starter food
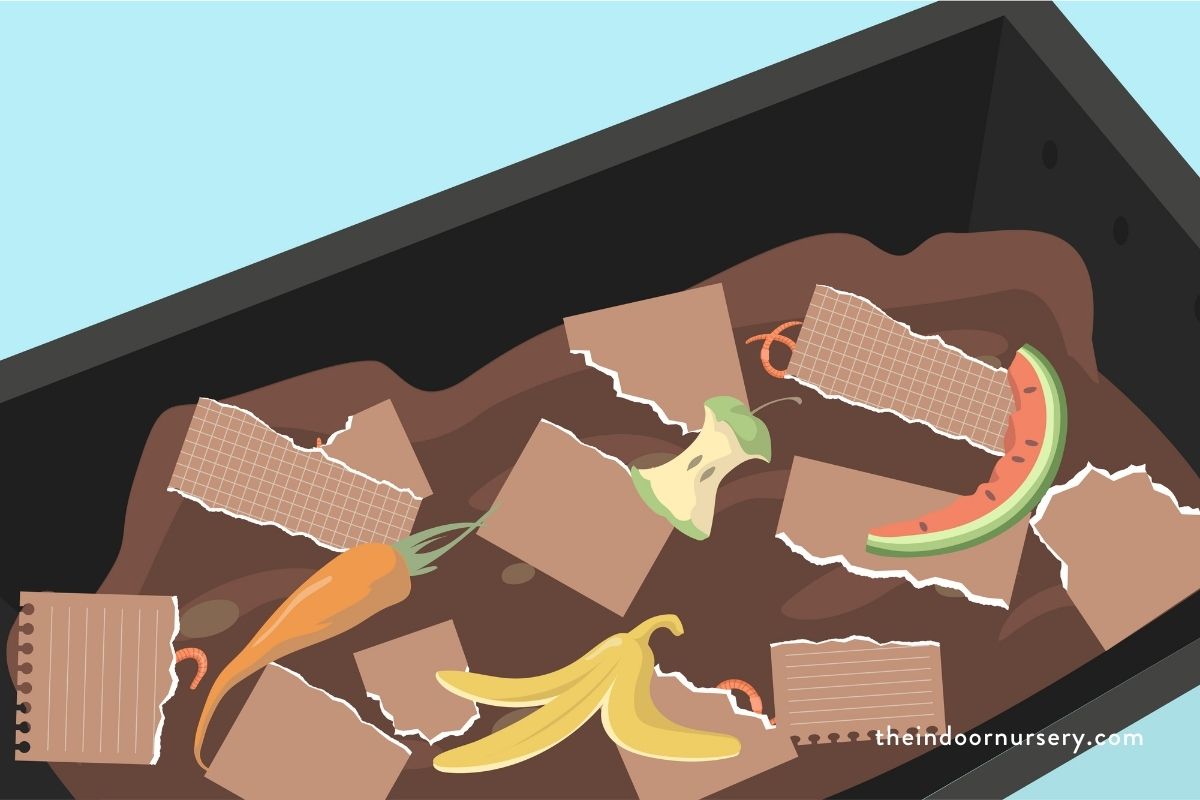
Your worms will gladly much through just about any compostable plant food waste. This includes fruit peels, coffee grounds, and other scraps and leftovers. You should never put in meat, dairy, fat, or salt.
If you cut up or liquify the scraps, this speeds up the composting process by making the food easier for the worms to eat and digest.
Worms don’t have teeth, and can only eat larger chunks of food waste once they start to soften and decompose – so avoid any solid scraps larger than your fist.
Larger scraps will rot before the worms are able to digest them, which can cause a wide range of smelly problems.
Feed your worms about 1 to 1.5 pounds of food per week to be sure everything gets consumed and broken down within the week’s time.
Step 4: put in composting worms
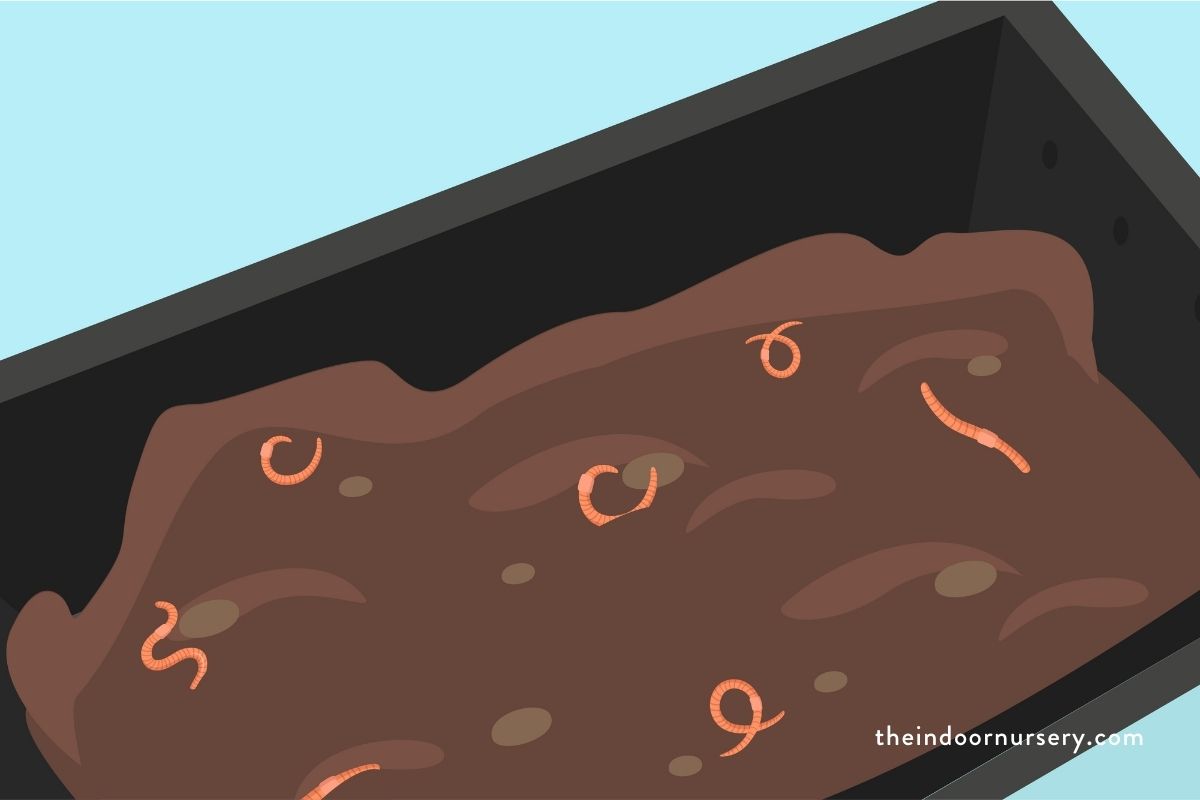
Red wigglers are the most popular and effective choice of worm for home vermiculture systems. And yep, you can buy them online! For a 15 gallon worm composting bin, start with about 500 worms.
They will reproduce and over time reach a population capacity up to about 1,500. You can start another bin at this point if you would like, or just leave them to naturally manage their own population.
How to maintain a comfortable environment worms will love
There’s really no place like home, especially if you’re a worm! They are happiest in an environment that is similar to their native underground environment: Well-draining soil made from a regular supply of organic material, darkness, and lots of tasty things cycling through. Worms are sensitive to moisture level, temperatures, pH level, and textures.
They do best in an environment with a pH between 6.0 and 8.0 – some worm farmers like to track pH before adding compost materials and adjust their compost mix accordingly, but this isn’t a must if you’re just starting out.
A good environment is going to be damp, but not wet, and hovering just around pH neutral. If you don’t maintain a cozy place for your worms to hang out, they will attempt to leave the bin in search of a more comfortable home.

Once or twice a month, add some newspaper, cardboard, or mulched leaves to absorb excess moisture in the bin balanced at about 60-70%. The soil shouldn’t drip when you pick it up, but it should be moist like soil in the ground.
Don’t overfeed the worms
One of the easiest mistakes to make with a worm composting bin is to put too much food in. It’s similar to the big chunks issue mentioned above: When you put in too much food waste, your worms won’t be able to eat it before it rots.
Rotting food attracts fungus and fruit flies, and as it breaks down, it will give off heat and moisture that will make the living environment undesirable and toxic to the worms.
A common misunderstanding is that a pound of worms should be fed a pound of food a day. Rather, worms eat about a pound a week. If you’re creating more food waste than you can compost, consider making additional bins to keep up.
Monitor how fast the food is being processed to know if you’re putting the right amount in at a time.
How to harvest worm castings
Worm castings should be ready to harvest and use about a month after you set up your bin. You should harvest compost every three to four months at least, or risk overcrowding your bins and triggering a mass worm migration.
To harvest your worm castings, you will need:
- Sifter
- Wheelbarrow or empty bin without holes
- Bucket for worms or solid material in the sifter
Using a sifter over a wheelbarrow or an empty bin, the fine soil will fall through the sifter, and the worms and other too-large particles will collect to be put back in the bin.
Once you’ve removed the bin’s finished compost (don’t remove it all, though!), replenish the bedding and food scraps to get the process going again. It’s easiest to start the process again with a bit of finished vermicompost still in the bin, which maintains a familiar pH and keeps moisture levels balanced.
Fortify your soil with worm castings
Worm castings build the quality and quantity of soil by adding nutrient-rich mass known as humus. They also contain microbiological organisms that fight disease, repel insects, improve soil aeration and drainage, and boost water retention.
You can add worm castings to your garden and potting soil as an organic fertilizer, or you can use it to make your own soil mix.
DIY worm-castings based potting soil
To make your own worm castings based potting soil, you will need:
This moisture-retaining mix can be used for most plants but isn’t right for succulents or cacti, which need a soil mixture that doesn’t hold on to much moisture.
Tips for smooth indoor worm composting
- How to make “worm tea” plant fertilizer. “Worm tea” is a liquid fertilizer made from finished worm compost. It possesses the liquid nutrients of this powerful soil amendment and is used as a replacement for liquid fertilizer on a wide variety of plants. To make worm tea, soak 6 cups of finished worm compost in 4 gallons of fresh water (rainwater is best). Stir to combine, and let the mixture seep overnight. Strain the mixture and use it immediately.
- Use worm castings for starting seeds. Seeds should be planted in nutrient-dense, moisture-retaining soil that drains well. An organic soil material like worm castings is a great option to start your plants in a healthy growing environment.
FAQ
Where should I keep an indoor worm composter?
It’s best to keep the worm bin in an out-of-the-way space like a garage, utility room, or basement. The liquid that collects at the bottom will have an earthy scent, and it is best for the worms and composting process to keep it in a moderately well-aerated space.
Can you burn plants with worm castings?
Although they are nutrient-dense, worm castings shouldn’t burn your plants because most of the nutrients are still bound up in the humus and will become available slowly as it slowly continues to break down over time. However, too much of any good thing can be harmful, and too much fertilizer of any kind can overwhelm your plants with nutrients. Less is always more if you have doubts about the amount to apply.
How do I keep food from rotting in the worm bins?
The food should be buried so it isn’t exposed to the air, which encourages rot more quickly. When you put food in the worm compost bin, smaller pieces are better, and blended is best. This makes it easier for worms to eat, and they will be able to finish it faster than large pieces that they have to bite away at. If they can’t eat it all, leftovers may begin to decompose otherwise, growing mold and giving off excess moisture and heat.
How long can you leave a worm farm unattended?
Since the worms will eat the food you compost, and eventually be in need of more, you can’t leave the bin unfed for too long. You should check on and feed the worms about once a week, keeping composting scraps in a separate container until the time of the week arrives. You shouldn’t leave the bin unattended for longer than two weeks, otherwise the worms may leave in search of a new food source and more hospitable environment.
More about fertilizing
- 10 Best Worm Composter Bins For Easy Homemade Compost
- Compost Starter 101: When You Need It And How To Make It
- Our top pothos fertilizer picks for luscious vines
- 5 reasons to use coffee as fertilizer for your plants
- Best fertilizer for Monstera plants for gorgeous leaves
- Fertilizer Burn on Plants? Here’s How to Fix it
- Fiddle leaf fig fertilizer: How to feed your fiddle leaf

Marquis *wants* to know how to keep happy and healthy plants, but had a hard time finding information that wasn't written by just another copywriter. After nearly losing one too many plants, it was time to take matters into her own hands. A team of plant scientists and nursery hands was brought together and The Indoor Nursery was born.