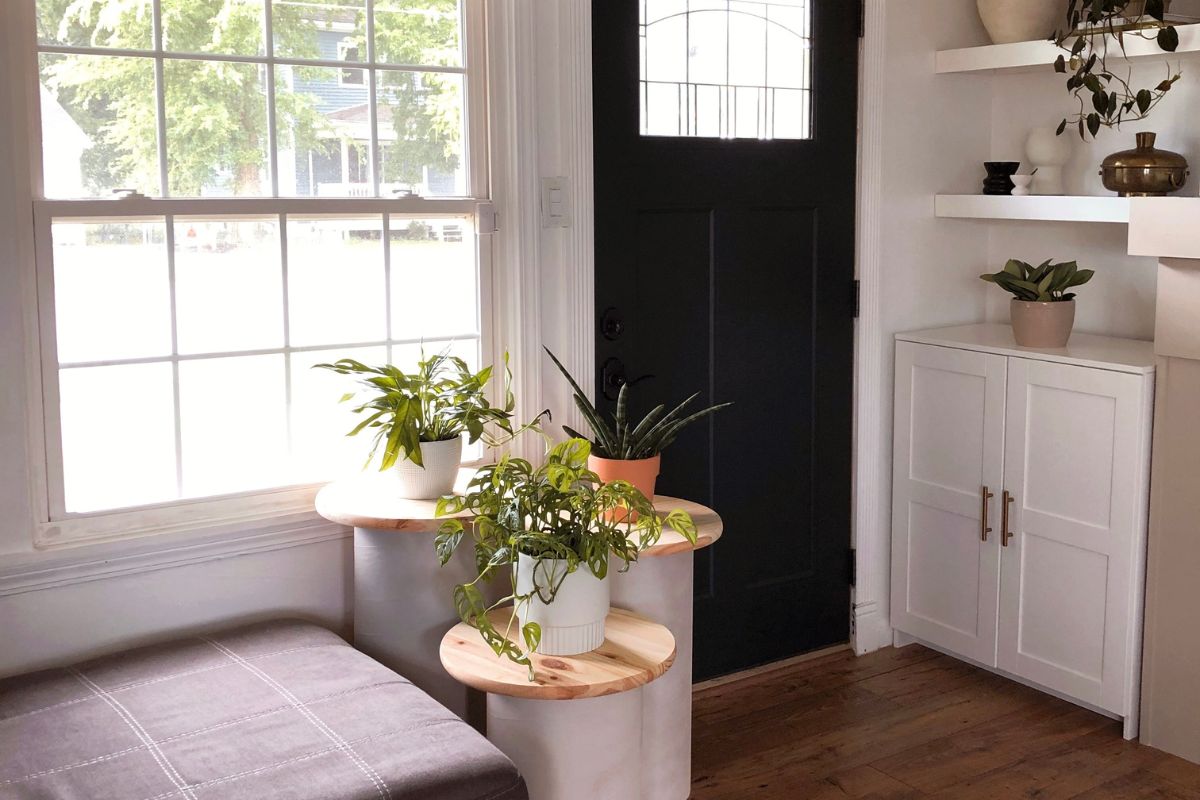
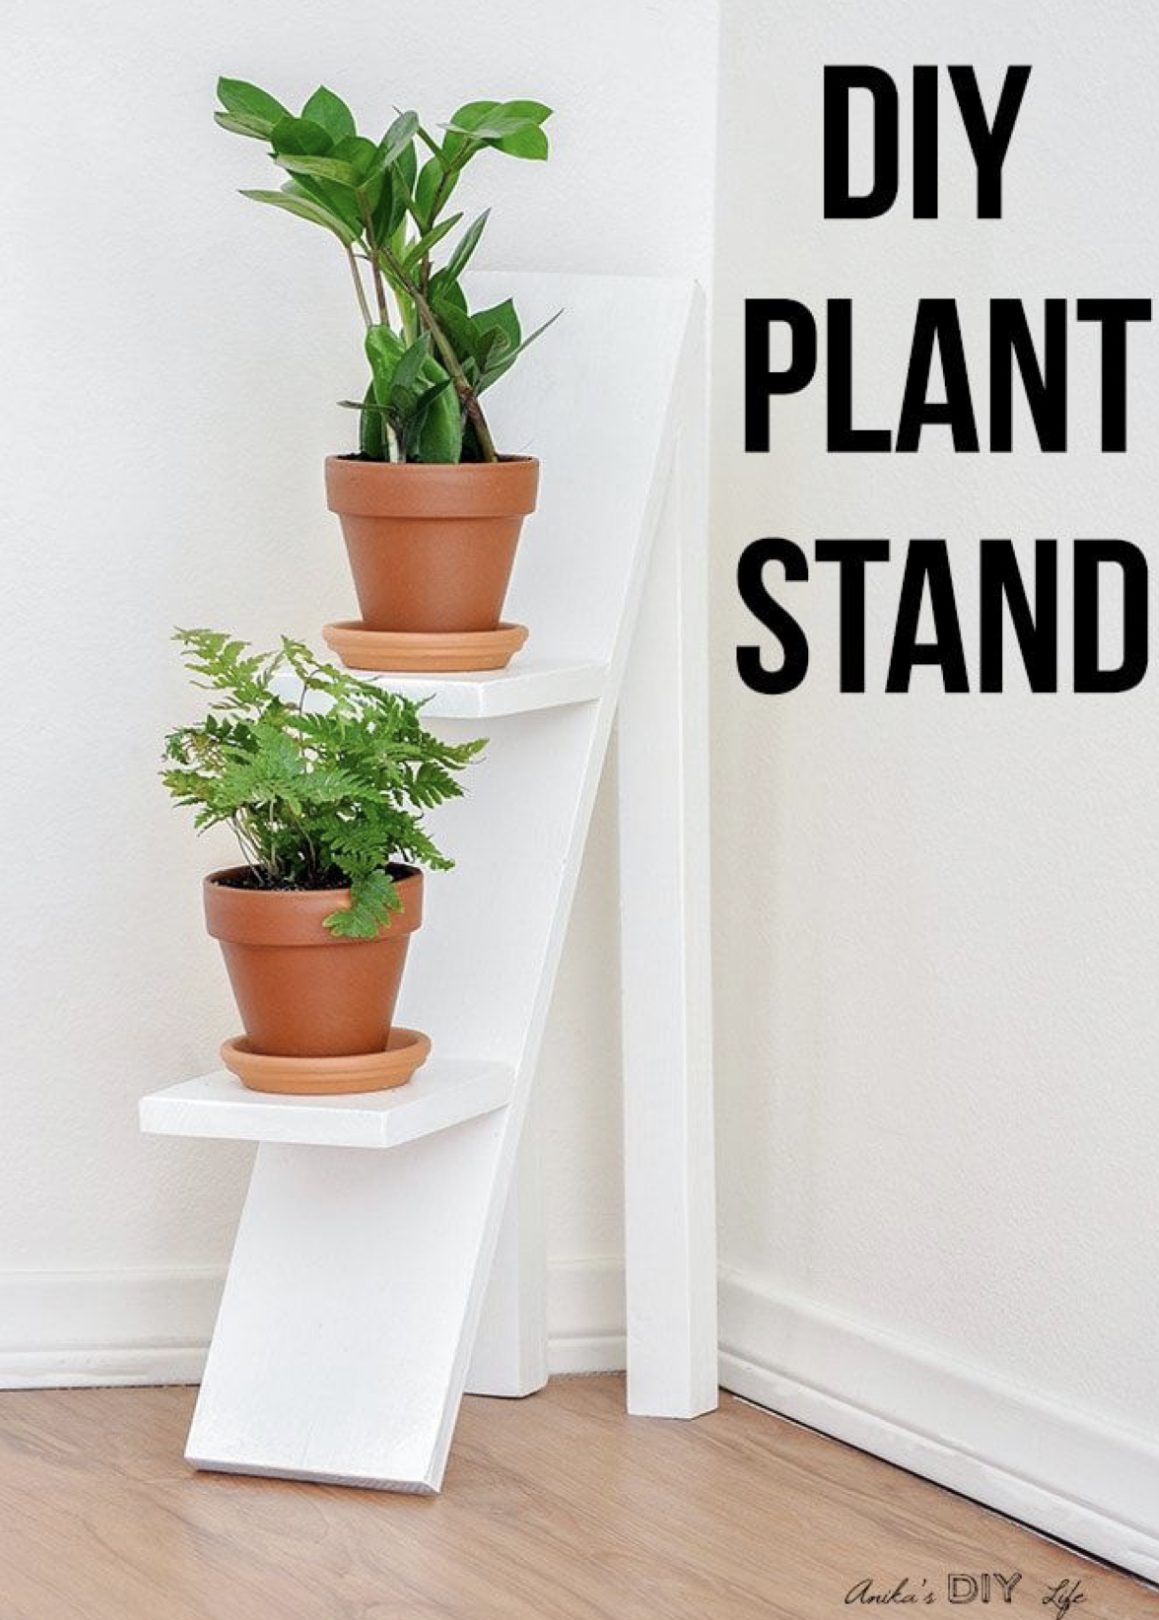
Making extra space for your plant collection doesn’t have to be a challenge. Usually people go straight to hanging plants when they run out of floor or table space.
But there are so many creative ways you can display plants that do not require drilling holes in your ceiling for hanging plants. Including this DIY tiered plant stand!
This plant set up is so simple and fun to make, you’re guaranteed to love it. Keep reading to find out how to create this unique tiered plant stand for your home.
How to make a diy tiered plant stand
What I love about this DIY tiered plant stand is that minimal tools are needed. It is SO simple as far as DIY projects go. Perfect for beginners that are not comfortable with power tools just yet. It’s super cute and trendy too.
What you’ll need:
- 2, 12 in. concrete form tubes (also known as Sonotubes which is a brand)
- 3, 18in. wooden rounds (I used these from our local home depot, they’re pre made in the project wood section)
- Your choice of finish for the concrete tubes (spray paint, pole wrap, joint compound etc.- we will discuss different options in the post below)
- Painters tape
- Box cutter
- Measuring tape
- Construction adhesive
- Power sander plus sanding pads
- Stain or sealant for wooden rounds (optional)
DIY tiered plant stand, step by step
To be honest the trickiest part of this project was getting the two concrete tubes into my vehicle to transport home. Everything else about this DIY tiered plant stand is easy-peasy. You can also customize the finish on this to match the style of your house.
Step 1: cut the concrete tubes down to size
Measure and cut your concrete tubes to the appropriate sizes. It took a bit of patience for this step, but it’s actually no big deal once you get started.
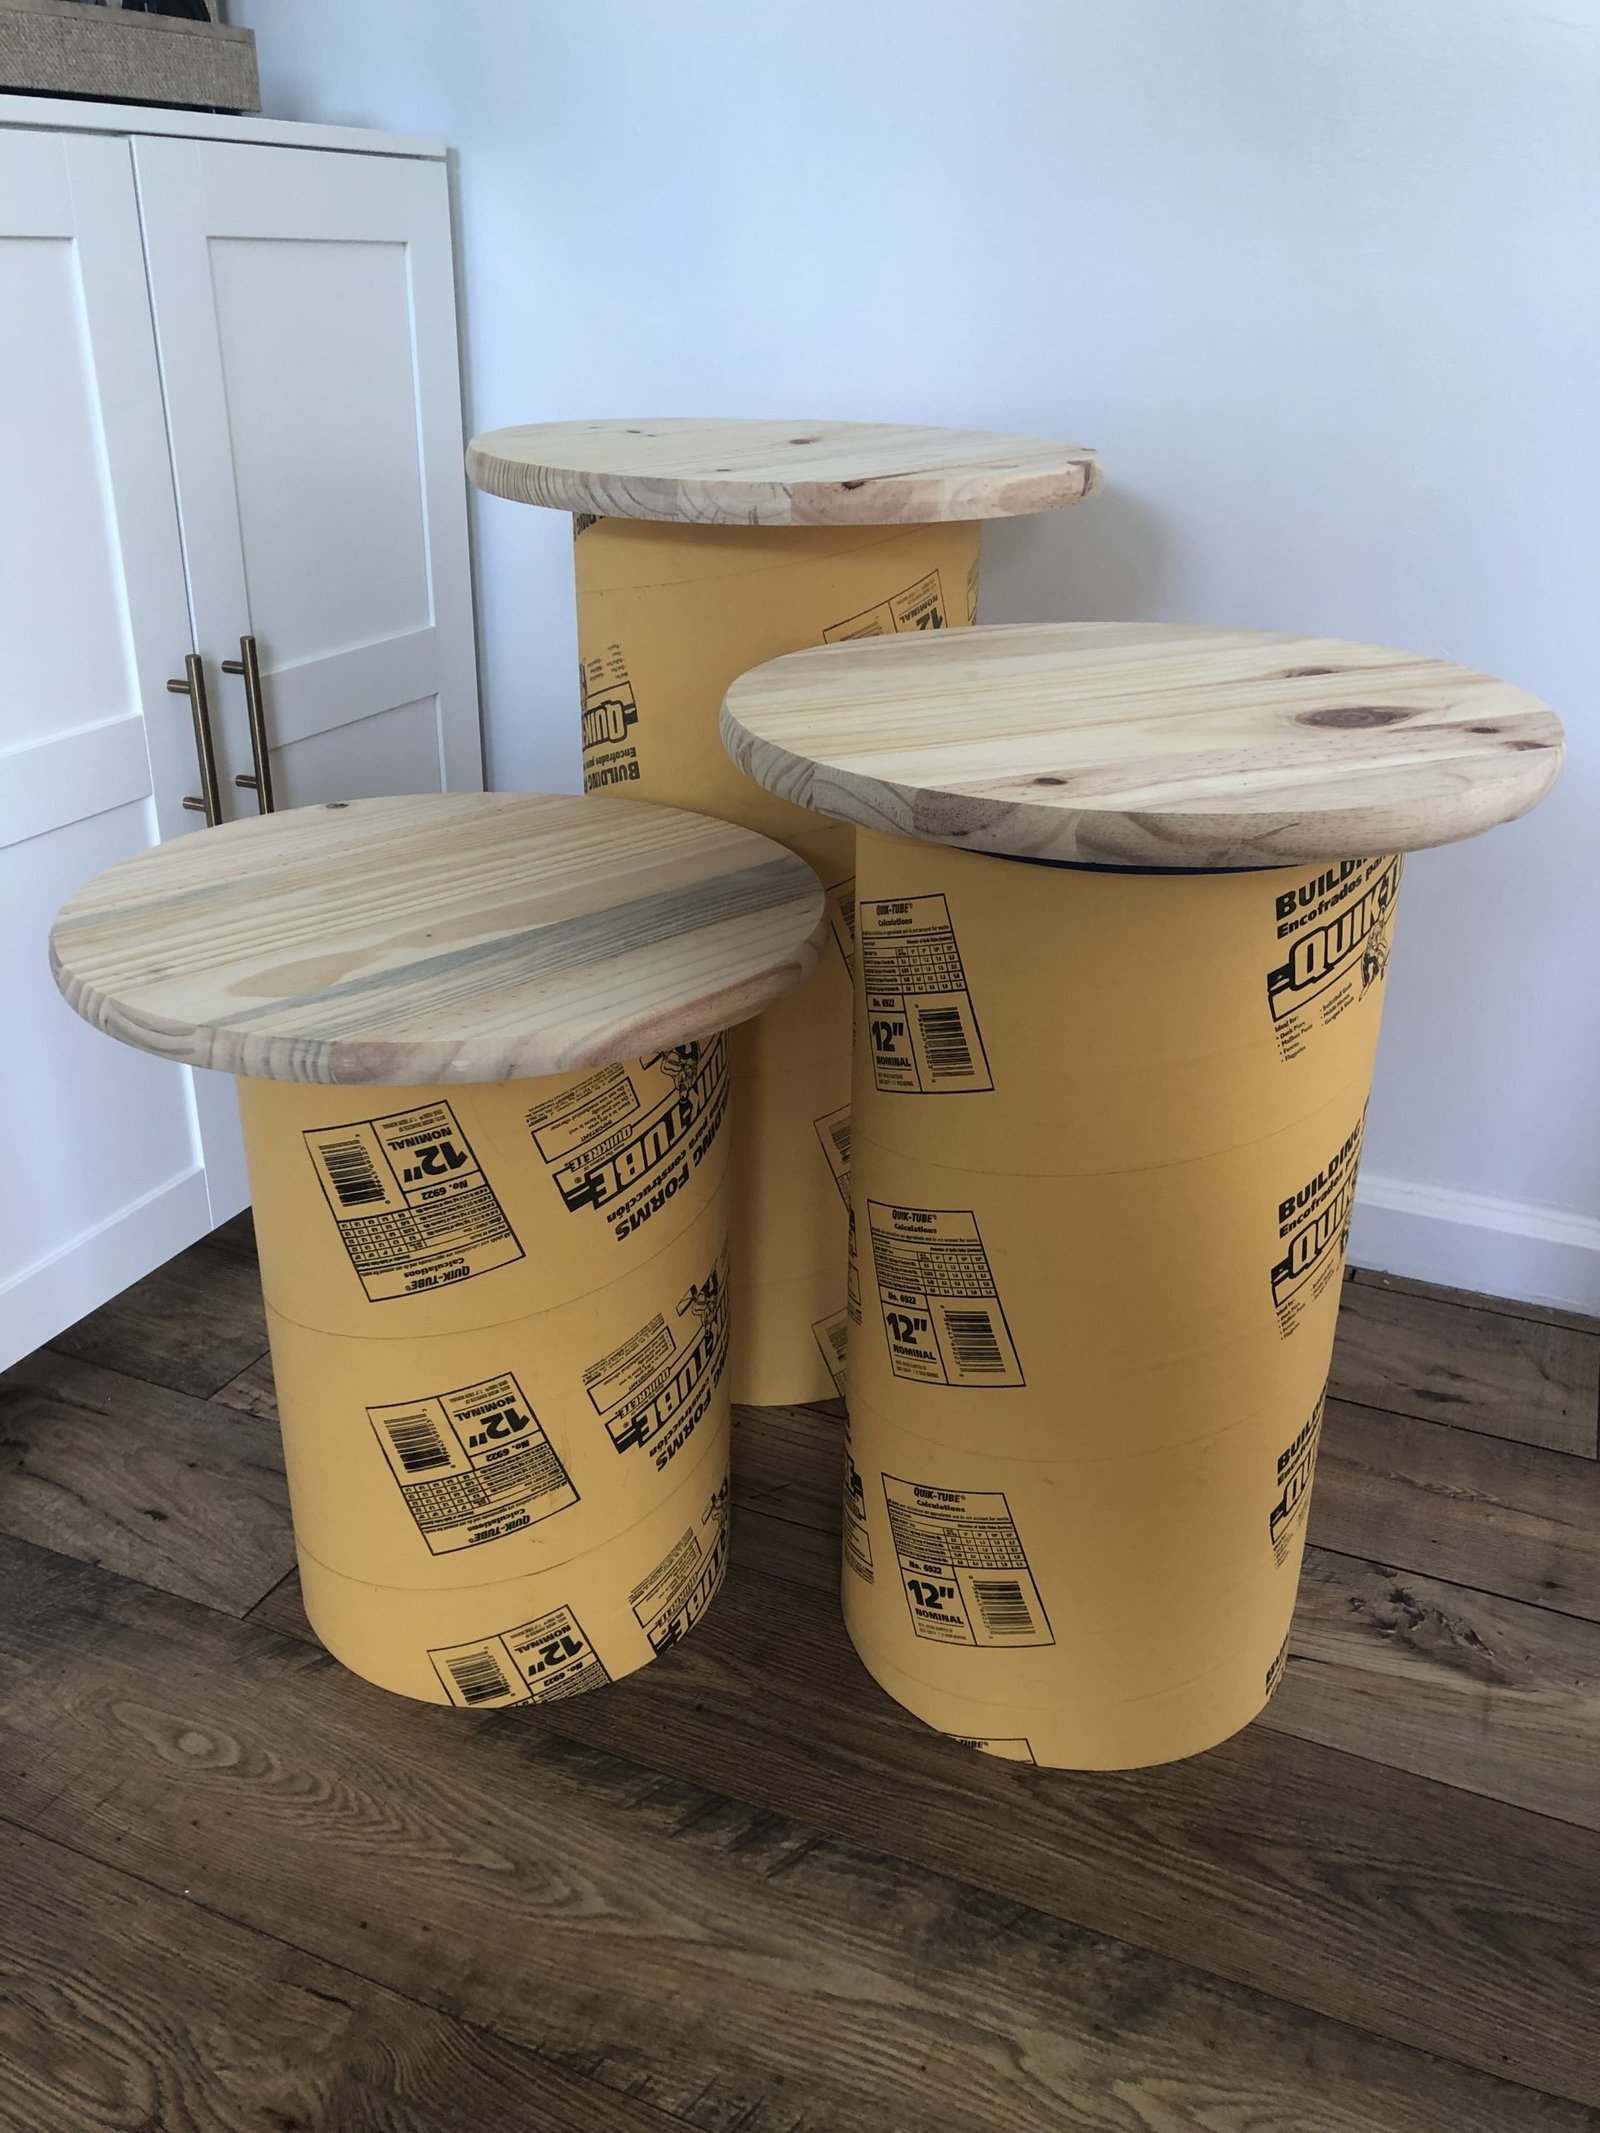
First you need to decide the height of your three tiers. I picked mine based on where this tiered plant stand is going. My smallest tube is 19 inches , my medium one is 24 inches and the biggest one is 28.5 inches. Remember to take into account that the topper will add about 1 inch of extra height to your stands when deciding where to cut your tubes.
Once you have your measurements, use the tape measure to mark your distance on the concrete tube for the first tier. Make small marks all the way around the tube. Since the tubes come in 4 ft. lengths you can get two tiers out of one tube. To make sure that they stand perfectly level you will want to make sure that your two factory cut ends are the bottoms of the tiers you cut.
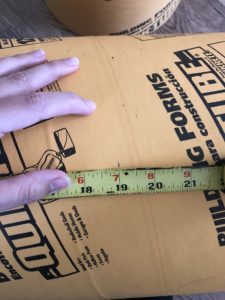
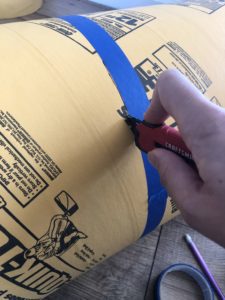
After you have marked your measurement all the way around the concrete tube, take your painters tape and wrap it around the tube making sure to closely follow your marked lines. You should end up with an even line all the way around the tube that you can use as a guide to cut your tier to size.

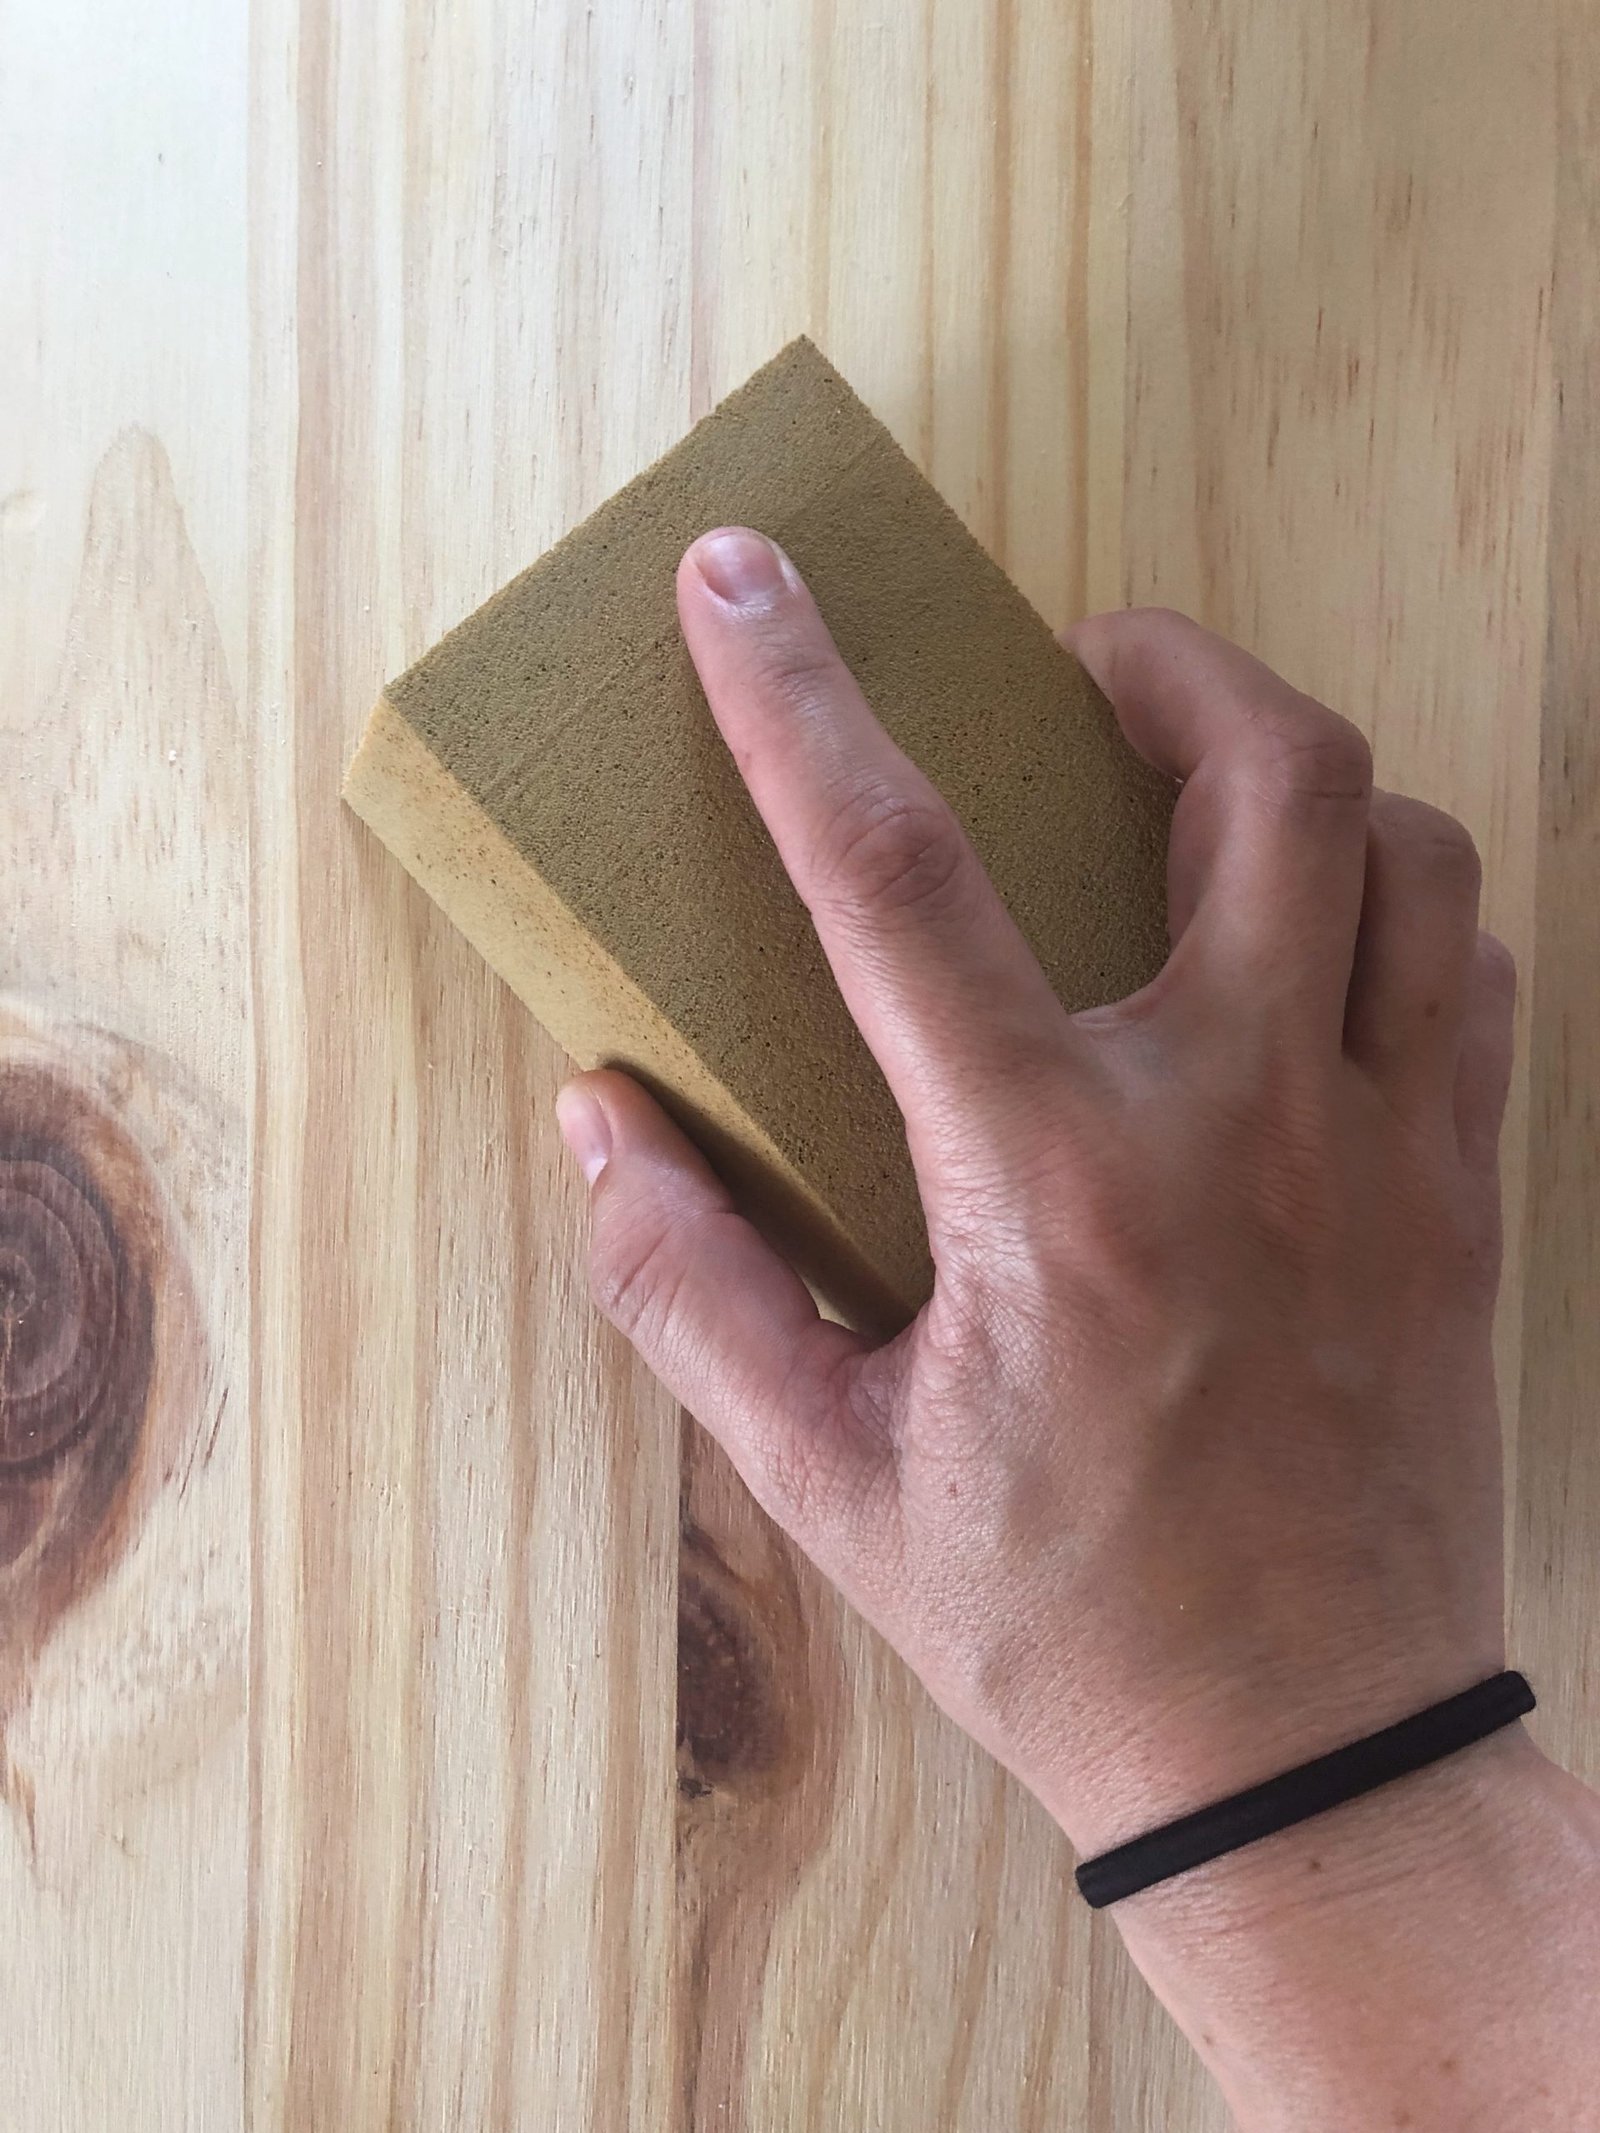
Open your box knife and poke it into the tube along the edge of the tape. You will not be able to drag the box knife through the cardboard so you will have to pull it out and poke it back in, moving it along the tape line bit by bit. This is what takes some patience, but it gave an almost perfectly clean and level cut. You can use a circular saw or another power tool if you want, but it may be harder to control your line.
Step 2: repeat all of Step 1
Repeat all of step one until you have three pieces of the concrete tube at your desired heights. Again, remember to cut them so that the factory-cut end of the tube is the bottom of your DIY plant stand.
Step 3: cover the concrete tubes with the desired finish
This is the fun part of the DIY tiered plant stand project where you can customize this to fit your home décor style!
Pole wrap
My original plan for these was to wrap Pole Wrap around the tube base. If you are not familiar with Pole Wrap it is a flexible sheet of wood slats that is made to wrap around support poles to give them a finished look. It has been VERY popular within the DIY community lately. People have been using it to achieve the trendy slat look on furniture and other DIY pieces. It is easy to work with as well. You can paint it, stain it or just leave it as is.
Because of this, it is almost impossible to find in stores anymore and the price has gone way up. Home depot does not carry it in store now and they do not even have it listed on their website at this time. If you go to the millwork counter they will be able to order it for you as long as it is in stock with their supplier.
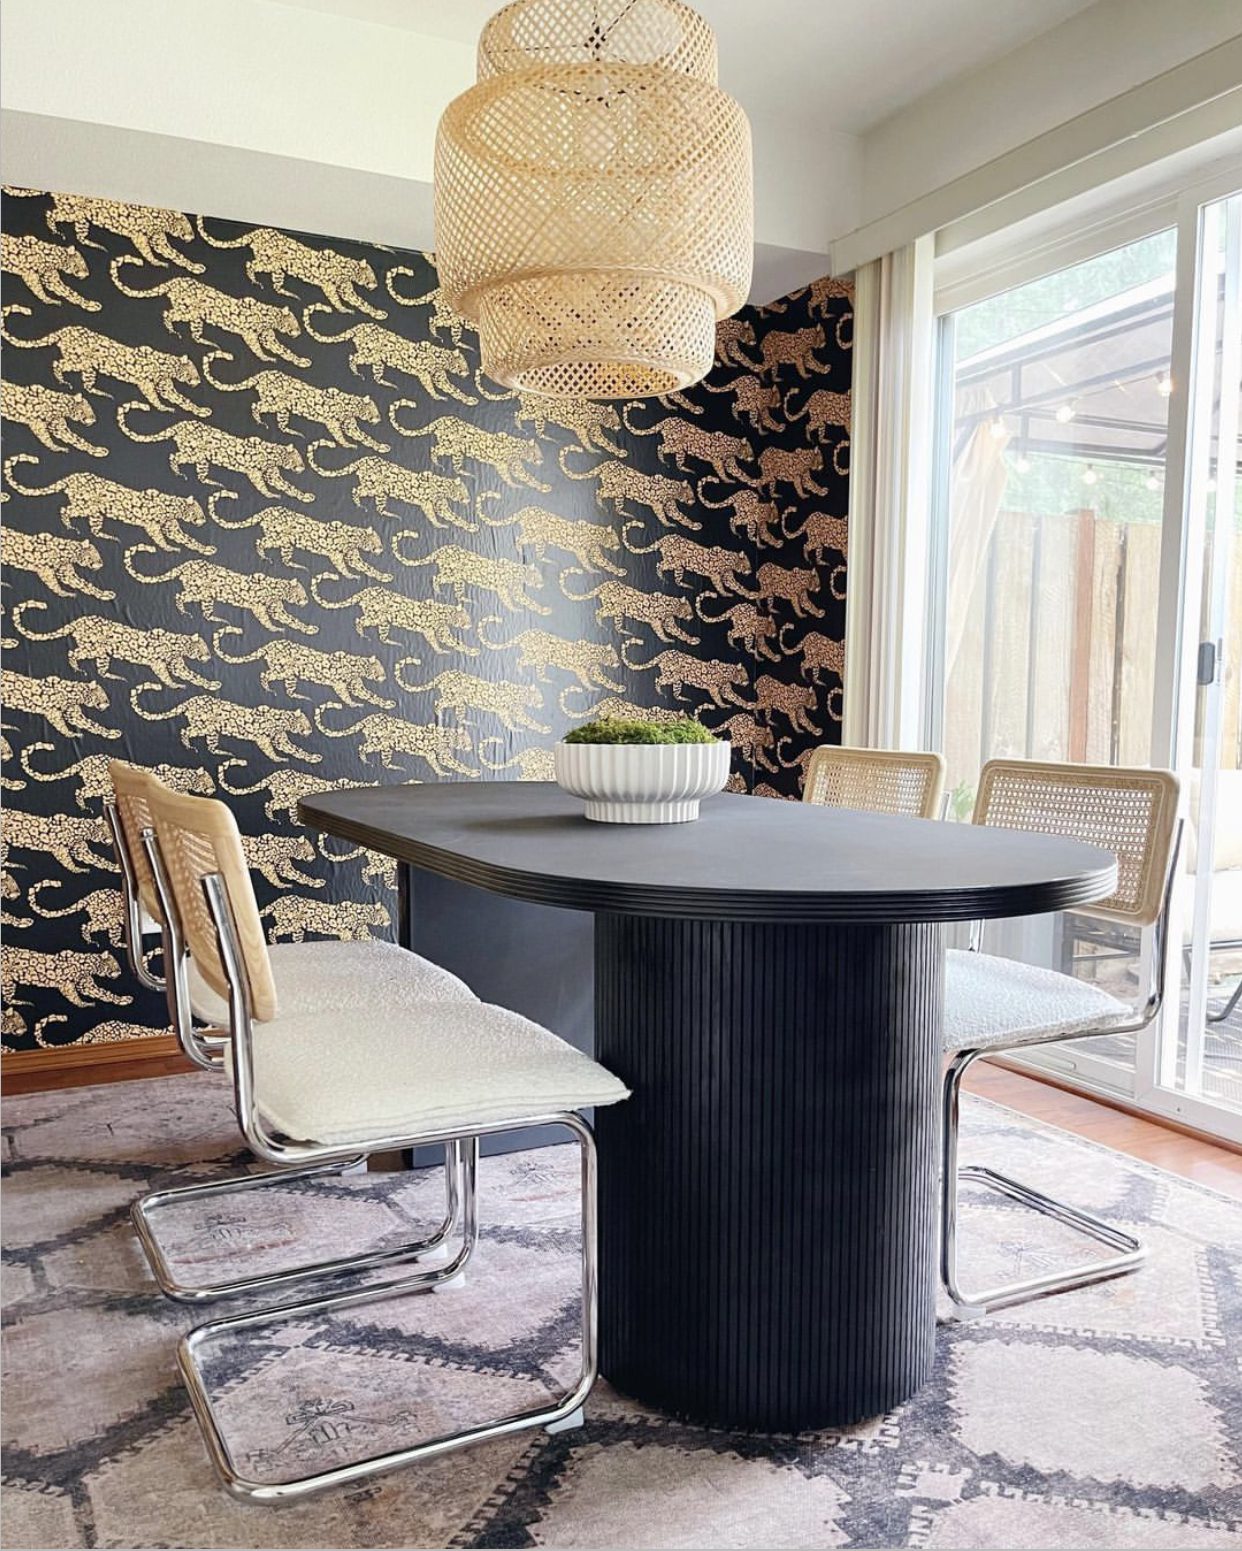
So you not only have to catch it in stock, but you have to wait for it to arrive as well. But look at this table project below from Kelby (@the.modberry) that uses it on the base of her table! Well worth the wait for a nice finish. I think I will be snagging some to add to my own plant stands when it’s back in stock.
Wooden half rounds
An alternative to the pole wrap would be to purchase a bunch of long pieces of half round. These are usually found in the trim section. You can then cut them down to fit the heights of your tubes and glue them around the tubes for a fun fluted look.
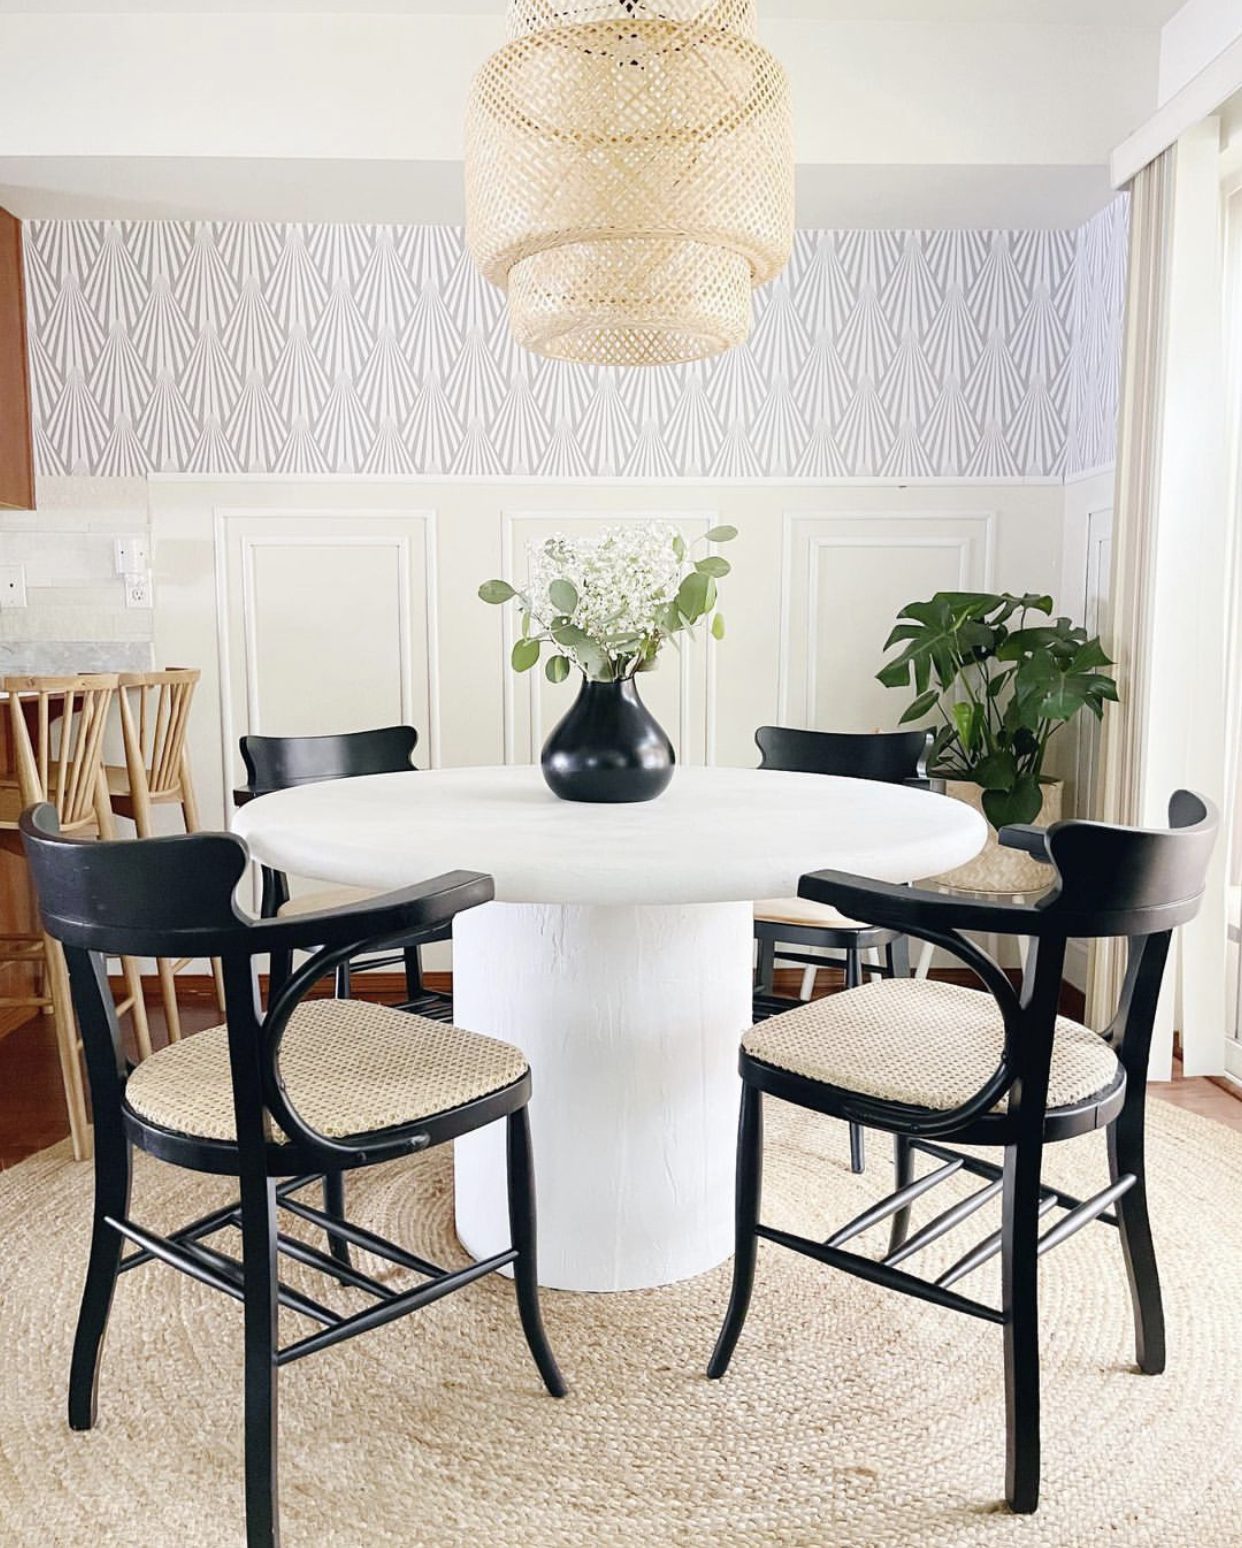
Half round is probably the most expensive option but it will look amazing when you’re done. You can also paint or stain this option. Here is an example of half rounds on the base of a table below. Insp also courtesy of Kelby.
Joint compound
Another option for covering the cardboard concrete form tube is to smother it in a joint compound for a fun, textured look. A large tub of joint compound is fairly inexpensive. You’ll have to have patience and work in layers, sanding lightly between each layer as you go. Spray it with your favorite spray paint color when it’s dry to finish it off!
It’s actually a running joke on Kelby’s account how many times she has flipped her dining room. But again, I found the joint compound idea from her page. It could easily be applied to these plant stands.
Stone textured spray paint
This is what I ended up going with for the time being. Rustoleum makes a couple different types of stone textured spray paints. It is one of my favorite things and gives a nice faux stone look. I use it often on thrifted vases to make them look more expensive. I wanted to give it a try on this as well. The store was out of my favorite spray/color so I ended up going with this Krylon brand one instead.
Full transparency, the Krylon spray was not as good. It looks nice, but the texture is more subtle than Rustoleum’s. You can also still see the paper line that wraps around the cardboard through the spray paint. I am not sure if Rustoleum’s textured paint would be enough to hide that or not.
To finish, I covered the textured paint with a creamy white spray paint (Krylon’s Clamshell) to finish the look off!
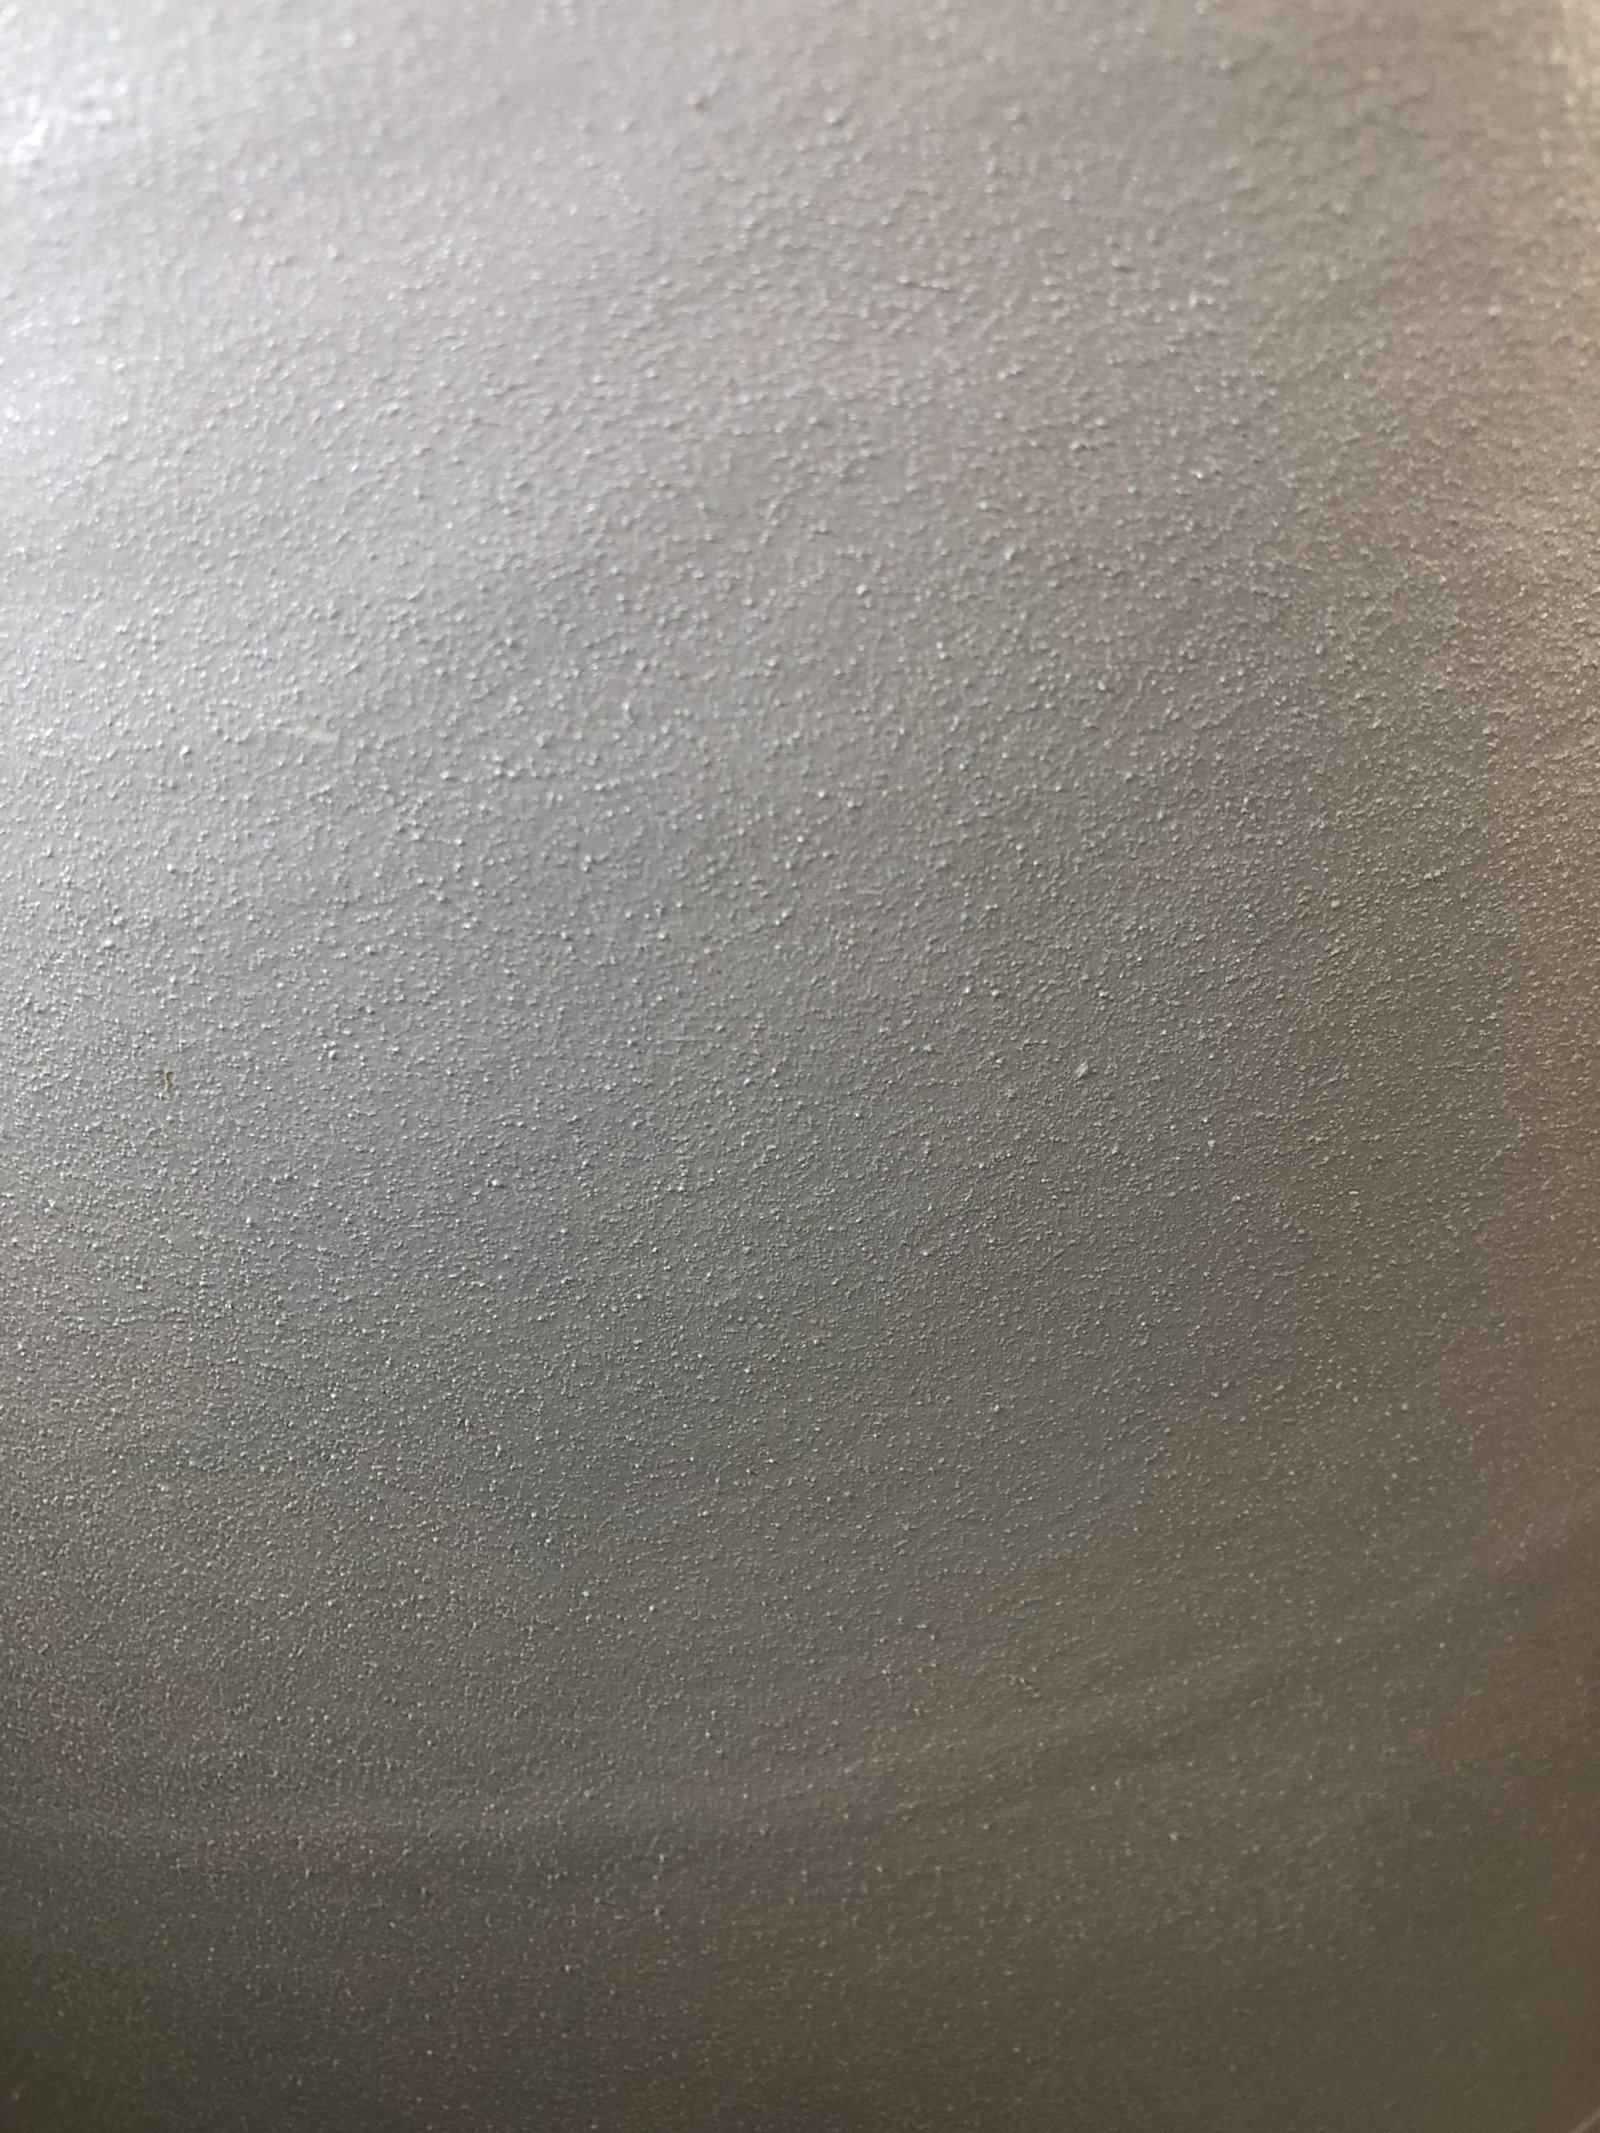
Overall I would be less likely to recommend going this route, but it is an affordable option and doesn’t look bad. Just be aware that you may still see the paper lines that are on the tubes. They really only show when you’re up close.
Step 4: finishing your wooden round
To finish your wooden rounds, they will likely need a light sanding. After that you can leave them alone for a natural wood look or you can paint/stain them to match your base tubes. You may also want to consider sealing the wood regardless to protect it from water if you do not plant to use saucers under your plant pots.
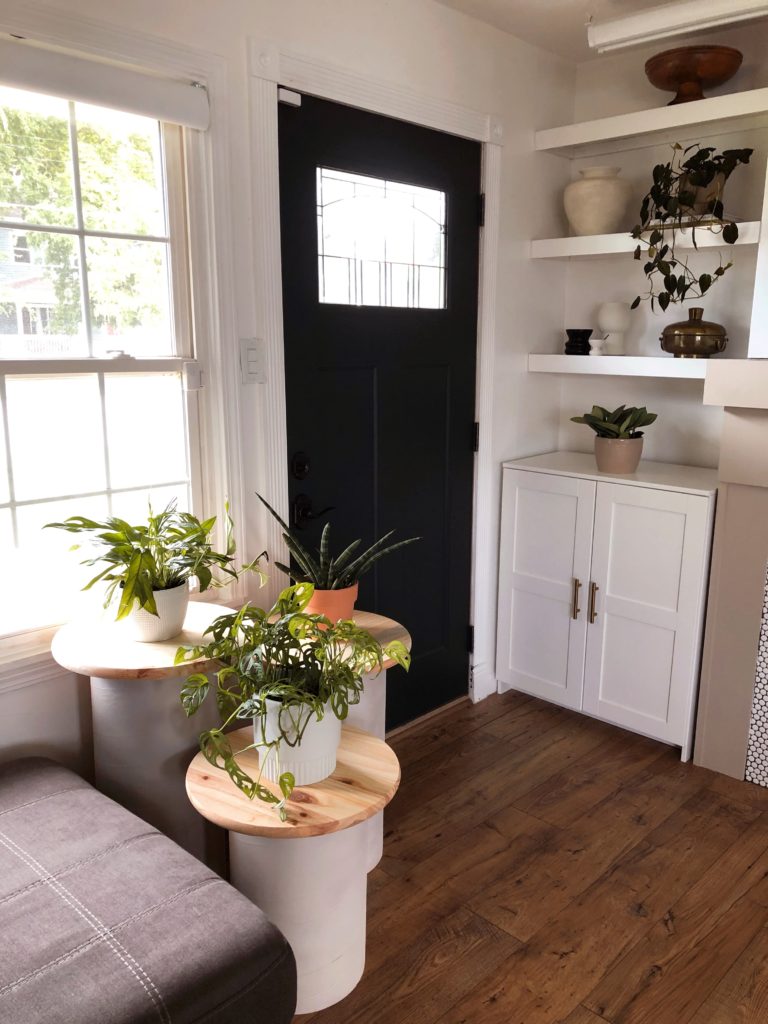
Step 5: assemble the DIY tiered plant stand
It is time to put this tiered plant stand together! You won’t believe how easy this is!
Take your wooden rounds you picked up from the store, add a small ring of construction adhesive around the top rim of the tube, and place the wooden round on top! Make sure the round is centered. You could use some scrap tube to measure and mark the placement on the bottom of the wood round if you felt it would be helpful. I did not do that though.
Finally arrange your plant stand how you’d like. What is great about these is that they can be broken up and displayed separately or all together. They can be used as side tables or a coffee table piece as well.

Tips for making DIY plant stands
There are a few things to take into consideration when taking on this DIY project, whether you go with this plant stand design or a different one.
- Space. Make sure you have a good place to set it up before you start. If you don’t have enough floor space you can always incorporate a bar for hanging plants as well..
- Lighting. The space you plan to display your plant stand should have a proper light source. If you plan to put this in a shady corner or room you may want to consider grow light options.
- Tools. When planning to build a DIY plant stand, you will want to make sure that you have the proper tools on hand as well. I love this particular plant stand idea because it does not require a miter saw, nail gun, pocket holes, pocket or wood screws, wood glue etc. It truly is a simple build.
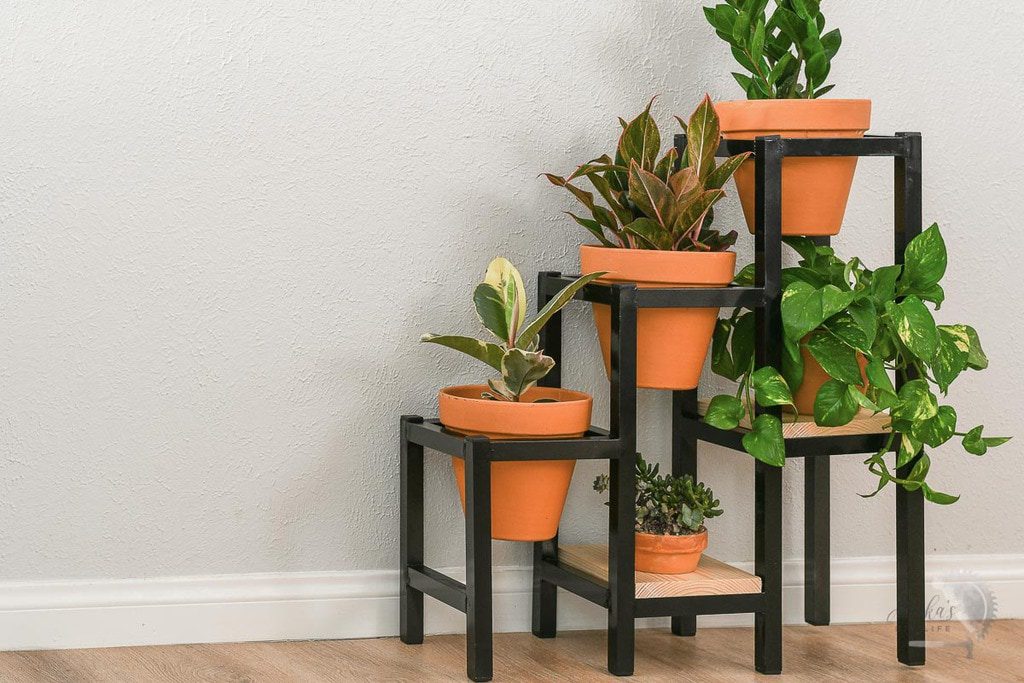
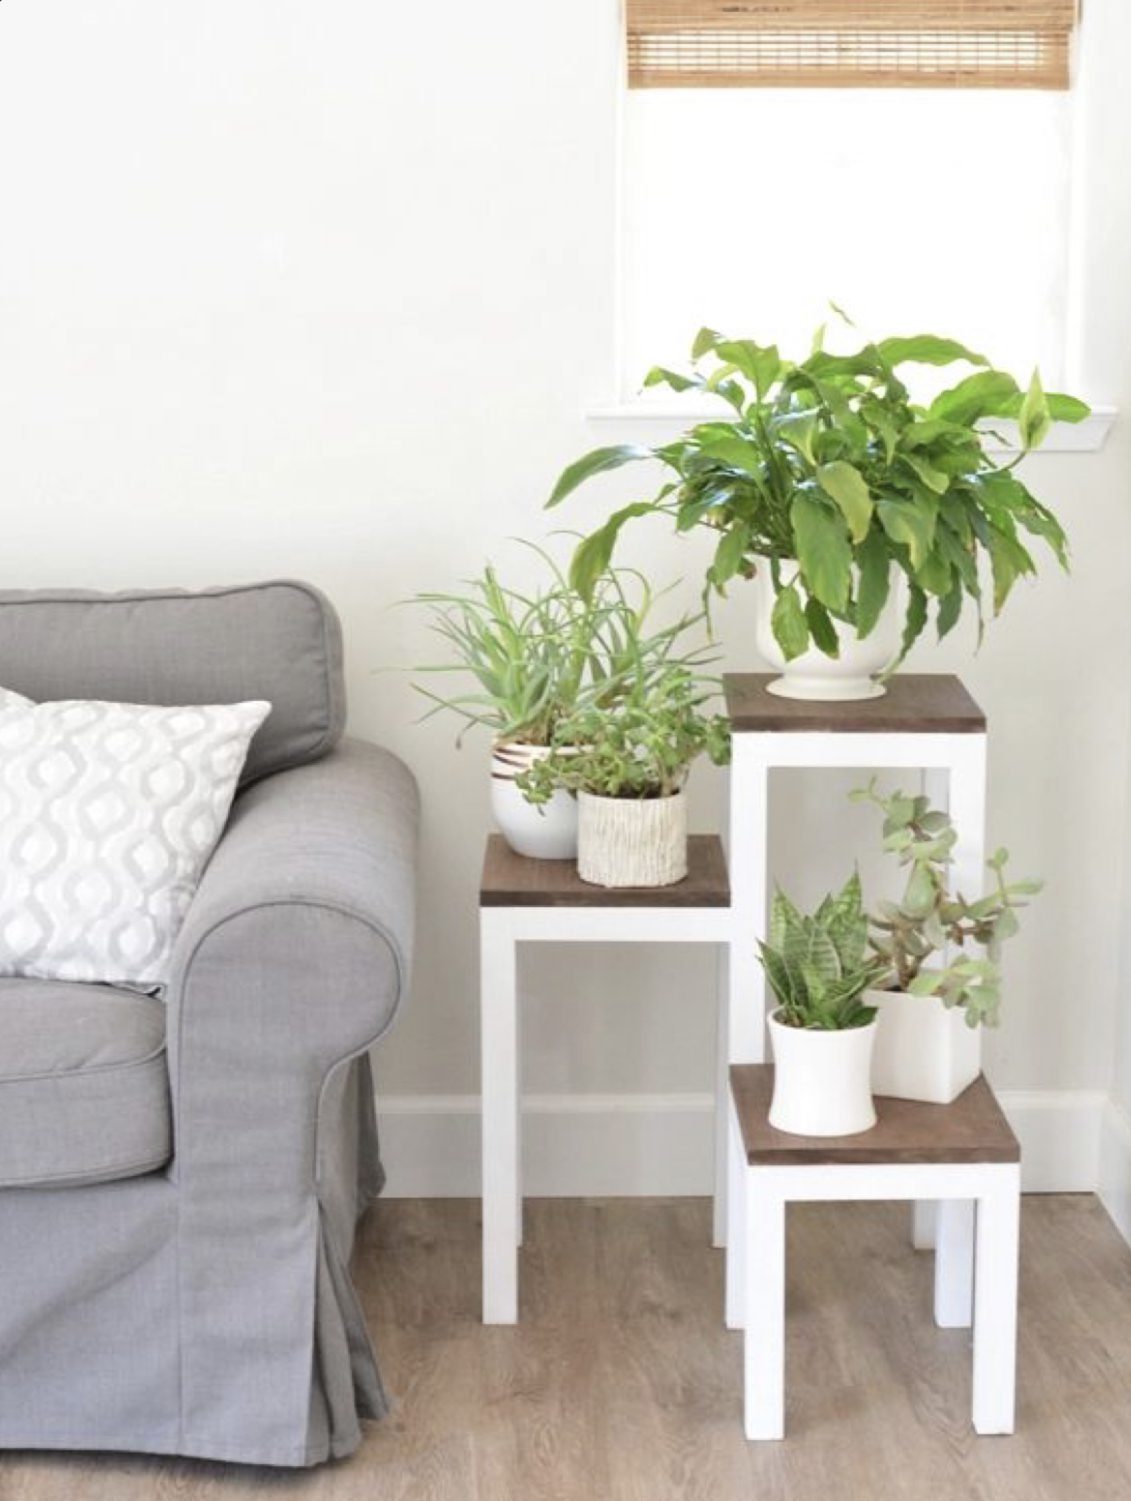
More tiered shelf ideas for plants
More How To Guides
- How To Get Rid Of Scale On Plants
- DIY Terrarium Table: How To Make A Table With Plants Inside
- How to Use Leca for Plants: Step-by-Step Guide with Pictures
- How To Use Grow Lights For Indoor Plants
- How To Propagate Peperomia Plants 2 Ways
- DIY Propagation Box With Grow Light
- How To Make Pothos Fuller (In 5 Minutes)
- How to Make a Moss Pole for Your Climbing Plants
- How to Make Potting Soil for Indoor Plants, Plus My Secret Ingredient
- How to Propagate a Split-Leaf Philodendron: Easy Step-by-Step Guide
- Tags:
- DIY

Marquis *wants* to know how to keep happy and healthy plants, but had a hard time finding information that wasn't written by just another copywriter. After nearly losing one too many plants, it was time to take matters into her own hands. A team of plant scientists and nursery hands was brought together and The Indoor Nursery was born.