Air plants are easy going house plants. In fact they don’t even need soil! How cool is that?! Since they don’t require soil, that means you can get creative when it comes to how you house and display them in your home.
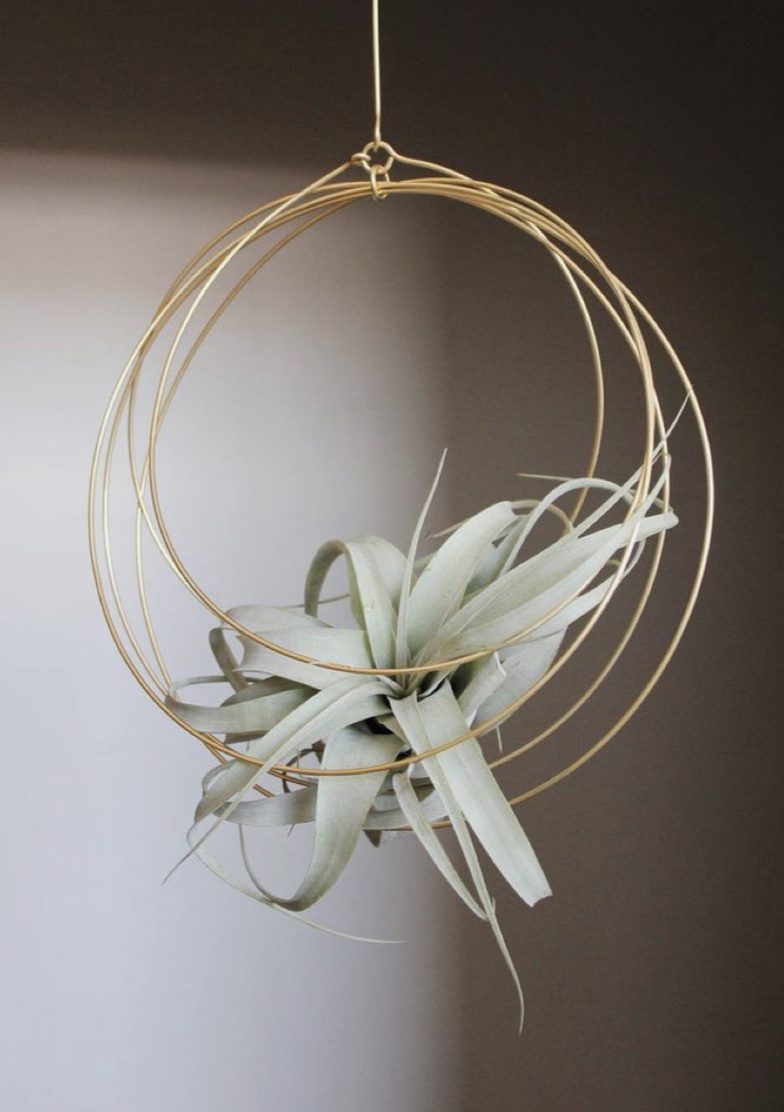
how to make an air plant holder for jungle vibes
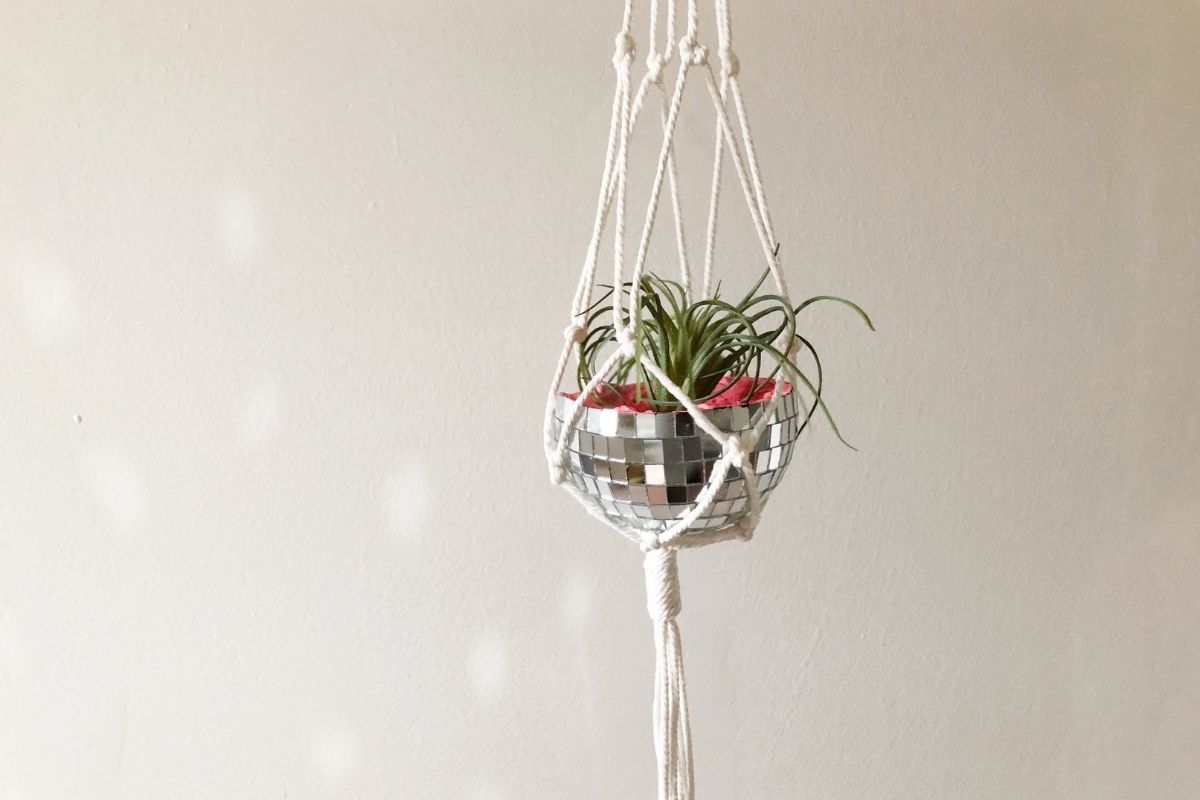
I have had my eye on a disco ball planter for quite some time. It just seemed like the natural next step after learning how to make a standard macrame plant hanger. You know? Instead of sitting my plant in a pot, why not place it in… a mini disco ball?! Brilliant, I know. Disco balls bring sunshine and cheer to about any space. Below you’ll find what materials you’ll need to create this simple air plant hanger.
What you’ll need:
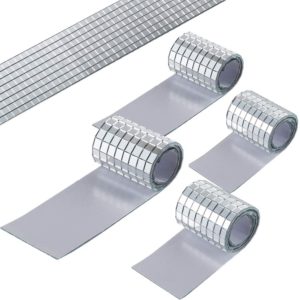
- 4″ Mirrored disco ball
- Macramé cord
- Wooden ring
- Acrylic Paint and paint brush
- Knife
- Spoon
- Painters or masking tape
- Vacuum
DIY hanging air plant holder, step by step
Turning your disco ball into an air plant holder is actually pretty simple. But it is slightly messy. I suggest having a vacuum nearby to clean up as you work. Styrofoam tends to become staticky and stick to everything. I did run into one little snag during this but have an alternative solution to this problem for you.
step 1: remove mirrored glass pieces from the disco ball
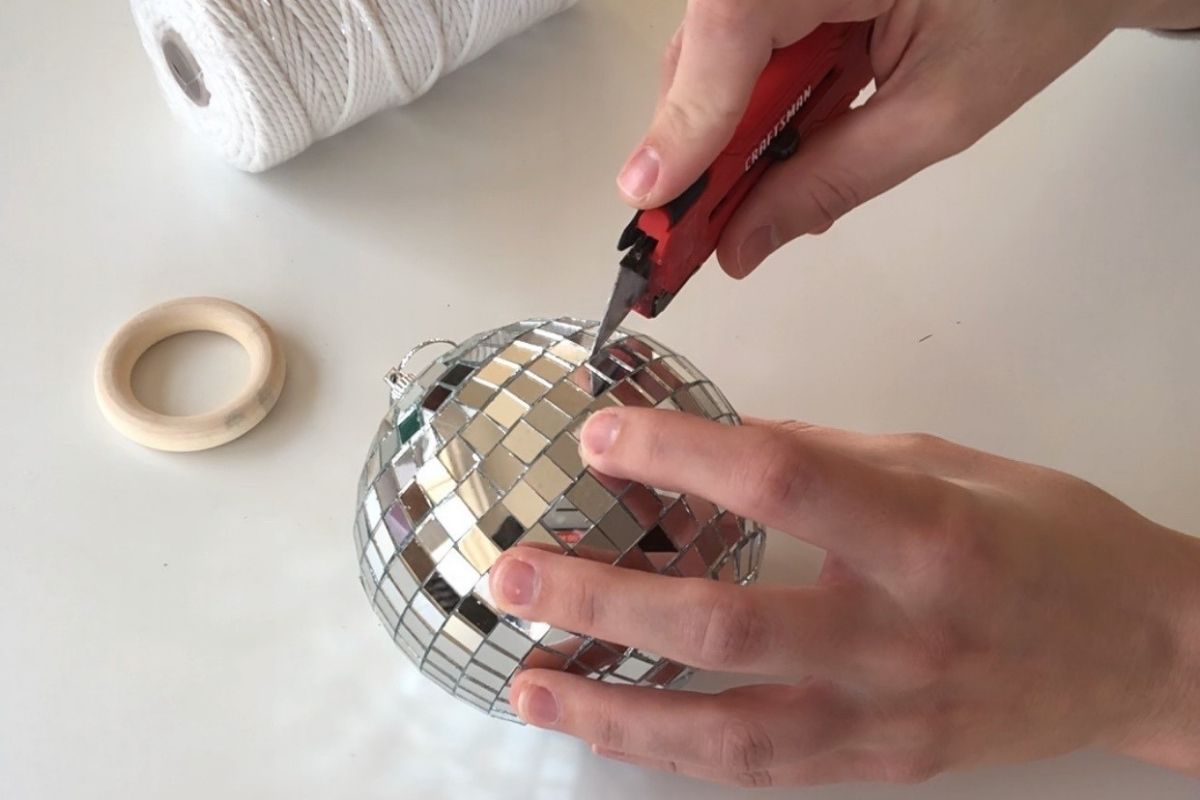
Start by removing the tiny mirror pieces from your disco ball. Pick a row that is about 1/2 to 3/4 of the way towards the top of the disco ball. Only remove about 1-2 rows so that you have an area where you can begin cutting the Styrofoam that is inside the ball. I used a utility knife to get the first glass square off. The rest were easily removed with my fingers.
Unexpected snag
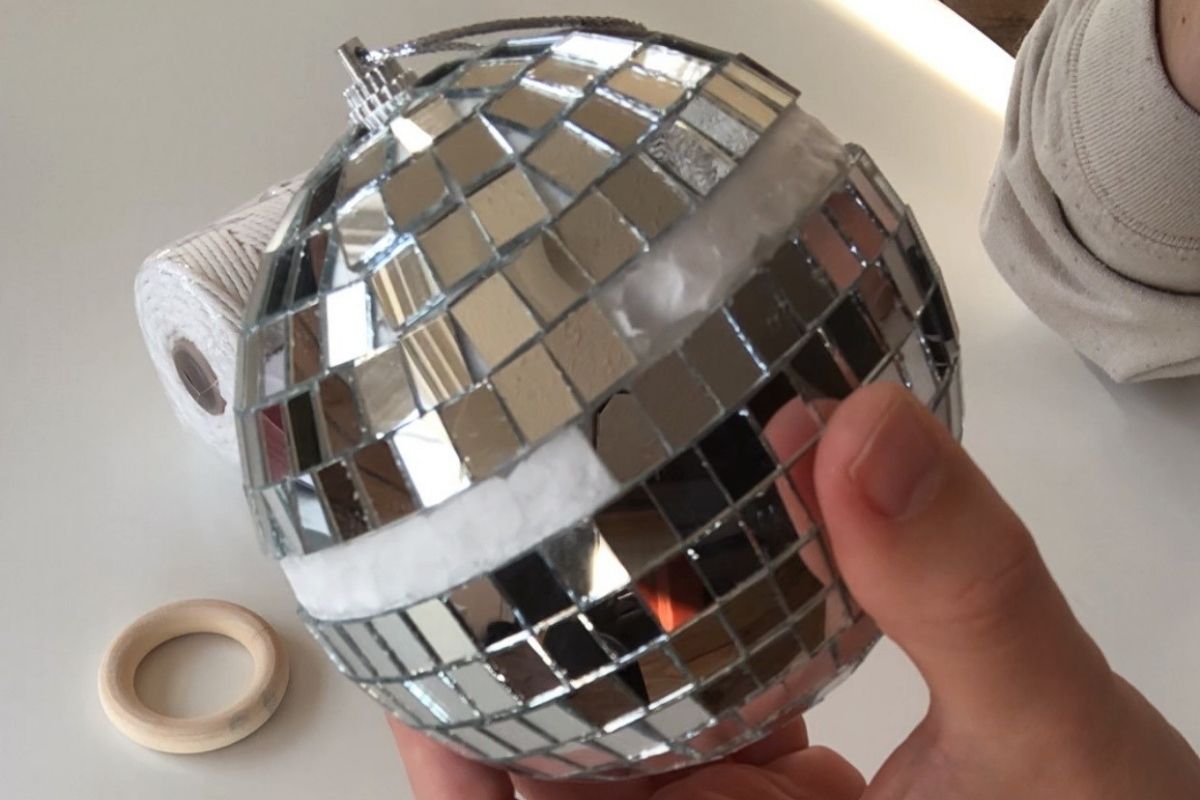
This is where I ran into a little snag. I did not realize until beginning this DIY air plant holder that the glass pieces were snaking around the ball in a continuous line. This made it difficult to take off just one row of mirrors and cut straight through the disco ball.
Due to this, my disco ball holder is slightly uneven, but it’s actually not super noticeable. I plan to hang it against a wall with the uneven part hidden. If you are a perfectionist and this would bother you then I would suggest taking a slightly different approach.
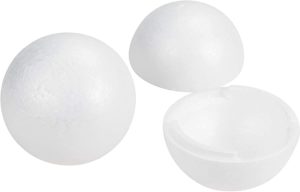
Alternative solution
You can purchase a foam sphere (these are already cut in half and hollowed out for a clean finish) and mirrored glass craft pieces separately. Cut your sphere in half and then place the mirrored squares on yourself so that everything is in straight rows and evenly spaced.
step 2: use a knife to cut through the Styrofoam sphere
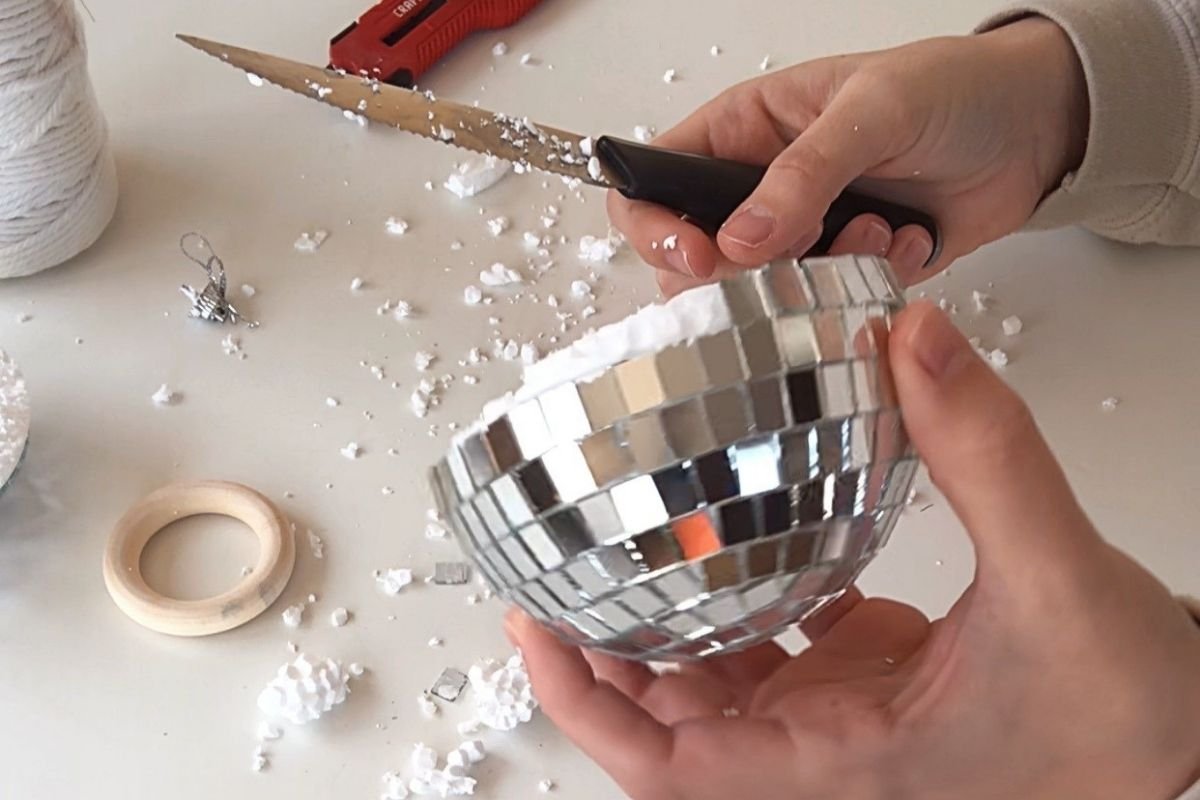
Once you have enough of the mirrored pieces removed, take a knife and cut off the top portion of the disco ball. This is where things start to get a little messy.
I used a steak knife for this step (maybe not the best choice but any serrated knife should do).
step 3: remove some of the center Styrofoam
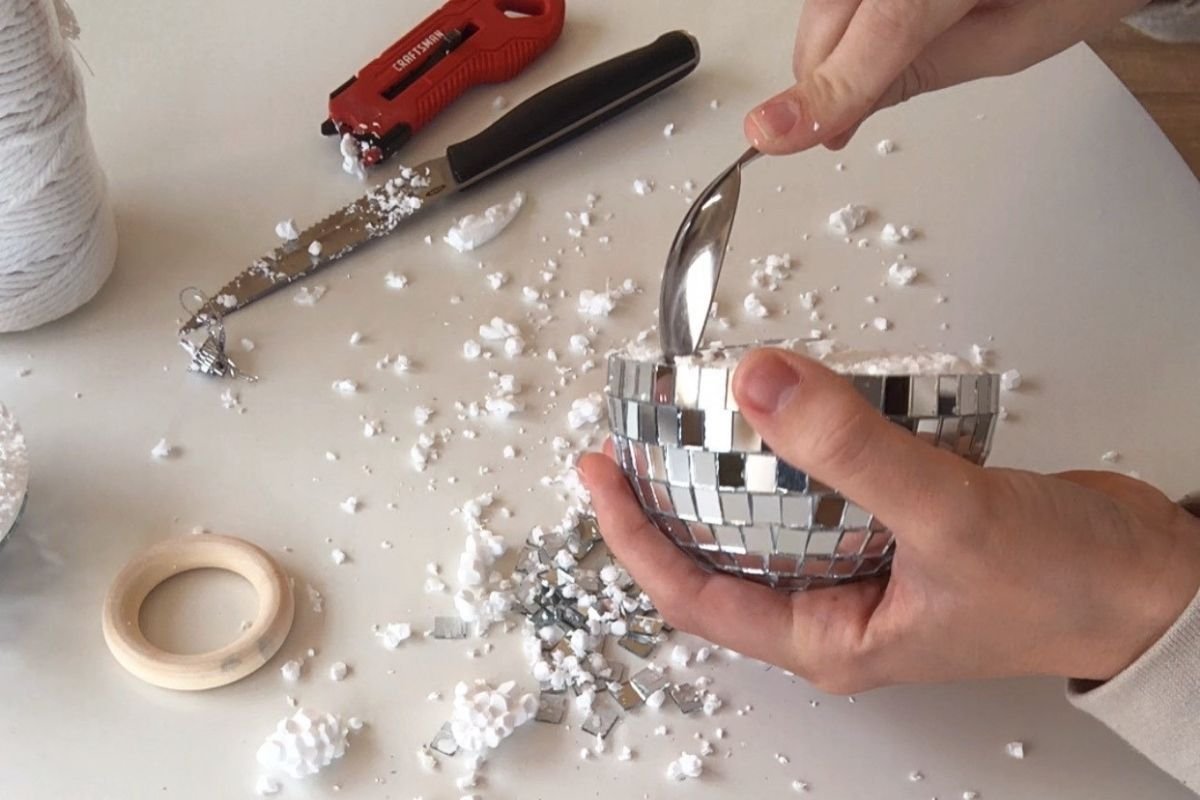
After cutting your sphere in half use a spoon to scoop out some of the foam that remains in the center of the disco ball. Again- more mess from staticky Styrofoam pieces during this step but we are almost finished!
Your disco ball may be looking like a hot mess right now, but stay with me.
step 4: paint the exposed Styrofoam
The last thing you need to do to the disco ball is paint the foam that is now exposed and a little messy looking. This will help give it a more finished look. Originally I chose to use black acrylic paint for this step, but then changed it to a fun bright color since it is going in a kids room.
step 5: create a DIY macramé plant hanger
To create my plant hanger I used a simple knot pattern and only 2 different types of knots.
Macramé plant hanger Step 1:
Cut 4 x 36 inch pieces of sting. You can change the length to be as long as you need, I wanted a shorter hanger for my 4″ disco ball.
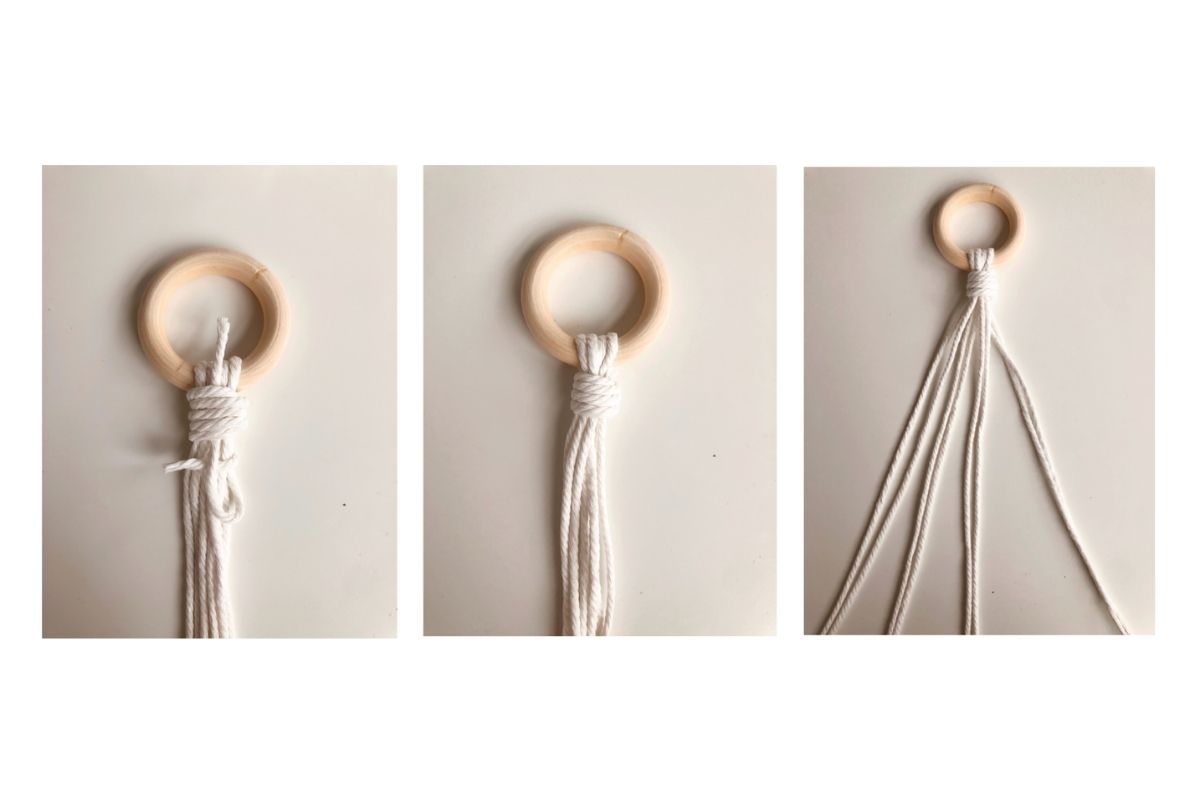
Macramé plant hanger Step 2:
Fold the long strings in half through the wooden ring.
Macramé plant hanger Step 3:
Take a new, 12-18″ string and use it to create a gathering knot just under the wooden ring.
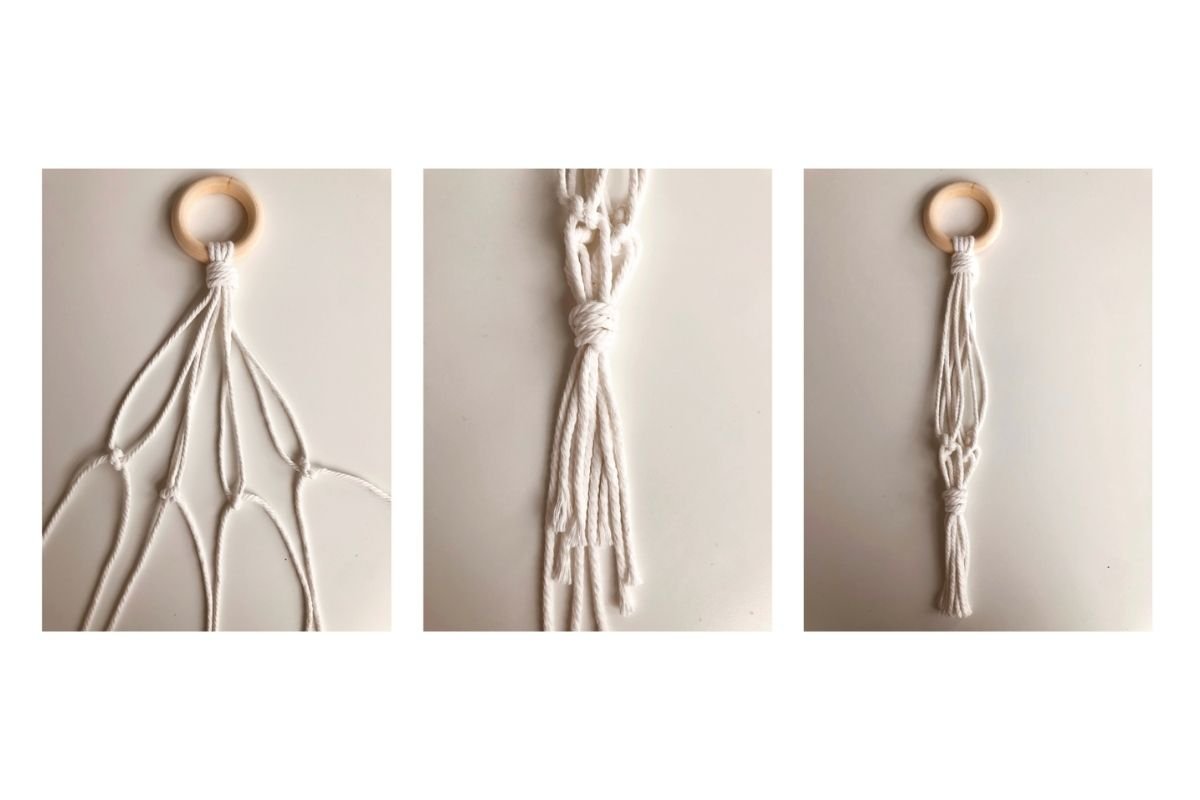
Macramé plant hanger Step 4:
Pair the 8 strings into groups of 2 and tie them in a basic knot (making 4 knots total).
Macramé plant hanger Step 5:
Moving down the string about 5 inches below your first knots, take one string from a knotted pair and one string from another pair and knot them together. You will make another 4 knots.
Macramé plant hanger Step 6:
Repeat step 5 two more times, This time only leaving about 2 inches between each row of knots.
Macramé plant hanger Step 7:
Using another 12-18″ string creates a gathering knot at the very bottom of the plant hanger.
Macramé plant hanger Step 8:
Trim the strings hanging at the bottom of the plant holder to an even, desired length.
step 6: assemble the DIY air plant holder
Once you have finished your hanging plant holder you can place the disco ball into the hanger and set an air plant into the center of the disco ball.
step 7: hang the air plant holder
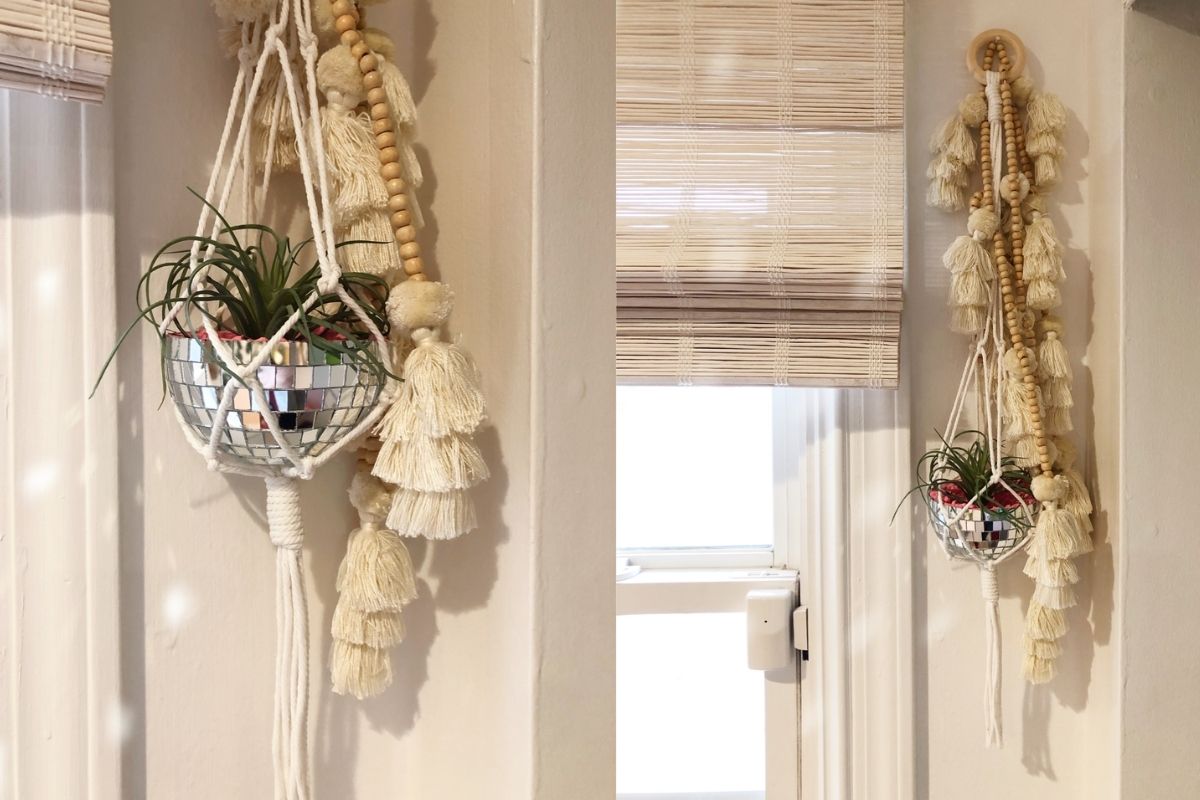
Hang your new DIY air plant holder wherever you’d like and enjoy the cheerful reflections from the disco ball!
how to display air plants
Here are a few tips for choosing the best place to display your DIY air plant holder.
- Pick an area in your home that has an east or west window. Air plants do best within 3 feet from an east of west window so that they can have direct sun for a few hours each day.
- Make sure that your air plant is easily accessible. Since air plants do not live in soil they need to be soaked in water every 1-2 weeks. Make sure that you can easily get to your air plant and take it to soak. They need to be fully submerged in water for about an hour.
- Display them close to other plants. Keeping plants grouped close together is a great way to help create a slightly more humid environment for them. Air plants thrive in humidity since they absorb water through their leaves. Keeping them close to other plants can be helpful.
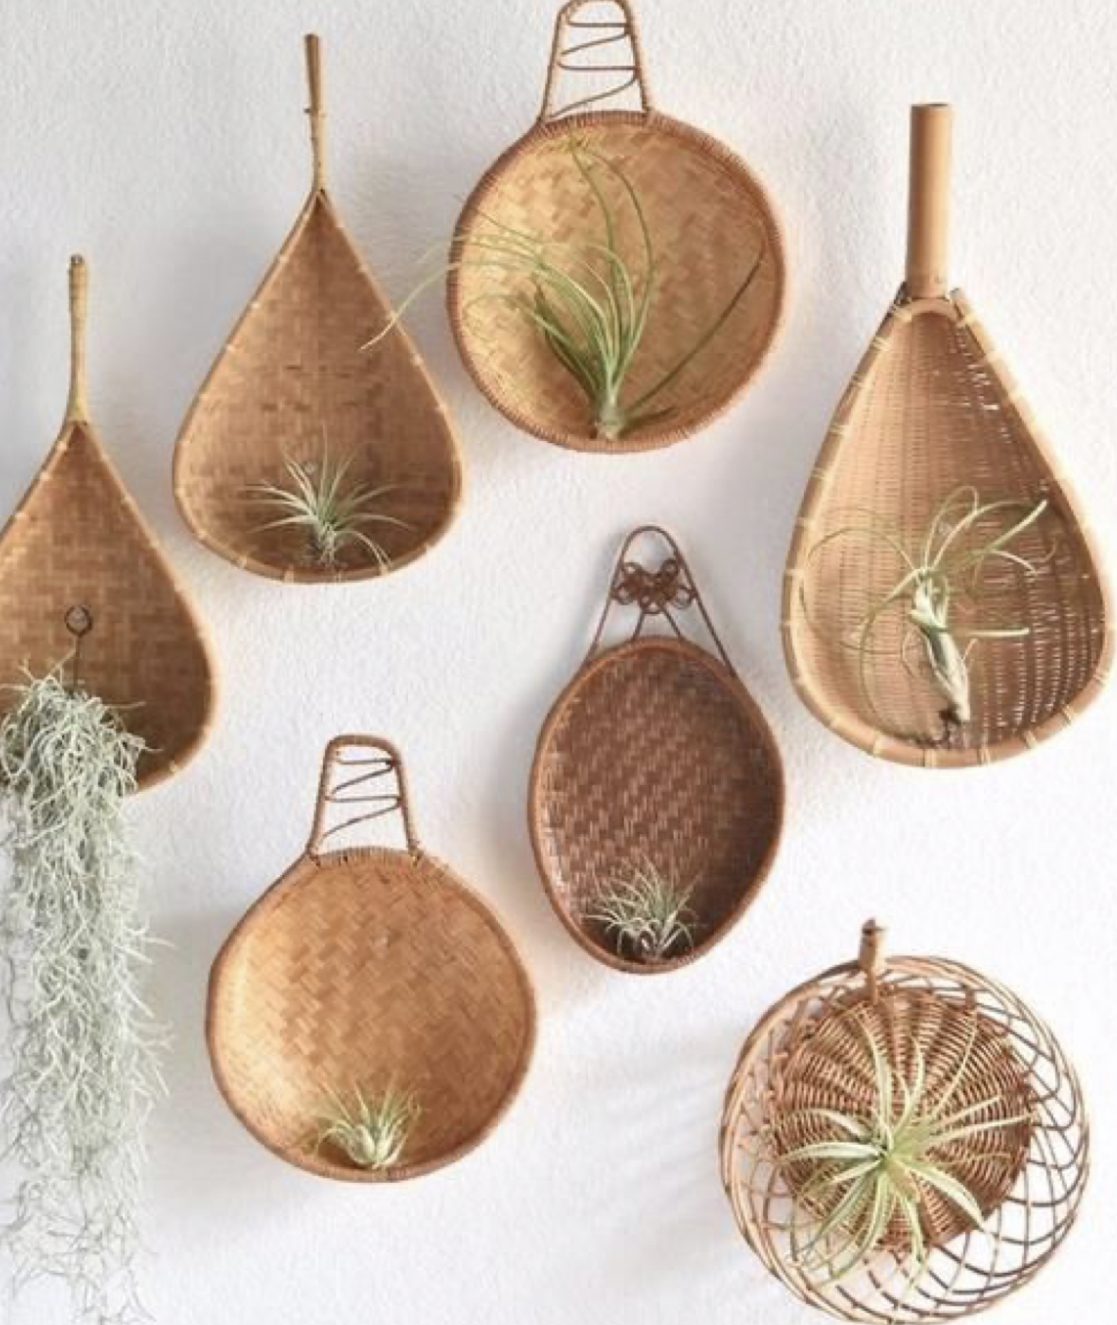
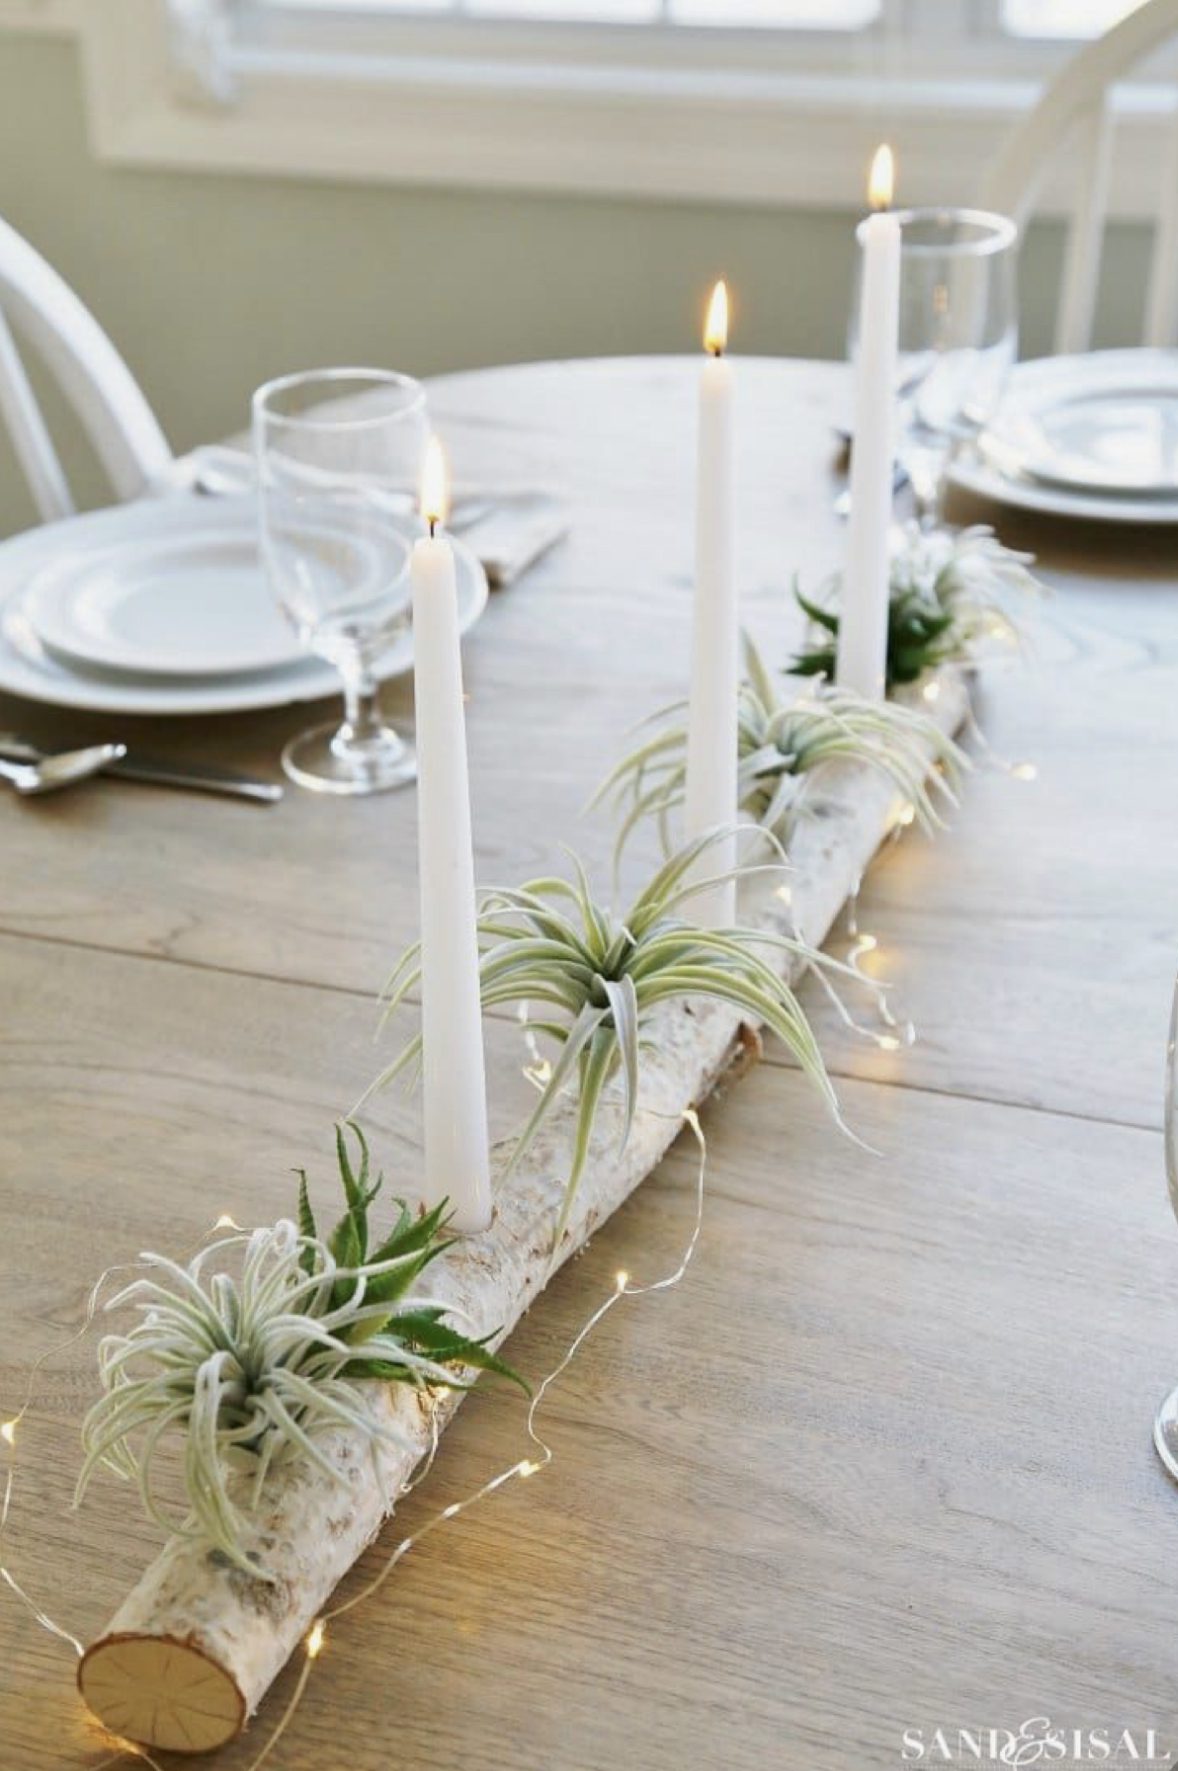
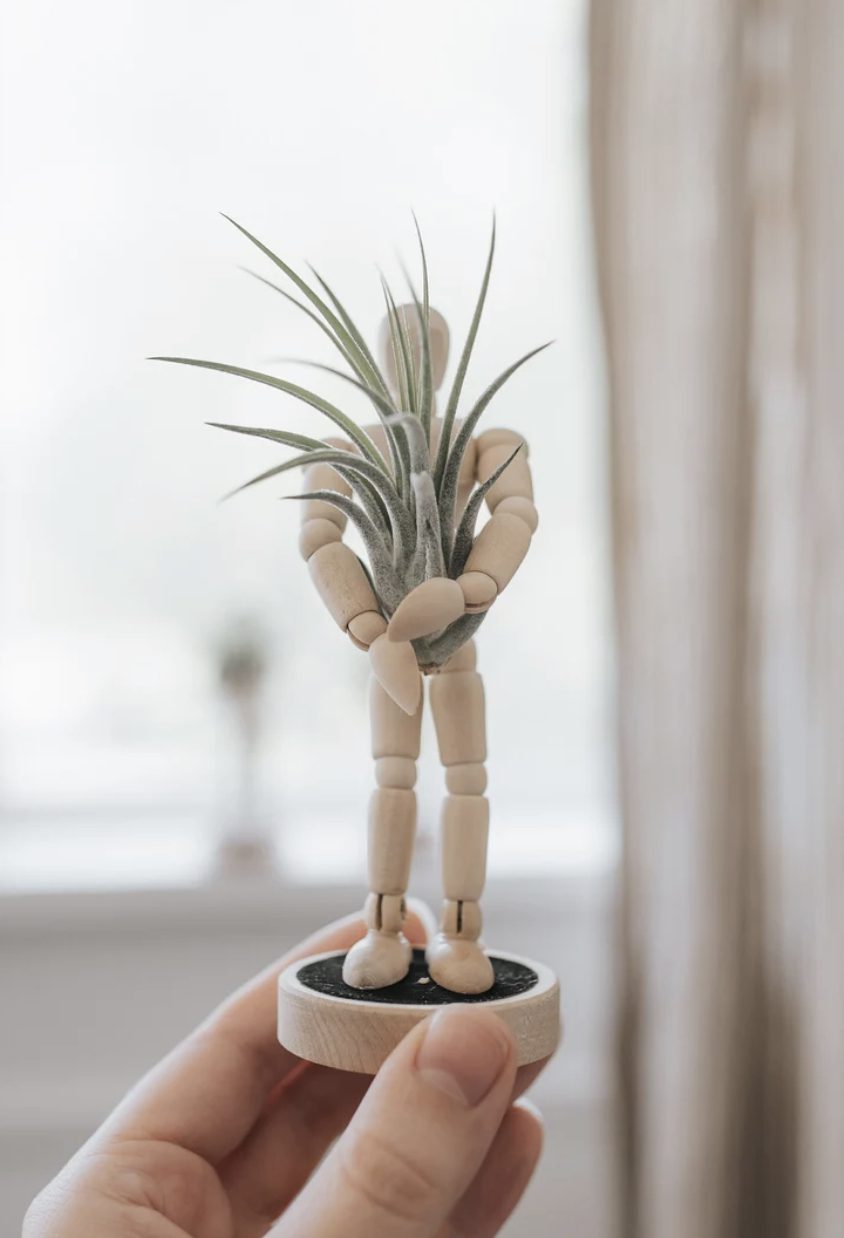
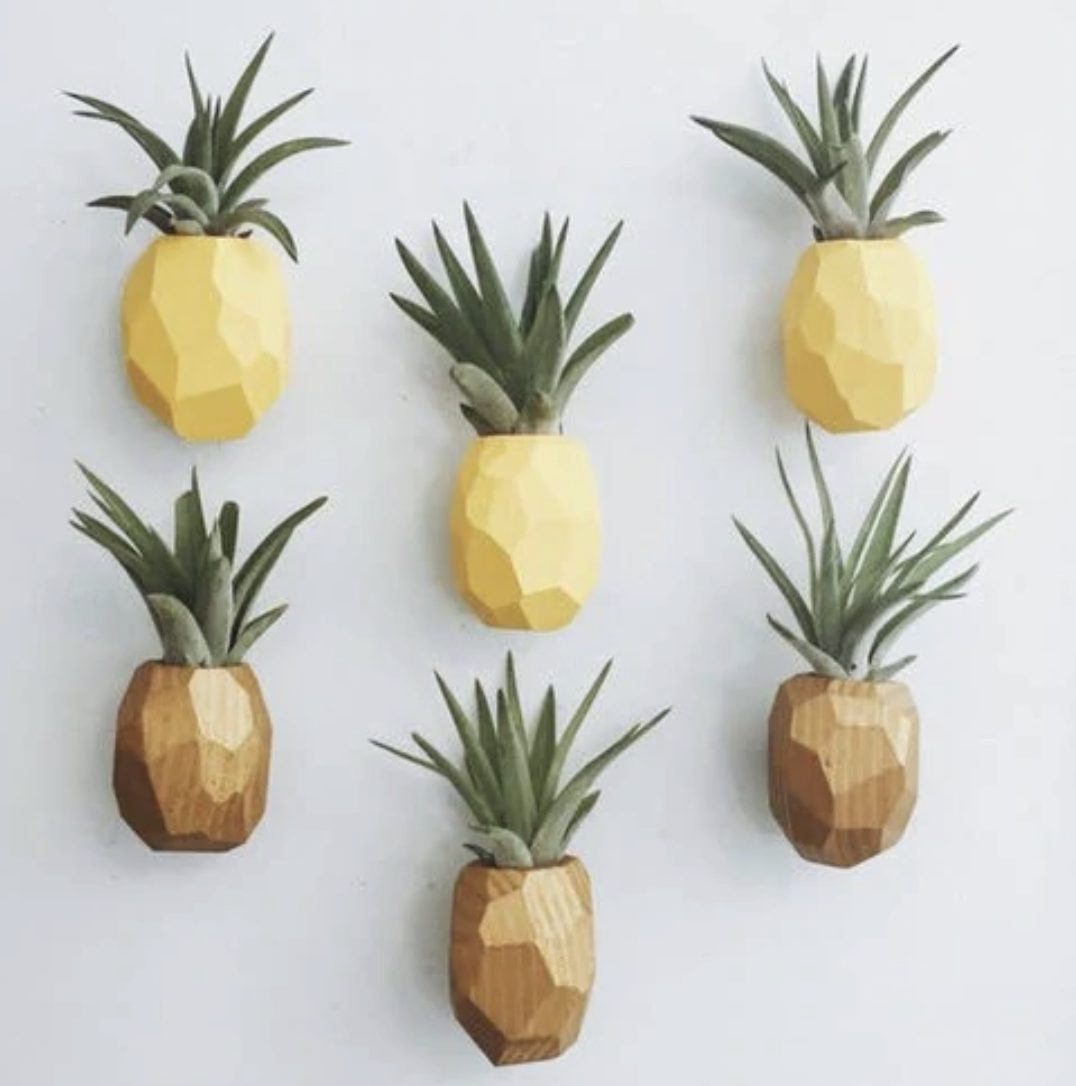
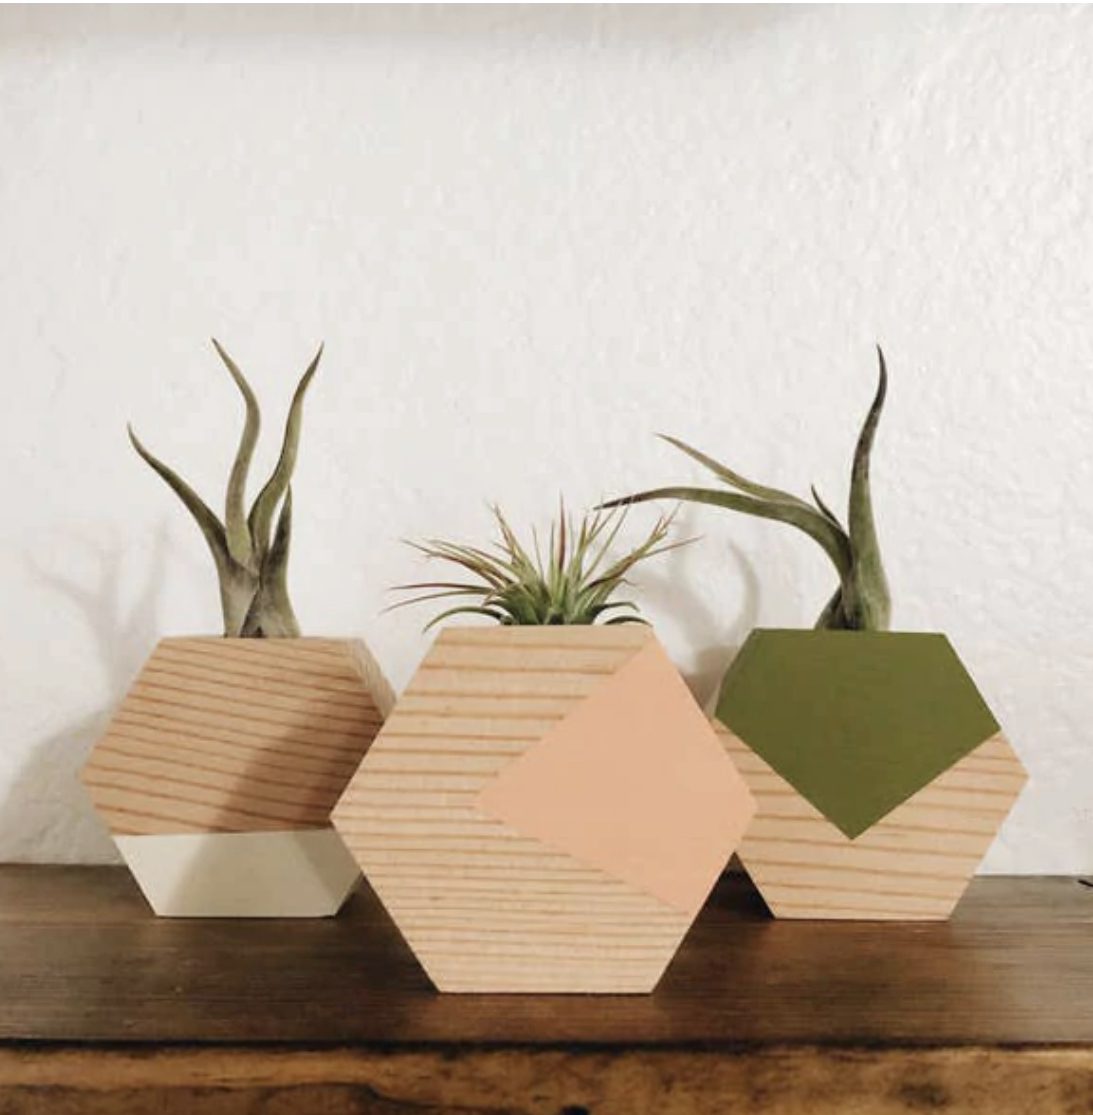
air plant holder ideas
There are so many unique ways to display air plants. They can be used for a paperweight or table decor. Pinterest is full of amazing ideas on how to display your favorite air plants. Check these Ideas!
Need more inspiration? Search Pinterest for:
- DIY air plant stand
- Wooden air plant holder
- Geometric air plant holders
- Air plant display
How do you plan on using air plants in your home décor?! Let us know below.
More How To Guides
- How To Get Rid Of Scale On Plants
- DIY Terrarium Table: How To Make A Table With Plants Inside
- How to Use Leca for Plants: Step-by-Step Guide with Pictures
- How To Use Grow Lights For Indoor Plants
- How To Propagate Peperomia Plants 2 Ways
- DIY Propagation Box With Grow Light
- How To Make Pothos Fuller (In 5 Minutes)
- How to Make a Moss Pole for Your Climbing Plants
- How to Make Potting Soil for Indoor Plants, Plus My Secret Ingredient
- How to Propagate a Split-Leaf Philodendron: Easy Step-by-Step Guide

Marquis *wants* to know how to keep happy and healthy plants, but had a hard time finding information that wasn't written by just another copywriter. After nearly losing one too many plants, it was time to take matters into her own hands. A team of plant scientists and nursery hands was brought together and The Indoor Nursery was born.