During the pandemic, I got really into making kombucha. I found someone on the Facebook marketplace who sold me a kombucha scoby with a little bit of starter tea.
Within a few weeks, I had my very first batch of home-brewed kombucha tea.
With every batch of fermented tea I made, an extra scoby grew. One brew led to four, and four led to liters and liters of homemade kombucha every few weeks.
Needless to say, we had a situation on our hands. We had way too much extra scoby.
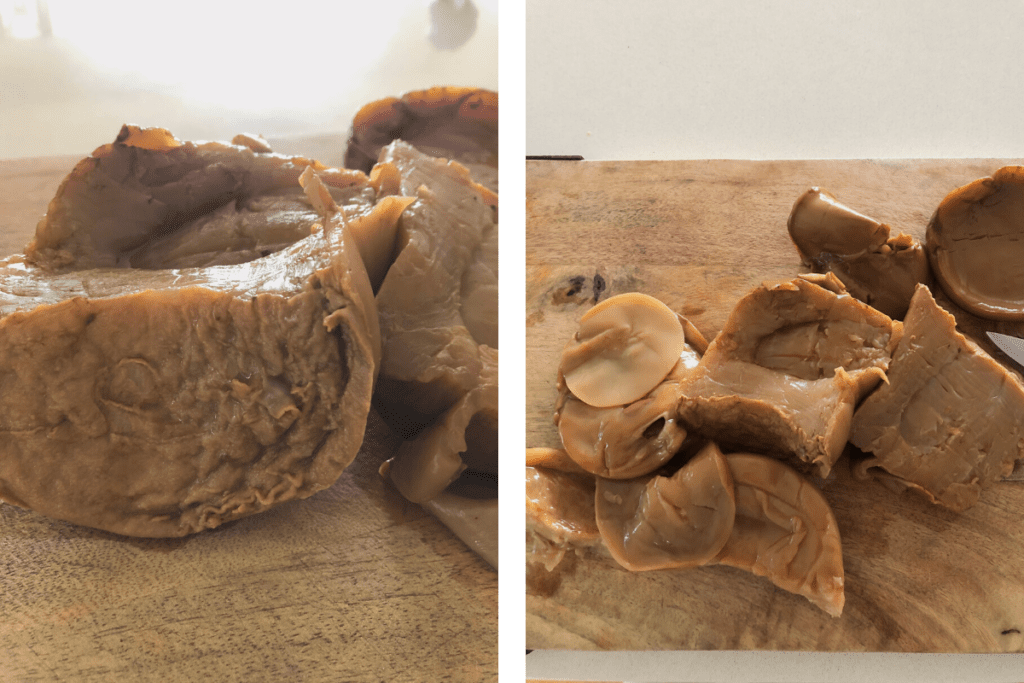
I put all of the extra scoby in a scoby hotel – a jar filled with all of the excess scoby and a little bit of starter liquid – and put them in a corner for a while. There were three such jars and after ~9 months of waiting, everything inside of the jars grew together until I had three large blocks of nearly dried scoby.
At around the same time, I also had a thriving worm compost just out back, so I decided to feed the extra scoby to my worms.
I am documenting the process so that you can try it on your garden and indoor plants too.
Benefits of adding a scoby to your compost
The Permaculture Research Institute wrote a pretty detailed piece about the benefits of adding scoby from the popular fermented tea, kombucha, to your garden. The kombucha culture conditions soil with the addition of good bacteria that encourages a healthy and robust ecosystem. They even cite a study in Comprehensive Reviews in Food Science and Food Safety that reports that kombucha scoby aids water filtration when placed in the ground.
To summarize, the suggested and known benefits of adding extra scoby to your soil or compost:
- encourages healthy ecosystem in the soil
- removes metal pollutants from wastewater
- it’s high in protein and fiber with moderate amounts of calcium and phosphorus, making it a nutrient dense food source for the worms and plants
I also wanted to check with others who have tried this to make sure that their worms reacted well to the fermented kombucha scoby. Someone on Reddit said that scoby was the worms’ new favorite food. That was a relief to me and all I needed to hear, so I was excited to give this a try.
On Quora, someone suggested rinsing the scoby before putting it into the worm farm as kombucha tea can be quite acidic. Worms don’t generally like acidic environments, so rinsing the vinegar-like fermented kombucha off of the surface can make it safer for the worms.
I chose to just toss it in as is because all of the previously fermented kombucha in these jars had dried up. I basically had dried scoby that required heavy lifting to get it out of the brewing vessel.
I’ll go through the steps of preparing the scoby for feeding the worms.
Using extra scobies in the worm compost
When you’re brewing kombucha, bacteria are colonizing your fermented tea. Your starter culture will soon grow a thin white rubbery layer, or a very young and new scoby. This baby scoby, or “symbiotic culture of bacteria and yeast”, continues to grow as the fermentation process continues.
Because of the nature of kombucha brewing, you will always have leftover scoby that seems to multiply faster than you can drink your fresh batch of finished kombucha brew.
If you’ve got a small compost or worm farm going, then this is the perfect little treat to add to them. If you’re interested, you can also apparently make some scoby candy for yourself.
I chose to feed my worms.

I had to cut through the massive dried scoby that was still inside the original brewing vessel (in my case, an old jumbo pickled jalapeno jar).
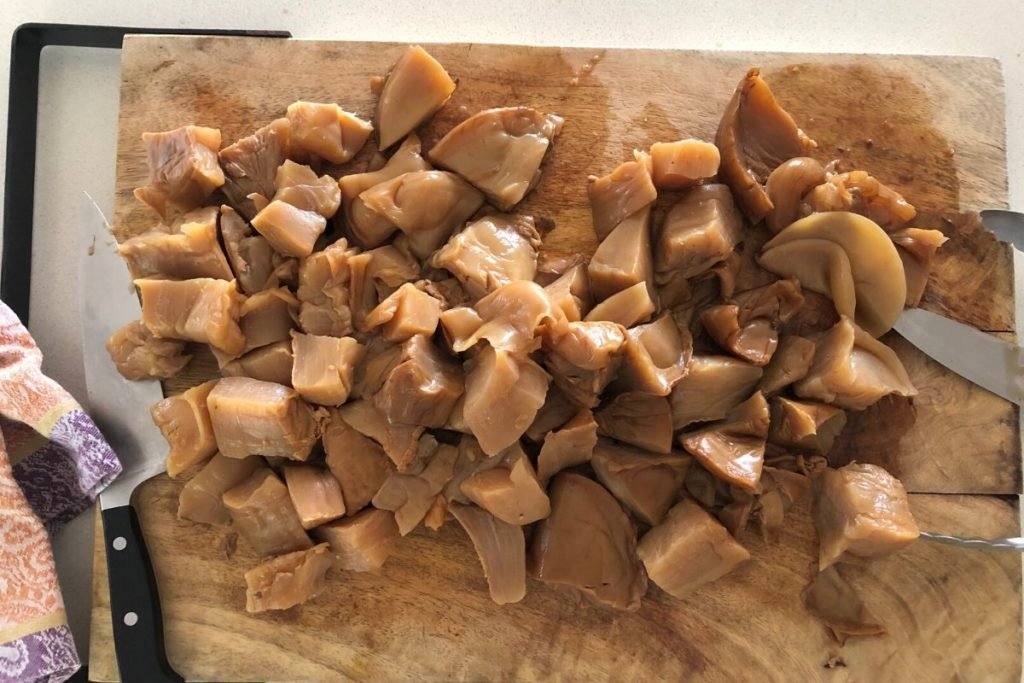
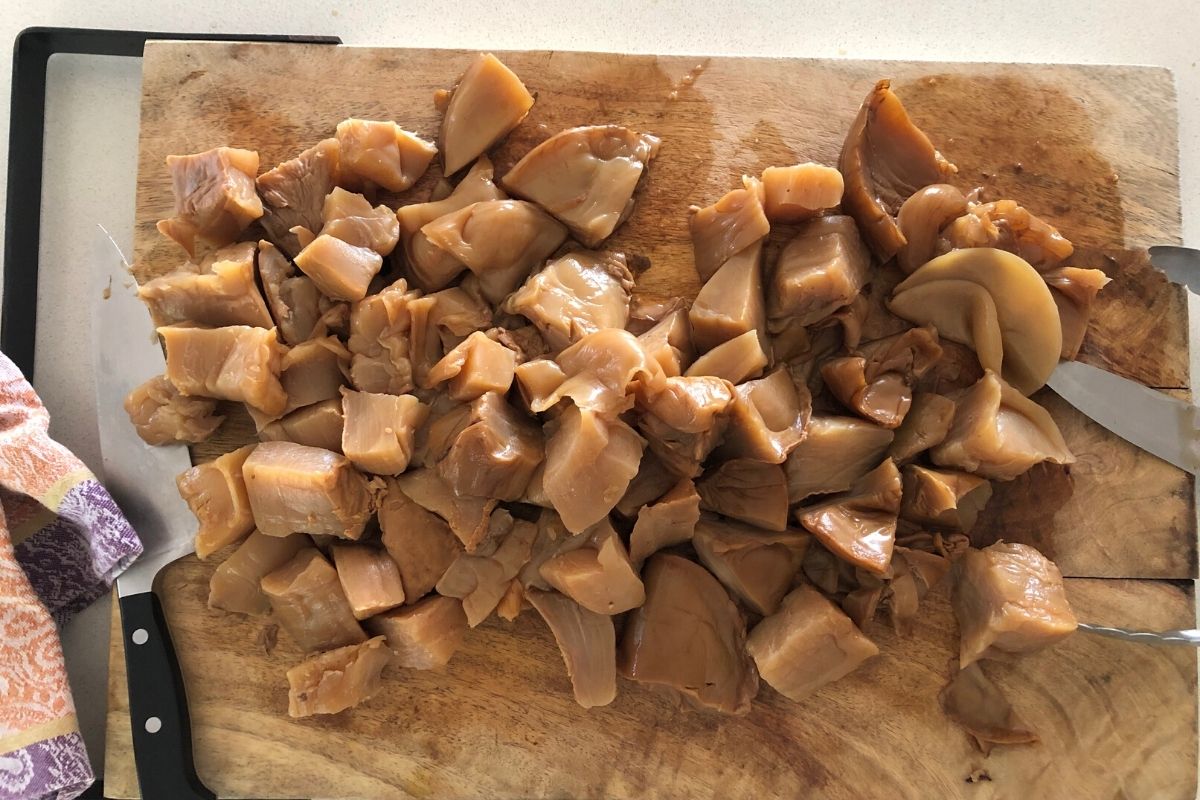
I used metal tongs to pull the scoby out of the jar. I placed everything on a large cutting board and chopped it up. It strangely felt like the thick fat that you cut off of a steak, minus the steak and about 6 inches thick.

Once I had the cubes of excess scoby, I popped them into the worm farm.
I also have mini composting tubs made out of used yogurt containers nestled inside the pots where I grow my veggies. So I placed a few scoby cubes in each of those as well.
The results
So far, so good. I’ll report back here in a few days and drop some pictures of my (hopefully) happy worms.
3 day update
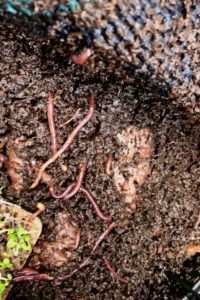
I’m honestly glad that I checked when I did because within a week they had eaten every last bit up. I’ve never seen them eat something so quickly! All I got was this grainy screenshot of my one-handed video I took while checking on them. There are hundreds of worms (thousands??) in that worm farm so they went wild. But they tend to hide as soon as light hits them and I’m too clumsy to capture it all before they get away.

more about composting
- 10 Best Worm Composter Bins For Easy Homemade Compost
- Compost Starter 101: When You Need It And How To Make It
- How to make a DIY indoor worm composting bin in 4 steps
- What to do with extra scoby (hint: it’s good for the soil)
- Vermicomposting for beginners: how to compost indoors for happy plants
- How to use worm castings for happy plants
- How to make worm casting tea in 4 easy steps
- Here’s how to harvest worm castings
- how to use compost accelerator for faster composting
- how long does compost take to turn into nutritious soil? it depends
- Tags:
- composting
- DIY
- kombucha
- worm farm

