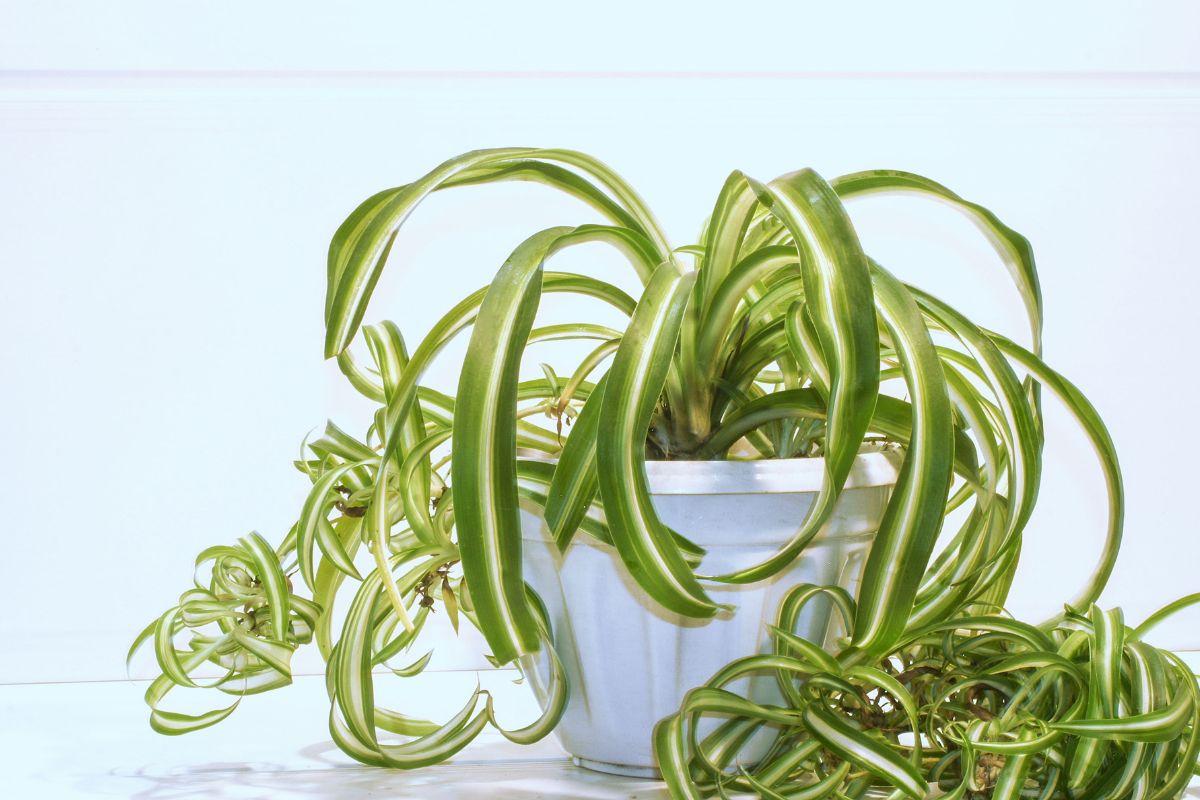
One of the lightest and airiest plants around is the spider plant, or airplane plant. With its long, thin leaves and small, floating tufts of new growth, it’s a favorite to be hung from the ceiling or set on a shelf where it can happily exist and add vibrance to a room.
Since it likes to dry out between waterings, spider plants are among the easiest houseplants to care for. If one gets too much attention, however, and gets overwatered, root rot may quickly damage the plant, above and below the soil.
Knowing the signs and causes of root rot in a spider plant will help you avoid it taking hold in the first place.
Signs of root rot in spider plants
Spider plants are native to south and central Africa, where they grow in the understory of rainforests and regular forests. This has made spider plants rather adaptable, being able to tolerate moderate to dry conditions due to their thick, tuberous roots that store moisture.
Since spider plant roots need to dry out between waterings, excess moisture can stress and damage them, and may lead to root rot.
When roots are damaged by rot, they can’t transport moisture, oxygen, or nutrients to the rest of the plant. The narrow spider plant leaves will quickly begin to show signs of distress. The main signs of root rot in a spider plant include:
- Wilted or discolored leaves – spider plants have a bushy spray of perky, medium to light green blades. If the plant is suffering from root rot, those leaves will droop, curl, and turn yellow and brown as they are starved of nourishment.
- Loss of leaves – some plants will start dropping leaves when their roots are rotting. If your spider plant’s leaves are discoloring and multiple ones are dropping, inspect the moisture content of the soil and the condition of the roots.
- Dark, mushy roots – when you inspect the roots of a plant you suspect has root rot, the roots will be dark brown or black, and mushy. The discoloration and wet, pulpy texture comes from water saturation and from decomposition by fungus and bacteria in the wet conditions.
- Easily detached roots – those damaged roots will have weak, mushy tissue, and some roots will fall off with the slightest tug. Those damaged, rotting portions need to be removed to save any remaining healthy parts of the plant.
- Fungus gnats – one of the culprits of root rot is fungus. When the wet soil encourages fungal growth, fungus gnats may be attracted to your spider plant’s pot. They eat the fungus and lay their eggs in the soil, creating a population cycle that needs to be interrupted by changing the soil.
- Consistently wet soil – the conditions that create root rot all stem from soggy soil. All potting soil has some good bacteria and fungus that don’t pose a problem for your plants. Bad bacteria and fungus that will feed on and decompose a plant’s root system live in soil that is too wet for too long. The excess water also damages the root’s tissue, contributing to damage to the plant and the ease of rot.
What causes root rot in spider plants?
Spider plants have thick, tuberous roots, in addition to thin, fibrous secondary ones. These plants like their soil to dry out before getting watered again, being adapted to the fast-drying topsoil of the forest floor.
Root rot in a spider plant can be caused by any of the following situations:
- Overwatering – when a plant is given more water that it can take up, or more than can evaporate or drain in a week’s time, the wet soil creates conditions for fungal and bacterial growth, while the roots will absorb too much water and start to rot as the tissue will be saturated with moisture.
- Lack of oxygen – a lack of oxygen in the soil can also cause root rot in a spider plant. When porous soil is filled with water, or when the soil gets too compacted, the roots aren’t able to get the air they need to breathe and take in oxygen. The weakened roots are then susceptible to rot.
- Poor drainage – even when a spider plant is only watered once every week or two, if the pot doesn’t drain (from compacted soil or a lack of drainage holes), the soil will stay wet for too long, permitting rot to take hold.
- Inappropriate pot size – spider plants are on the smaller side of houseplant sizes, so they don’t need their pots to be too big. A large pot will hold lots of soil and water, while a smaller pot will hold less moisture and dry out faster. The right sized pot will depend on the size of the plant itself and how much water it can take up, but it should dry out almost completely within 7 to 10 days (with a moisture meter reading of 2 or 3).
How to save a spider plant after root rot
When a spider plant is showing the signs of root rot, or any sign of stress for that matter, the first step in remedying the situation is looking for the cause of the discoloration, wilting, or leaf fall.
What you’ll need:
- Small pair of pruning shears
- Fresh, well draining potting soil
- Pot with good drainage and saucer
- Small potting shovel
Step 1: Remove the plant from the soil to inspect the roots
Gently brush away the topsoil to get a look at the roots, and remove your spider plant from its pot to fully inspect them. If the roots are damaged, consider how much of the root ball is left: if less than about a quarter remains of healthy roots, it might not be able to survive. More than a quarter of the spider plant’s roots, however, should be enough for it to pull through.
Step 2: Trim away dead leaves and any signs of root rot
Using your clean pair of small pruning shears, carefully clip off the damaged parts of the roots (dark brown, black, and mushy) so that only healthy portions remain. Then, clip any damaged leaves so that the remaining healthy ones are able to use as much energy as possible to recover.
If your spider plant has any healthy pups, consider propagating a new plant by clipping the baby spider plant’s vine and setting its roots in a new pot.
Step 3: Plant into new well-draining soil
When your plant has been cleared of damaged and rotting roots, wash it with gentle soap and water to wash the entire plant and remove all traces of contaminated soil, fungus, spores, or bacteria that may be on the roots and leaves. Using an anti-fungal product on the roots can help with treating the spider plant root rot.


Once the plant is clean, you can install it in a freshly washed container with drainage holes and well-draining potting mix. Dispose of the old contaminated soil so it doesn’t spread the root rot disease to any other plants.
Step 4: Water sparingly until plant comes back to full strength
A spider plant will have been stressed by the ordeal of defending itself against rot, and from being disturbed from its pot to be clipped, cleaned, and transplanted. Water the plant once a week at most, allowing the roots and soil to dry out almost completely before watering again. Your spider plant is in repair mode at this point and will need some time to heal and grow new roots and leaves.
How to prevent root rot in your spider plant
When you catch root rot early enough, a plant has a great chance of recovery by being nursed back to health. Here are a few tips on how to avoid the conditions that can lead to root rot in the future:
- Well-draining potting soil – your spider plant’s potting soil mix should contain coarse material like perlite, bark, or sand to help drain water downwards and keep the soil well-aerated.
- The appropriately sized pot with drainage holes – the size of the pot that a plant lives in matters: too large of a pot will hold too much moisture for too long, encouraging the conditions that allow root rot to take hold. Drainage holes are essential to be sure excess water doesn’t remain in the container.
- Water spider plants sparingly – Spider plants are one of the easier houseplants to take care of, large in part due to their ability to store moisture in their roots. This allows them to easily go a week or two without water, letting you enjoy their low-maintenance presence.
- Create the best growing conditions – Spider plants that are healthy are best able to fight off and heal from disease, and the healthiest ones are the ones that are most comfortable. They like lots of indirect light, a medium level of humidity (40-60%), and to get fertilized about once a month during the growing season.
- Fertilize for healthy roots – fertilizing your spider plant frequently in the growing seasons (spring and summer) will help it remain in strong form, and it’s an excuse for you to assess the soil’s condition (particularly, with the intent to avoid root rot, the texture and moisture level). Whether you use artificial or organic fertilizer, checking the pH balance and nutrient profile will confirm whether or not any particular nutrient is actually needed. A balanced and nutritious growing environment will keep roots in healthy shape and able to resist threats of disease when things get stressful.
The bottom line
Although a spider plant has a hearty root system compared to some other houseplants, the roots can still succumb to rot when standing in excess water for too long. Spider plants should be put in pots with potting holes and a well-draining potting mix to be sure the plants stay well-aerated and the soil dries out in between waterings.
more about root rot
- How to prevent and treat Monstera root rot
- Snake plant root rot (and how to save it)
- Don’t let Philodendron root rot get you down. Here’s what to do.
- Got spider plant root rot? Here’s how to save your plant.
- How to fix root rot: signs, symptoms, and how to save your plant
- Pothos root rot: what to look for and how to fix it

Marquis *wants* to know how to keep happy and healthy plants, but had a hard time finding information that wasn't written by just another copywriter. After nearly losing one too many plants, it was time to take matters into her own hands. A team of plant scientists and nursery hands was brought together and The Indoor Nursery was born.