You have overwatered your monstera and are wondering what’s next.
Don’t panic.
As you might know, monstera deliciosa is native to the tropical rainforests of Central America and is now grown as a houseplant around the world. The species is also referred to as the Swiss cheese plant due to the abundance of perforations that form in monstera leaves to let rain water pass through.
They feature aerial roots that allow them to climb just about anything in the jungle and absorb water from the humid rainforest air.
Usually grown indoors, monstera plants enjoy bright, indirect sunlight, moderate temperatures and a good drainage system. Despite their resilience, an overwatered monstera is more common than you might think.
Overwatering this rainforest beauty can stunt new growth and cause parts of the plant to rot and die away (noooooo!).
Signs of an Overwatered Monstera
If you want to avoid overwatering your monstera, you need to start with proper drainage. This includes choosing the right type of soil, choosing a cover pot with a drainage hole, and making sure you buy a drainage tray to slide under your plant’s pot to collect excess moisture!
If excess water doesn’t have anywhere to go, it will sit at the bottom of the pot and create a soupy soil, causing your monstera’s roots to rot.
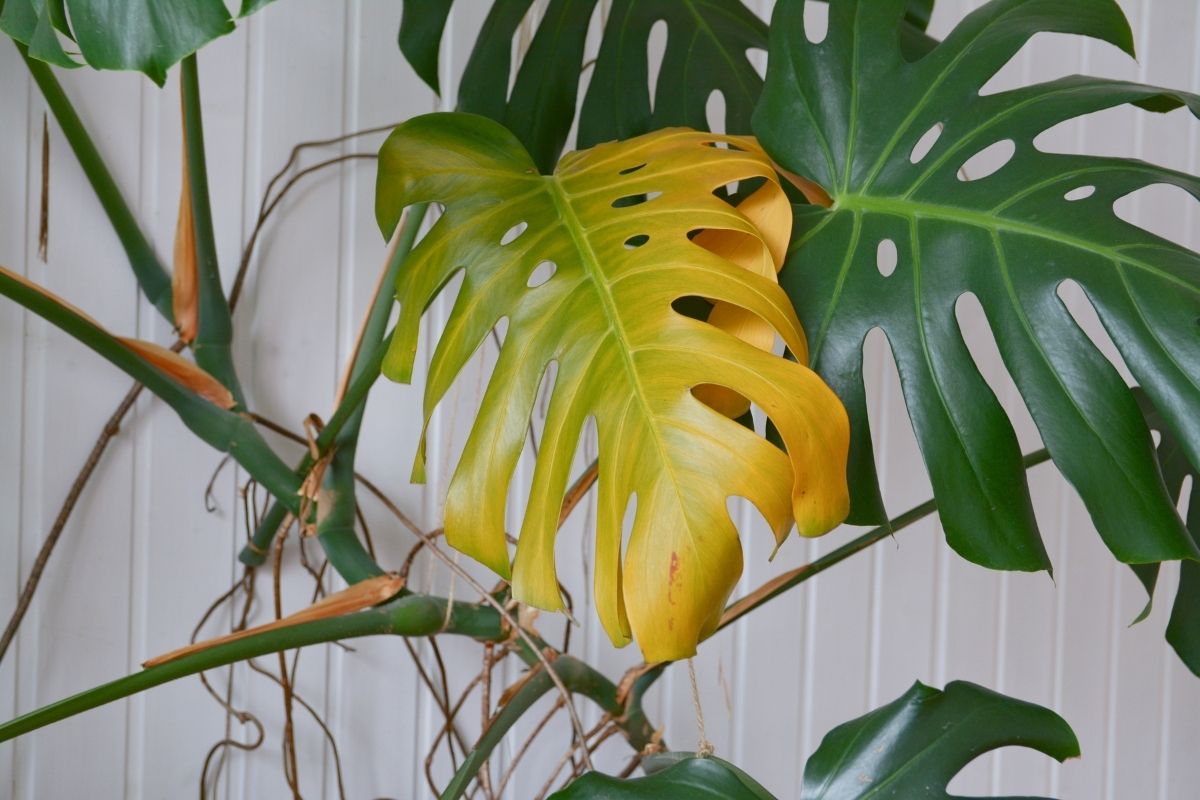
An overwatered monstera can develop infected roots, dark brown leaf spots, and dead leaves, and become more prone to pest infections. Immediately treating root rot in your plant can protect your monstera from scale and other nasties.
It’s best to choose both an inner nesting pot and cover pot with drainage holes (this makes repotting a whole lot easier). At minimum, make sure your cover pot has at least one large drainage hole.
If it’s too late and you you think you have an overwatered monstera plant on your hands, check for these signs:
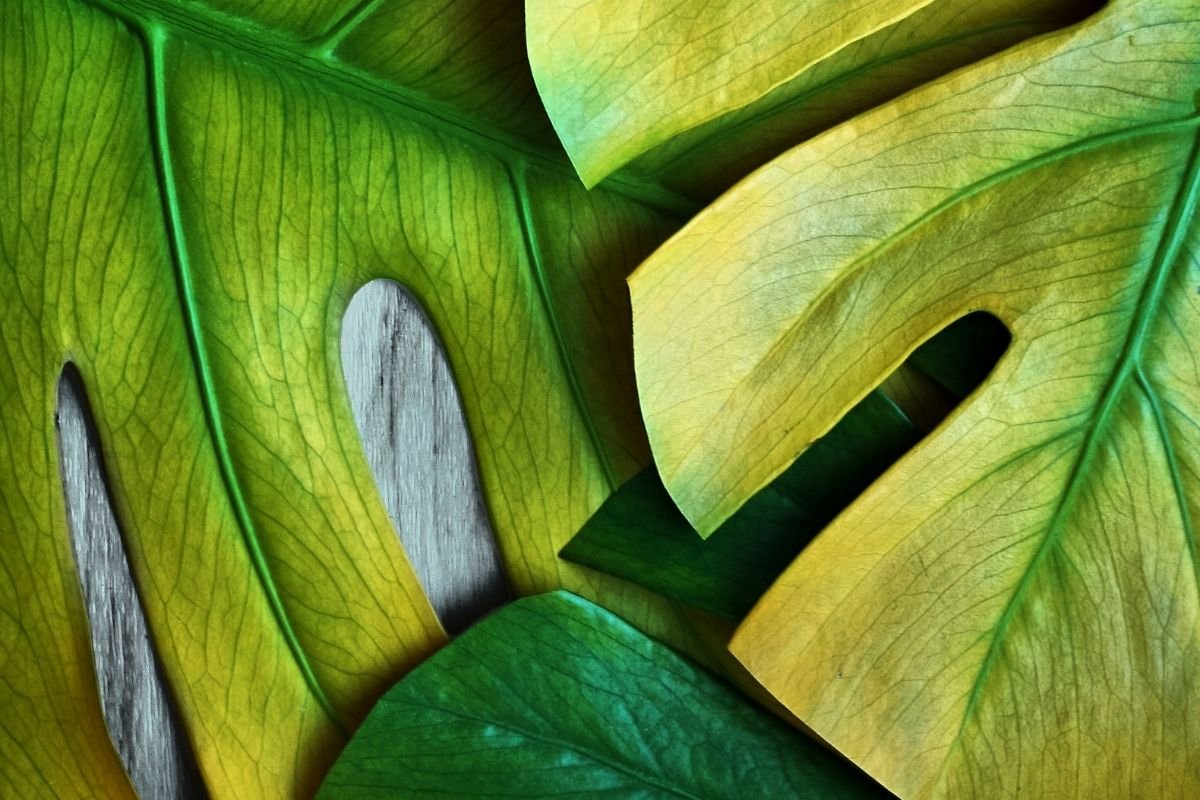
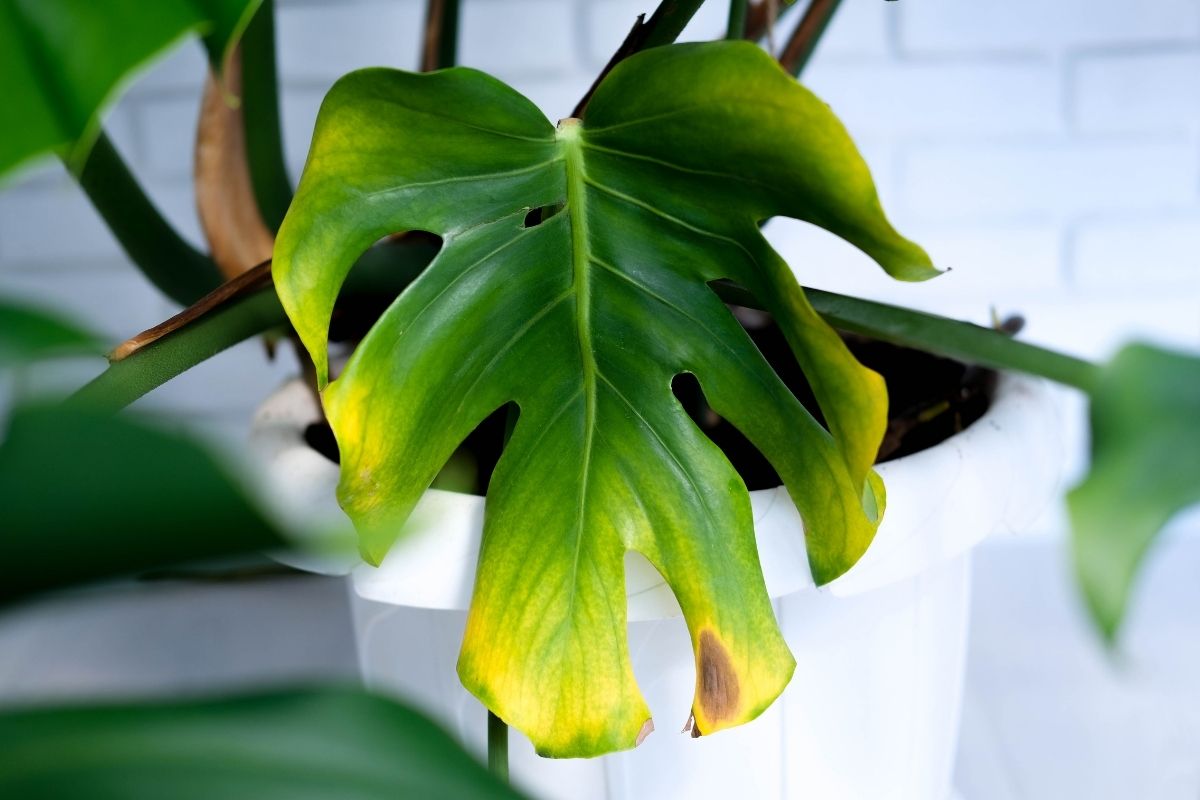
- Discolored Leaves. Unhealthy foliage, such as yellow leaves or dark brown leaf spots, may be indicators of over-watering (although unhealthy leaves could signal other issues, such as a nutrient deficiency or temperature shock).
- Foul Smell. If the area around your monstera smells like something died in your garage (moldy, musty, or of any other foul odor), it has likely been over-watered.
- Excess Water. Maybe obvious, but still! Sometimes we don’t use common sense when watering our plants. If you see standing water in your pot tray or a top layer of soggy soil, stop watering! Your plant is in danger.
- Soil Fungus. If you see fungal or bacterial growth on the top of your soil (often in shades of white, yellow, red or green), then the monstera plant has fallen victim to over-watering. These pathogens can infect the plant, leading to root rot and fungal infection spreading to leaves..
- Root Rot. You’ll need to be able to check your monstera’s roots for this, either pulling out the lining pot or removing the plant from the pot completely. Rotting roots are typically black or brown and flaccid (like earthworms), unlike their firm, white to light brown healthy counterparts. If you notice signs of root rot, then your monstera has probably been sitting in waterlogged soil.
- Pests. Insects love to make their home in soggy, humid soil. If you begin to notice small bugs crawling about in or around your monstera, check for the other signs of over-watering before your treat the infestation.
Learn more: how often to water a monstera plant
How to Save a Monstera Plant After Overwatering
If your overwatered monstera plant has faded leaves, root rot, or other problems, don’t panic—there may still be time to save your plant and encourage new, healthy growth.
Usually, the best solution is to transplant the monstera into a new container with fresh potting soil and room for the root system to expand.
What You’ll Need
- Well-draining potting mix
- Container with drainage holes
- Sterilized pruning shears
- Fungicide solution (optional)
- Neem oil (optional)
Step 1: Prepare the New Pot
In order to give your monstera a chance of survival, you’ll want to give it a container with good drainage and fresh, pest-free potting mix. Choosing a bigger pot will give your plant and its root system more space to grow. To prevent the drainage holes from clogging, you can fill the bottom of the pot with perlite, pebbles, or another non-compacting medium.
You can also totally make your own potting mix! Use amendments that promote drainage, such as pine bark fines or perlite.
Whatever you’re using, fill your new container with soil to prepare it for the transplant.


Step 2: Clean Up Your Monstera
Dump the old soil. Carefully remove any brown leaves from the plant. Trim away any rotted roots with your pruning shears. Always use sterilized shears to avoid spreading bacterial infections between your plant projects!
If your monstera suffered a pest infection as well as over-watering, you may wish to apply neem oil (a natural insect deterrent) now to prevent a re-infestation. The same goes for fungal infections; apply a fungicidal solution to discourage disease from returning.

Step 3: Make the Transplant
Dig a hole in the new pot of soil for your monstera plant. Place the plant and its root ball in the hole, then fill with fresh soil and lightly tamp it down. Water lightly.
Then wait approximately 5 to 7 days before watering again (or until the soil dries to a depth of 2 inches).
Step 4: Find Your Monstera a Place to Recover
Find a place in your home where the monstera plant can recover from its trauma and thrive! This species enjoys room temperature (around 60 to 80°F).
Avoid placing your monstera in direct sun, as this can stress the plant out. Indirect lighting is best—in its rainforest habitat, Monstera deliciosa grows along the forest floor, with towering trees blocking the direct light overhead.
Tips to Avoid Overwatering Your Monstera in the Future
If you’re like most plant owners, you won’t learn your lesson about overwatering until you finally kill one of your darlings and swear to change your ways.
You might be able to save your future plant slaughter victims by reading up though!
Wait until the soil is dry before watering your monstera plants. You really shouldn’t water your monstera more than once every few days (or when the soil is dry to a depth of 2 inches). Avoid direct sunlight, as it is too strong for monstera plants and will dry out the soil quickly.
Focus on recreating the natural habitat of your monstera to keep it at its healthiest! This includes a humid environment, fresh air, good drainage, and enough light. You don’t want soggy soil, but you also don’t want to let the plant’s soil go completely dry before watering—with practice, you’ll find a happy medium for your plant and the conditions in your home.
Here are the key takeaways to help you avoid the drama of nursing overwatered monstera plants back to life in the future:
- Stay consistent with your watering schedule. Try to water your Monstera plant on a consistent basis. They usually require deep watering every 5 to 7 days, but this can change depending on container size, humidity, and other factors. A new plant in the early stage of growth may need more frequent watering.
- Make sure excess water can drain. Your monstera needs proper drainage. Period. Exclamation! Your container must have at least one drainage feature, whether that’s a drainage hole with pot tray (preferable) or a liner pot.
- Keep the drainage holes free of debris. Drainage holes can sometimes get clogged up with big chunks in soil or overgrown roots, which won’t allow the container to function properly.
- Watch for the signs. Yellow leaves, soggy soil, root rot, and excessive water retention are all signs of overwatering. Notice the signs and make an adjustment before your monstera plant is harmed!
- Use a moisture meter. These handy devices report the moisture level of the soil below, sometimes featuring a digital display or flashing lights to warn of insufficient (or more commonly) excess moisture. A quick glance will tell you whether or not your plant needs another watering – and when to hold back.

More About Monsteras
- How Often To Water Monstera Plants
- Monstera Adansonii Care Guide
- Monstera Deliciosa Care: How To Care Of Monstera Plants
- Save Your Overwatered Monstera In 4 Steps (And How Not To Do It Again)
- Scale On Monstera: What To Do And How To Save It
- Best Soil For Monstera Plants (DIY Recipe + Store-Bought Options)
- Best fertilizer for Monstera plants for gorgeous leaves

Marquis *wants* to know how to keep happy and healthy plants, but had a hard time finding information that wasn't written by just another copywriter. After nearly losing one too many plants, it was time to take matters into her own hands. A team of plant scientists and nursery hands was brought together and The Indoor Nursery was born.