Looking for a bit of color to spice up your indoor garden? You might know turmeric as a staple ingredient in curry, but the powder has a wide range of medicinal uses as well – and – it comes from a gorgeous plant. Growing turmeric indoors is easier than you think, and there are so many good reasons to do it! The plant produces spear-shaped flowers in a range of colors and a tuberous orange root packed with more goodness than you can imagine.
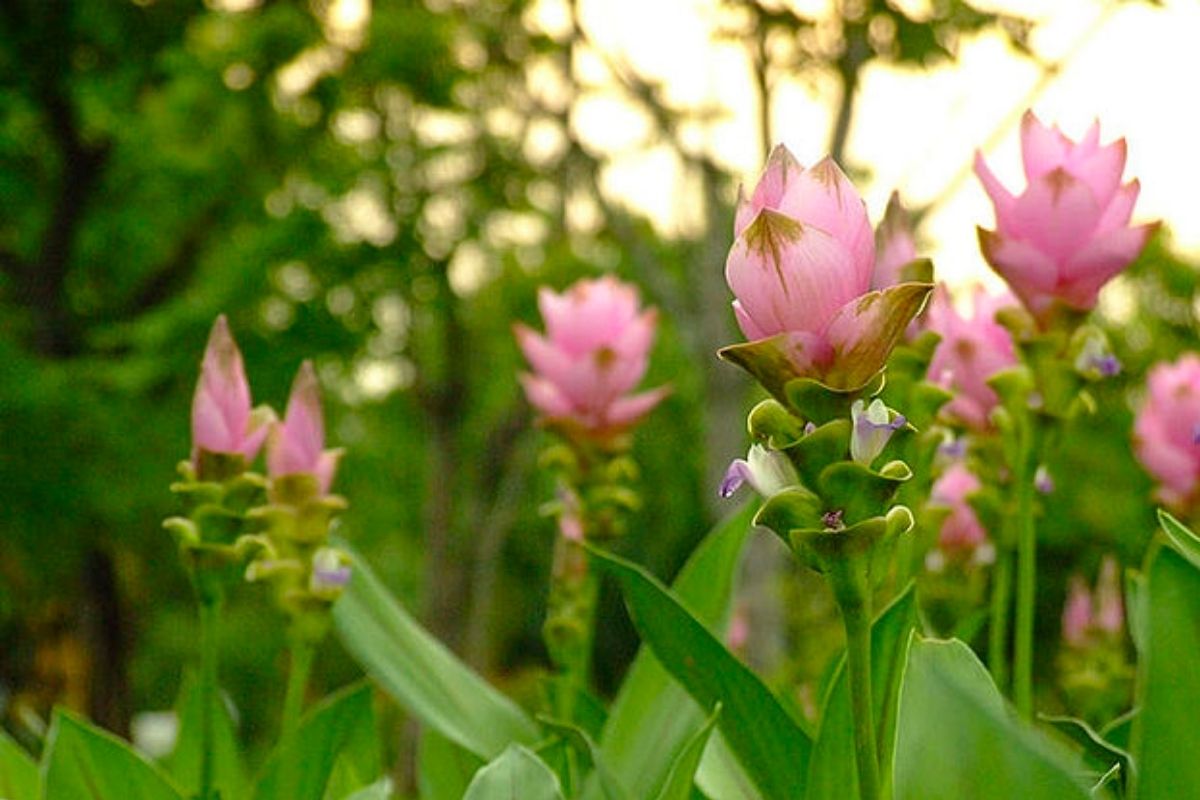
Turmeric (Curcuma longa) is a flowering plant in the ginger family that originates in tropical South Asia. Known as “Indian saffron” in its native regions, its root is dried and ground into the bright yellow spice used throughout Asia and the world to brighten curries and soups and add a deep, peppery flavor.
Turmeric root has been used medicinally for centuries to heal inflammation and relieve pain. In the holistic science of Ayurveda (also originating in India), turmeric powder is commonly prescribed to treat a wide range of health conditions. The incredible yellow hue of turmeric root can even be used as a natural dye.
How to grow turmeric indoors
If you live in a warm location or have a sunny spot in your home, you can grow your very own turmeric indoors. All you need is a large pot, potting soil and turmeric rhizomes (the bulbous, papery plant root). We recommend a loamy potting soil with an alkaline pH between 6-8 and good drainage. Mix your own with 1 part coco coir to 3 parts all purpose potting soil with these simple ingredients:


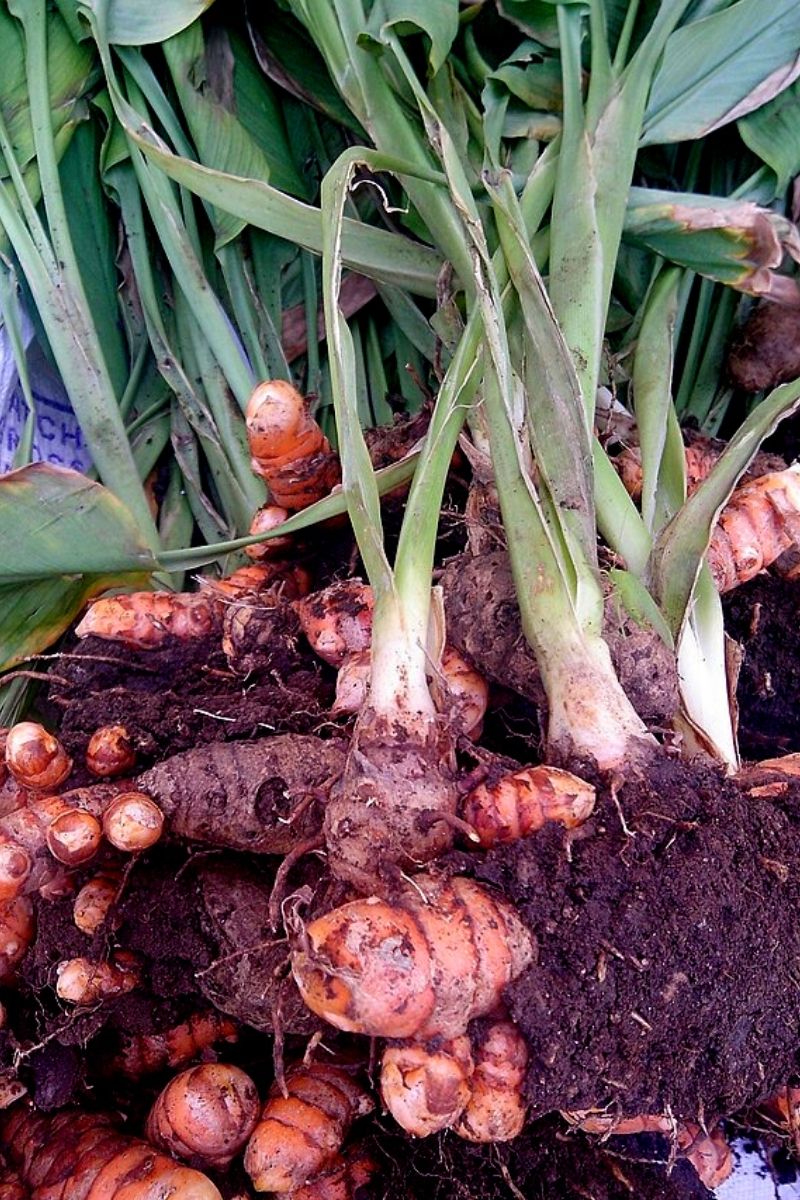
Once you have your soil prepper, you’ll need to find some fresh turmeric rhizomes. You can source these from pretty much any health food store, or your local supermarket if the selection is big enough. Look for plump rhizomes with many small bumps.
To plant turmeric, you will need to have pots that are at least 12 inches wide and 12-18 inches deep, so your rhizomes have plenty of room to grow. These plants can grow up to 3.5 feet tall, and you’ll want to make sure they have more than enough space to flourish.
If you’d like to grow several smaller turmeric plants, you can grow them in smaller pots, and then transfer them into larger containers once they have some leaves and are actively growing. This is how to prepare several smaller turmeric plants:
- Start with a large, plum turmeric rhizome with many small nodes (these little bumps are where leaf sprouts will emerge)
- Cut the stem off the rhizome and cut the root into smaller sections, ensuring that each rhizome has 2-3 buds
- Fill each small pot with potting soil.
- Lay the rhizomes on top of the soil with the buds facing up
- Cover the rhizome with soil, and moisten the soil with water.
- Place the pots with gallon-sized plastic bags to insulate the rhizomes. Turmeric requires heat to sprout, so it’s a good idea to use a heat mat or place your plants in a warm place to help the rhizomes sprout.
Turmeric needs a good amount of sunlight, but don’t let its soil dry out. Once your turmeric plants sprout true leaves and begin growing, feed them every couple of weeks with a compost tea or fertilizer.
How to care for your indoor turmeric plant
Here are some of our top tips for growing and taking care of your indoor turmeric plant.
1. Use well-draining soil
Turmeric – just like ginger – likes moist, well-draining soil that’s rich in organic matter. In its native habitat, turmeric emerges during monsoon season in South Asia when conditions are extremely humid and rainy. Without damp soil, your turmeric won’t flower or grow thick, plump roots for harvesting. It’s a good idea to use a soil amendment like vermiculite to prevent the soil from waterlogging.
2. Water as needed
Don’t be fooled! Turmeric grows best in moist soil, but it doesn’t like to be overwatered either. Water your plants as needed when you notice the top inch of soil drying out.
3. Keep on the sunny side
Turmeric is happiest by the window sill or under grow lights in most indoor climates. It’s important to keep them in a warm place, especially when temperatures drop in the winter, to maintain root development and overall plant health. If you live in USDA zones 8 or higher, you can pop your potted turmeric outdoors when temperatures rise above 70° F during the summer.
4. Keep a close eye on transplanting
Once your plants are 6 to 8 inches tall, transplant them into larger pots to give them more room to grow. If you don’t give your turmeric enough space, it won’t produce those golden root nuggets come harvest time.
5. Feed with low nitrogen fertilizer
Feed your turmeric plants with a low-nitrogen, high phosphorus and potassium fertilizer to stimulate root growth and blooming. Look for fertilizer with an NPK ratio of 5-10-10 or 10-20-20 to direct plant growth toward blooms and roots.
Harvesting & storing turmeric root
Your turmeric is ready to harvest when you notice the leaves and stem begin to dry out slightly and turn brown. Take out your garden gloves and remove your turmeric plant from its pot, roots and all. Cut the rhizomes from the stem and wash them well. It usually takes around 10 months after planting to harvest turmeric. You can store your rhizomes in the fridge in an airtight container to keep them fresh for about 6 months.
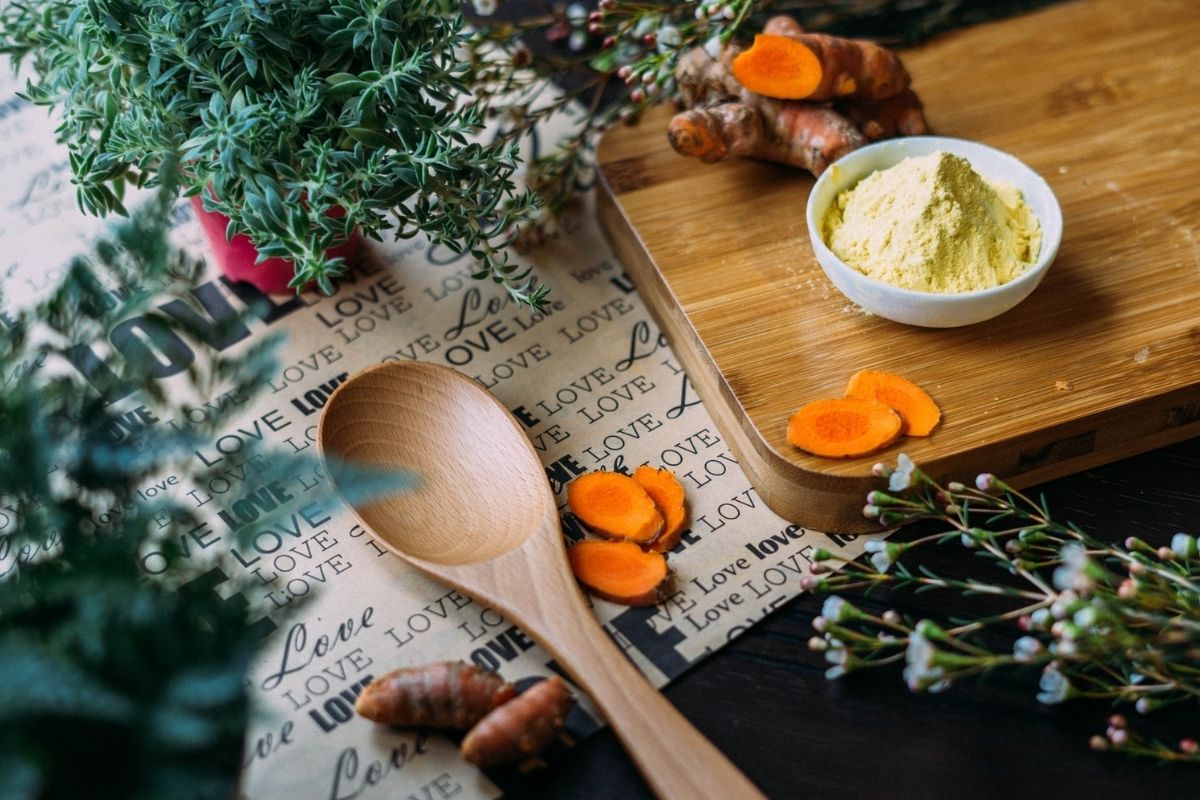
This aromatic root is just steps away from becoming a rich, smooth powder, which can be used in a number of ways. Wear gloves to prevent your hands and fingers from being stained bright yellow!

This is how to make your own turmeric powder:
- Boil your turmeric rhizomes for about 5 minutes in a large pot of water to “cure” them. This process softens the fibers of the root and releases flavor.
- Strain the rhizomes and pat dry with a large kitchen towel.
- Cut them into pieces and dry them in the oven or food dehydrator. If drying in the oven, keep on the lowest setting possible (around 150° is enough heat to dry your turmeric).
- Once the turmeric roots are brittle and dried, grind them in a spice mill or coffee grinder into a fine powder.
- Store in a glass mason jar with a tight-fitting lid away from direct sunlight.
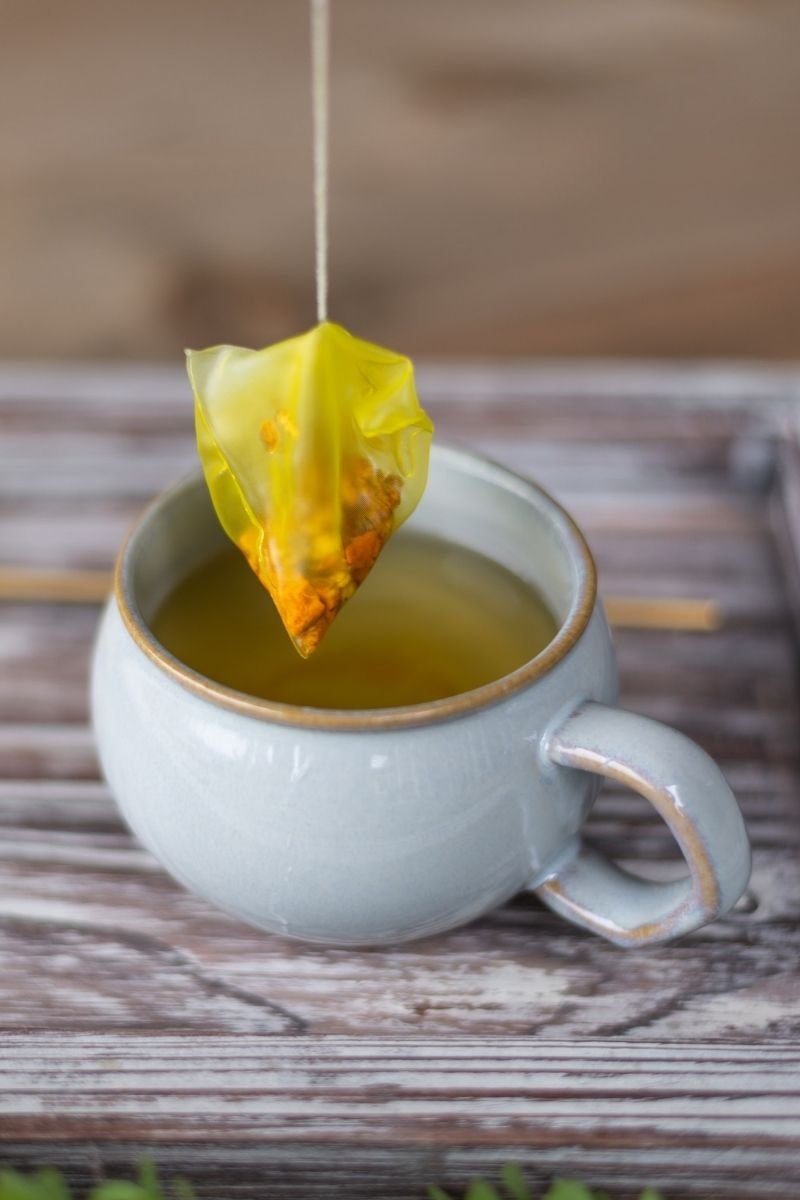
When stored in an airtight container away from light, your homemade turmeric powder should last a year. Turmeric powder makes a delicious addition to soups, smoothies, teas and more!
Medicinal properties and benefits of turmeric plant
There are so many medicinal benefits to including fresh turmeric in your diet, whether in powder form or sliced and extracted as a hot beverage. If you make a turmeric tea (or golden milk latte) – add a pinch of black pepper to help your body and blood absorb the curcumin, which is the antioxidant found in turmeric plants.
Turmeric protects against liver damage, eases stress, reduces pain and boosts brain health. Here are a few other ways that this wondrous plant can help you stay health:
- Heal bruises by making a paste of turmeric powder, water, and neem oil and applying it to the wound
- Ease inflammation by rubbing turmeric paste into the affected area
- Treat arthritis symptoms when taken internally and applied topically.
Keep your turmeric powder in an airtight container to maintain its potency, and enjoy the many benefits this plant has to offer!
FAQs
How long does turmeric (curcuma longa) take to grow?
Turmeric takes about seven to ten months to mature completely after planting. You should plant it about 10 months before the first frost in the fall, depending on where you live. At harvest time, you’ll pull up the entire root in one piece .
Does turmeric need full sun?
Turmeric plants like full sun, but do well in partial shade. If you live in an extra hot climate, like the desert, turmeric will benefit from afternoon shade. It just needs to be well-watered once it sprouts true leaves to ensure the root is hydrated.
How long does turmeric take to sprout?
It takes three to eight weeks for turmeric rhizomes to sprout! Be patient and don’t water your turmeric too much during this time – just keep the soil moist, and you’ll see signs of life in no time.
How do I grow turmeric in water?
To sprout turmeric in water, you will need organic turmeric, a smaller container as well as 2-3 ounces of water. This is how to do it:
1. Place the turmeric with the buds to the side in a container (ideally glass, so you can see its progress).
2. Add enough water to moisten the root, but not saturate it. It’s ok if some buds are submerged.
3. Keep your container in a warm atmosphere until the rhizome produces little green shoots.
4. Once the rhizome has sprouted, transplant it to a pot with soil to prevent root rot.
Where to buy turmeric:
Turmeric can be tricky to find in the quantity and quality needed to use it as a medicinal supplement. You can usually find it in small quantities in the spice aisle of your local grocery, but it tends to be expensive and isn’t always organic. If you can’t find a good supply or organic turmeric, these are the best online sources:

Whole Raw Organic Turmeric Root
This turmeric root comes all the way from Fiji island. It’s super rich in curcumin, the most
active medicinal ingredient in turmeric. It contains a good amount of vitamin C and vitamin B12.

Starwest Botanicals Organic Turmeric Rhizome Sliced
These turmeric chunks from Starwest Botanicals are dried. You can’t replant them, but you can make use of its medicinal goodness in your golden milk drinks & teas. These dried slices are also great for making organic homemade kombucha!

Jiva Organic Turmeric powder originates in India. This organic powder has a very high curcumin content and is tested before packaging. It is 100% raw and organically harvested from freshly ground turmeric plants.
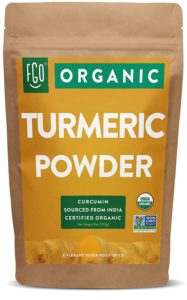
Organic Turmeric Root Powder w/ Curcumin
This yellow/orange turmeric powder is also sourced from India. It is one pound of organic turmeric that can be used in your curries, smoothies, soups and more. It is completely pure. Us it as an incredibly healing spice!
more about medicinal plants
- Caring For A Calendula Officinalis: Calendula Care Tips
- How To Treat A Magnesium Deficiency In Cannabis
- It’s Not O-K: Potassium Deficiency in Cannabis
- How to harvest cannabis (and use the entire plant)
- Male Weed Plant Stages: Don’t Ruin Your Crop
- How To Decarb Weed For Homemade Cannabis Products
- Loving the Ladies: Female Weed Plant Stages

Marquis *wants* to know how to keep happy and healthy plants, but had a hard time finding information that wasn't written by just another copywriter. After nearly losing one too many plants, it was time to take matters into her own hands. A team of plant scientists and nursery hands was brought together and The Indoor Nursery was born.