If you can master the art of watering your plants, you can do practically anything. Before harvest, it is essential to understand how to properly prepare your plants for fertilization, when to stop fertilizing, when to start flushing, and when to stop watering before harvest.
Understanding these processes will result in big and bright buds, hopefully allowing you to avoid brittle and burned leaves at harvest.
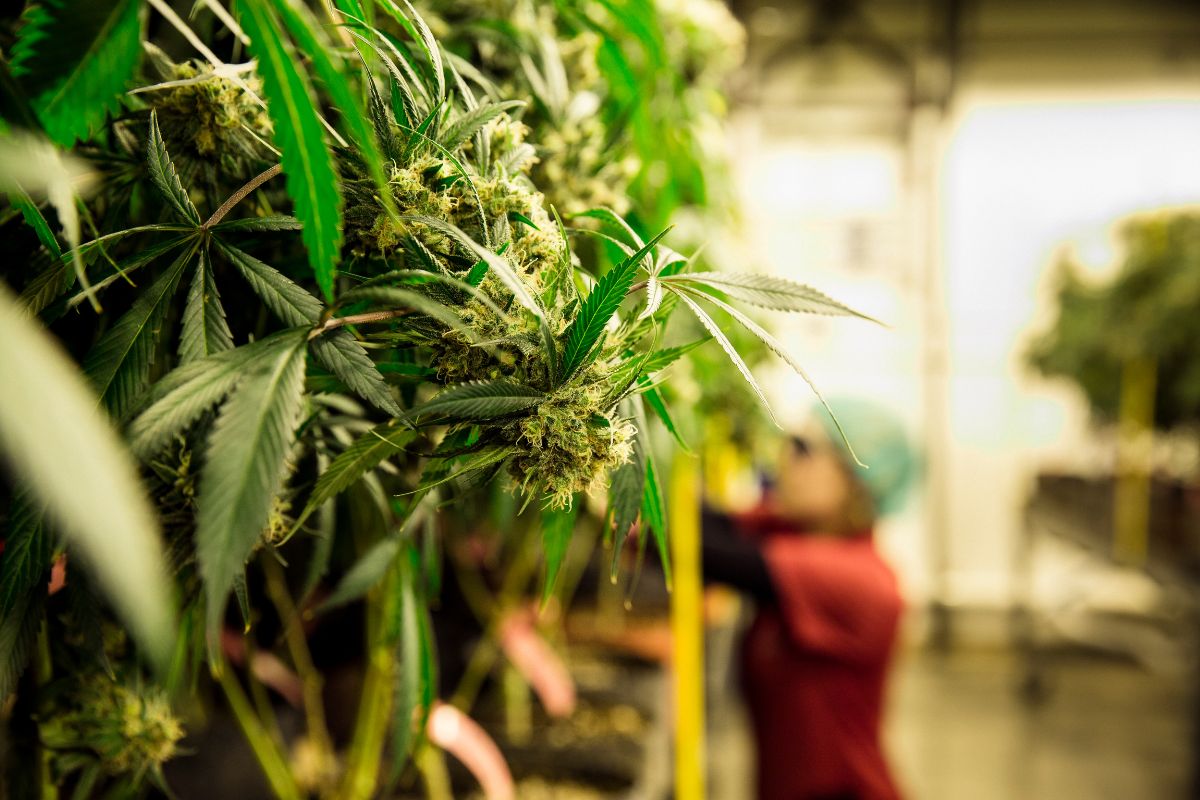
Before harvesting a Cannabis plant
The amount of water we use, when we use it, and when we stop using it is one of the most crucial components of marijuana cultivation. In the following section, we will cover the basics of each process up until harvest, including the following:
- Preparing your marijuana plant for harvest
- Stopping fertilization before harvest
- Flushing marijuana plants before harvest
- Stopping watering your marijuana plants before harvest
We will also help you identify the various signs of overfeeding and overwatering and offer additional insight on flushing indoor plants and preparing drying spaces.
How to prepare marijuana plants for harvest?
A well-organized pre-harvest can save you time and increase the quality of your bud. It is well worth investing in the planning phases. Keep in mind the peak harvest time will be within 5-7 days after stopping watering.
As we move from the flowering stage to harvest, buds will start to ripen and old leaves will begin to discolor and fall. This is part of the process and indicates your plant is almost ready for harvest. By trimming and ridding your plants of old and dead leaves, you are essentially giving it more energy to focus on ripening the buds.
A few addition factors to consider when preparing marijuana plants for harvest:
- Check for pests and carefully remove any leaves and buds with fungi, discoloration, or any other damage.
- Cut out the big fan leaves (save for teas and tinctures if you want).
- Stop the fertilization process up to two weeks before harvest. (See next section for greater detail)
- Start flushing plants (up to 7-10 days before harvest or at the same time when you stop fertilization).
- Stop watering (1-3 days before harvest).
When to stop fertilizing marijuana plants?
Most growers stop fertilizing their marijuana plant up to two weeks before harvest to ensure the plant is rid of extra nutrients and chemicals for an overall cleaner smoke and bud.
Growers advise paying close visual attention to the entire plant and the coloring of trichomes. Your eyes will be your best friend in this process. The trichomes are the resin glands on the flowers and upper leaves of the plant that become more present in the flowering stage.
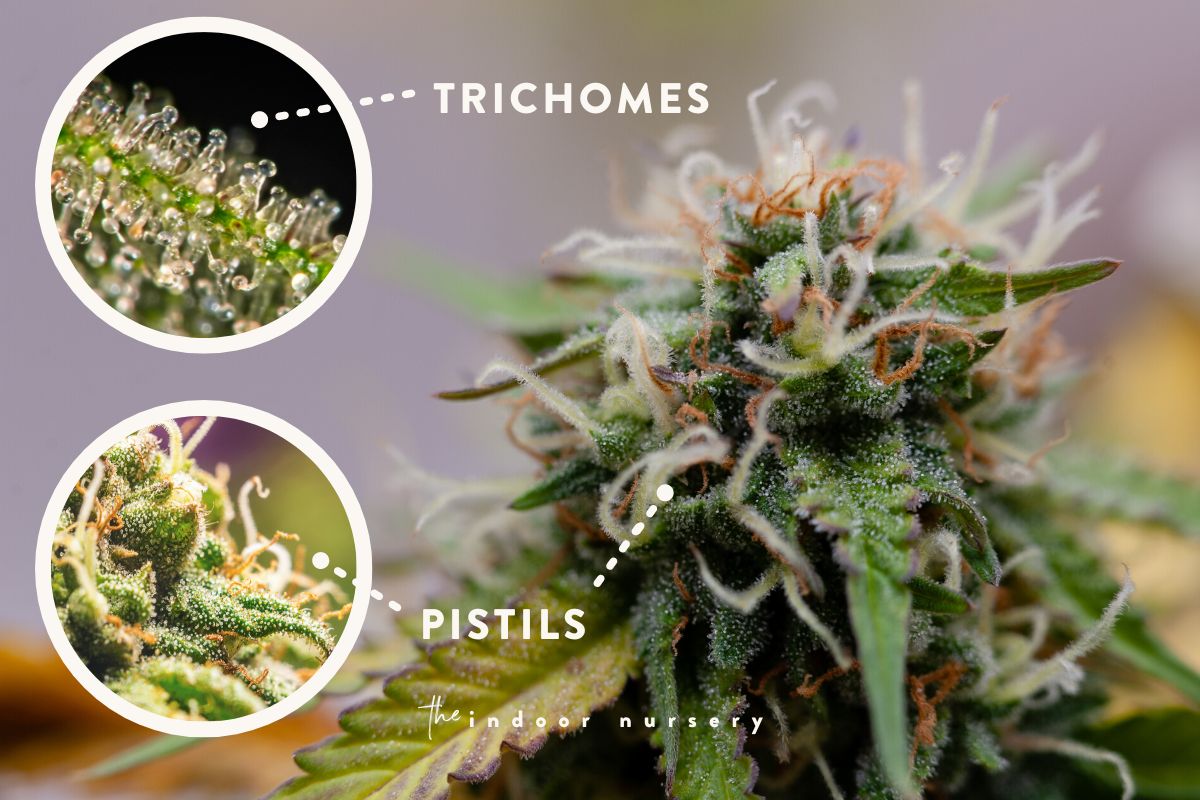
Once they begin to look murky or cloudy, it is time to stop fertilization and start the flushing process. Within roughly two weeks, the majority of the trichomes should be clear and milky white. Many growers use a magnifying glass or portable microscope to identify trichomes (little resin balls on the buds). That is the main cue to start the flushing process (about two weeks before harvest).

How and when to flush cannabis plants?
The process of flushing helps increase the quality of your bud by removing excess, and all the nutrients that may impact the final taste and smell. When there are other nutrients in the bud besides THC and trichomes, the smoke will be dense and the taste will be altered.
Chlorophyll is one of the main magnesium-based nutrients we are attempting to remove during flushing. Excess salts and chlorophyll results in a harsher bud. The idea of flushing is meant to 7-10 days before harvest is to prevent the plant from getting too many nutrients and excess amounts of chlorophyll.
Use distilled water and simply fill the growing medium with as much water as it will hold. Ensure your growing medium has a proper drainage system to avoid excess water damage, rot, and pests. Good drainage systems are essential to maximizing the benefits of flushing.
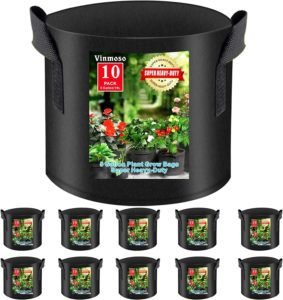
Depending on the space you have, a woven grow bag is an easy way to ensure good drainage and breathability.
Let the water drain and repeat the process. Use a total dissolved solids meter (TDS meter) to measure mineral content in the water coming out of your plant. This will give you a good idea of how many more times you should flush. If you are using the TDS meter, the number you should strive for is between 50 to 70 ppm.
By flushing with plain water, the plant is forced to use up all lingering nutrients and chemicals that may alter the final flavor and aroma. This is essentially putting the plant in survival mode, which can also result in slower plant growth and floral growth (a few side effects). However, ensuring the final taste and smell of our bud is the most essential task at hand. No one likes chemical tastes or smells. Flushing is essential to get the perfect flavor.
When to stop watering before harvest?
The secret to bigger yields for high-value crops is to stop watering 1-3 days before harvest. Remember our plants are way more intelligent and resilient than we may think…and sometimes too much water can take away from their natural ability to rejuvenate, grow, and shed what no longer serves. New growers tend to over-water their plants which can cause root rot and other signs of decay.
When we deprive our plants of water, we essentially put our plants in “survival mode”. As it thinks it is dying it will increase resin development as a survival mechanism. This results in bigger fatter buds and higher yields.
Patience is a virtue, especially in the last few weeks and days leading up to harvest. If you harvest too soon, your plants may lose their potency and yield. While there is no “one size fits all” model to follow as different strains require different times, you can figure out the perfect time by being mindful and paying close attention to your plants. We recommend stopping watering for 1-3 days, however, this will also depend on the strain and weather.
How to tell when fertilizer will affect the taste?
Many growers stop fertilizing weed plants weeks up to two weeks before harvest to ensure the final taste is pure and free from build-up nutrients or fertilizer. It is important to strike a balance between nutrient excess and deficiency which can typically be identified visually.
If the plant is full of chemicals and nutrient build-ups right before harvest, your bud will reflect this. Below we will cover a few indicators of when to stop fertilizing and flushing plants, and when to harvest.
Burned leaf tips and fringes
Burned tips and bending or curling leaves are some of the earliest signs of overfeeding your plants with excess nutrients. In addition, look out for leaves with an oversaturated deep dark green color, as this indicates over-fertilization.
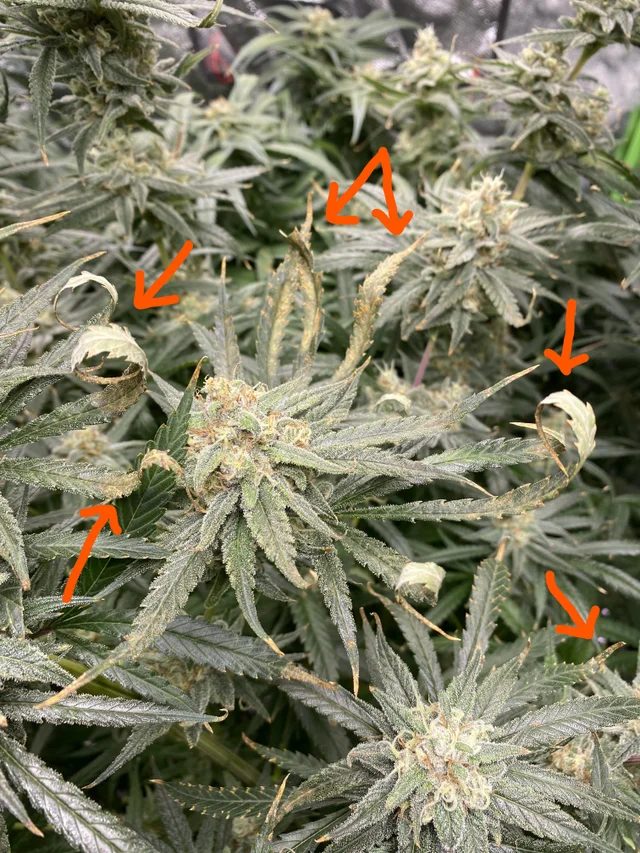
The photo above indicates burned tips and fringes. This indicates excess nutrients (perhaps magnesium, salt, or PH imbalance) and inefficient flushing.
If caught early, you can luckily manage to cause significant damage. You will need to remove the parts of the plant that have been already affected. Another option is to continue flushing out the growing medium with plain water. Allow all water to run off and repeat until your TDS meter is in the 50-70 range (or matches your water source).
Brittle leaves at harvest
Brittle crispy leaves at harvest are often a sign of over fertilizing or over watering. Overwatering creates the cells within the leaves to bulge and rupture.
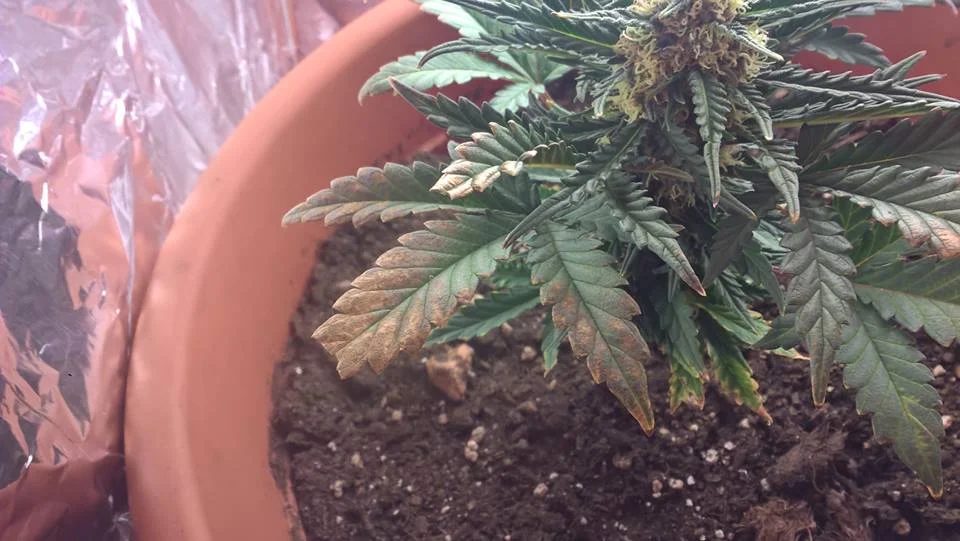
The photo above shows brittle curls leaves at day 53. This could be the result of over-fertilization or a PH issue. Overfertilization will also result in harsher-tasting smoke. In this case, try flushing 1-2 times and measuring the TDS to evaluate the remaining nutrients and minerals in your soil.
Finding the perfect balance is the key here which can take practice and careful observation. Remember to be patient and simplify whenever possible.
Crackling bud when burning
Crackling sounds are a result of built-up nutrients and over-fertilization. Some growers that use synthetic salt-based fertilizers will often encounter more crackling buds as these fertilizers add extra weight and are harder to flush out.
To address crackling buds, try the flushing process again while measuring the TDS of the water until it is within the 50-70 range.
Tasting like fertilizer
If your bud tastes like fertilizer it most likely is again a problem with overfertilization and improper flushing. Essentially you have harvested a bud that still has remains of fertilizer which can show that the plant requires extra flushing or curing.
If the bud is already picked, look into a water cure. A water cure will help extract extra chlorophyll, sugars, and other chemicals. Just submerge your buds in a glass mason jar with clean water. Change the water once per day for up to 5-7 days. On the final day, strain your buds and transfer them to the drying rack.
Be careful, water curing will also remove a large number of water-soluble terpenes, which is one of the trade-offs for water curing.
The chemical smell of bud
The chemical smell of buds is also an indication of over-fertilizing and inefficient flushing. To get rid of the chemical smell of bud, try flushing or curing. Bud washing is an additional solution to help get rid of any unwanted flavors and remove other dust, pesticides, and unwanted particles.
How to flush your indoor Cannabis plants
While there is not one size fits all method for flushing cannabis plants, we can all agree the goal is to reduce nutrient concentrations in the root zone so the plant is able to fully metabolize what nutrients are already in the soil. This is also related to stopping watering before harvest and permitting the plant to use all the nutrients so your bud is clean and just consists of THC and trichomes. The process of flushing plants will be determined by several factors including humidity, strain, and the individual flowers.
Water Properties and Materials
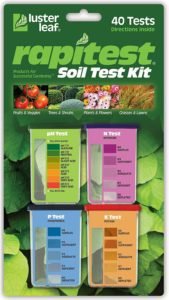
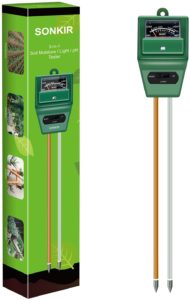
Water used for flushing should be distilled or even better from a reverse osmosis filter. You basically want to ensure your water is as pure as possible and has a slightly acidic pH value between 6.0-6.3. It is worth investing in a PH meter and total dissolved solids meter (TDS meter) to measure dissolved solids. You should also use the TDS meter to measure the water properties as well as the water runoff from flushing. This should be essentially equivalent and between 50-70 ppm.
Timing
Remember the goal is to time the reduction in nutrients with the harvesting of the buds (in this case it should be between 7-10 days before harvest). Growers also follow flushing protocols for 14-day periods as well. It also will depend on your growing method (hydronic substrate, coco coir, hydroponics, etc).
Hydroponics and deep water culture require the least amount of flushing time (around 2-3 days) as you immediately cut your weed plant from its main water source. For soil growers, flushing will be longer between 7-14 days. Temperature and humidity will also affect flushing time so just be vigilant and pay attention to how your plants react.
Prepare your drying space
Once you have successfully flushed your plants and your TDS meter measured between 50-70 ppm it is time to move on to drying your harvested buds.. As we can observe, each process is just as important as the next which leads up to drying and curing buds.
The drying process is just as important as every other process. A proper dry is crucial to help retain terpenes and cannabinoids while also removing the final remains of chlorophyll and nutrients to give you the best final product possible. Go the extra mile for a flawless finish.
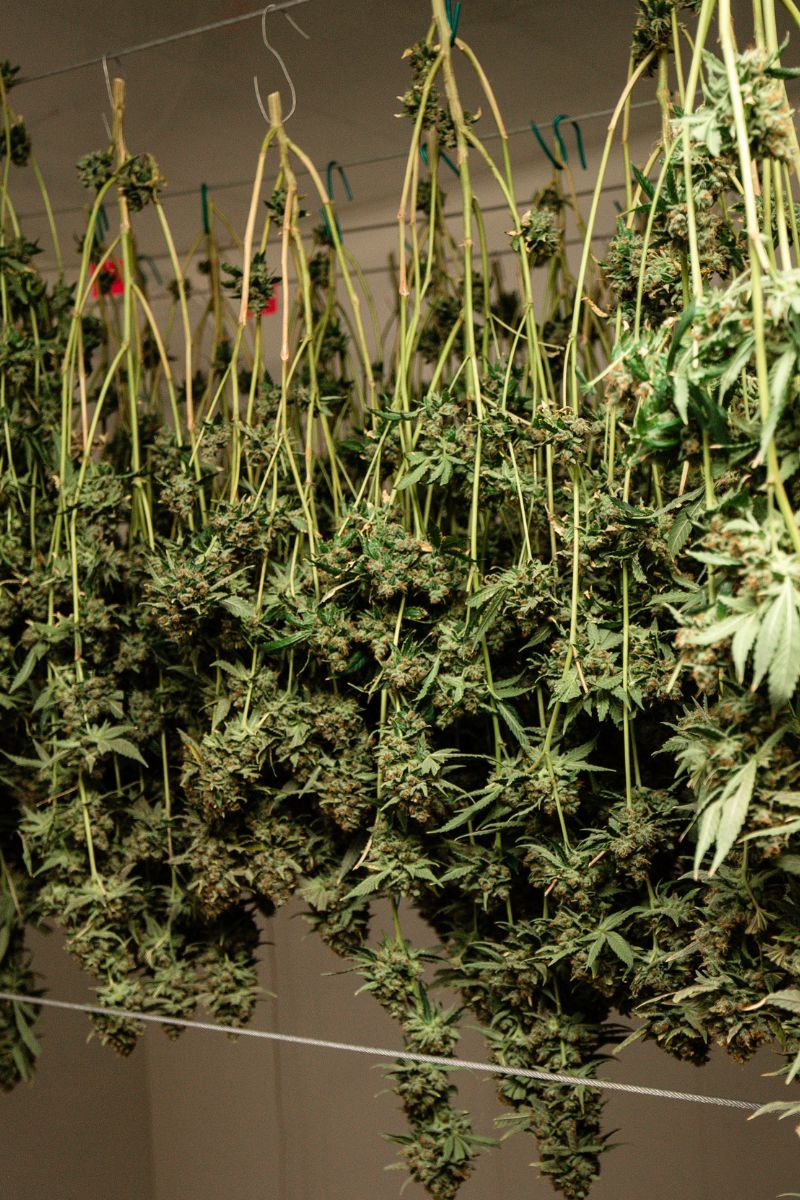
The Drying Basics
- Dry your weed in a dark room with an average temperature between 60-70 F and humidity between 50-65%
- Invest in oscillating fans and humidifiers for climate control
- Hang harvest plants on a hanger upside down for drying to maintain shape and figure
- Leave room between plants to prevent mold and increase airflow
- Trim off extra leaves to reduce the volume before hanging
Conclusion
As we have seen, the cannabis plant requires a lot of love and care up until it is ready to harvest. For the best bud possible it is essential to keep a close eye on the changes and reactions of your plant, especially within the two weeks before harvest. As we have seen, overwatering and over-fertilizing may result in less than the ideal final product.
While there is no one size fits all model to cannabis cultivation and harvesting, creating the perfect environment for your buds to flourish will require trying various methods and carefully observing your plant under a microscope (quite literally).
More about cannabis
- How To Treat A Magnesium Deficiency In Cannabis
- It’s Not O-K: Potassium Deficiency in Cannabis
- How to harvest cannabis (and use the entire plant)
- Male Weed Plant Stages: Don’t Ruin Your Crop
- How To Decarb Weed For Homemade Cannabis Products
- Loving the Ladies: Female Weed Plant Stages
- Patience is a Virtue: Curing Buds for Best Taste
- Understanding weed light cycles: Get the most from your harvest
- When to switch to flower nutrients for high cannabis yield
- How to make live resin at home, step-by-step

Marquis *wants* to know how to keep happy and healthy plants, but had a hard time finding information that wasn't written by just another copywriter. After nearly losing one too many plants, it was time to take matters into her own hands. A team of plant scientists and nursery hands was brought together and The Indoor Nursery was born.